
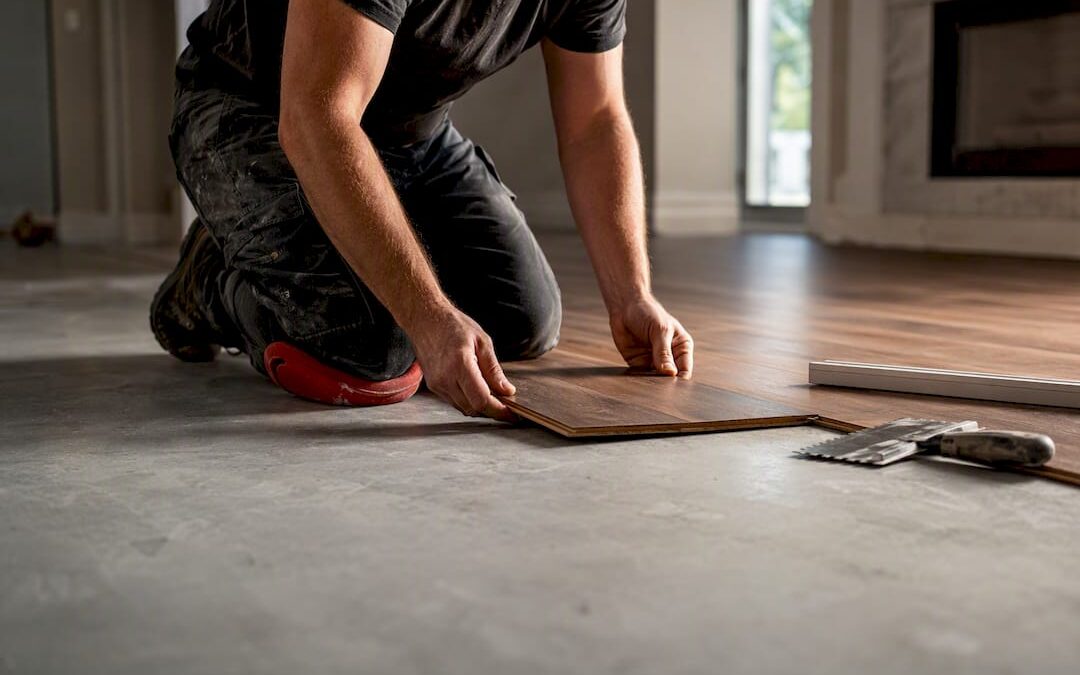
Yes, hardwood works on a concrete slab, but only under specific conditions. The slab needs to pass moisture testing under ASTM F2170 or ASTM F1869, meet flatness and strength standards, and get a proper vapor retarder. Skip any of those steps, and you’re looking at cupping, adhesive failure, or worse within a season, not a decade. If your slab can’t meet those marks right now, engineered wood or a different floor category is the safer call.
TL;DR:
- Moisture testing with ASTM F2170 and ASTM F1869 is essential to determine if the slab meets the necessary moisture levels for hardwood installation.
- Plywood-on-slab is more forgiving of minor slab imperfections and offers easier future repairs compared to glue-down methods.
- Slab flatness must stay within 1/8 inch in six feet, and the concrete should test at a minimum of 3,000 psi compressive strength for proper support.
- Engineered wood is preferable for basement installations and slabs with borderline moisture, due to its better stability against moisture fluctuations.
- Proper slab preparation and moisture control, including a sealed vapor retarder and adherence to testing thresholds, are crucial to prevent floor failures.
Table of Contents
- Which Installation Method Works Best Over Concrete?
- How Do You Test a Concrete Slab for Moisture Before Installing Hardwood?
- What Slab Prep Does Hardwood Installation Require?
- Should You Choose Solid Hardwood or Engineered Flooring Over Concrete?
- What Are the Steps to Install Hardwood on a Concrete Slab?
- Why Do Hardwood Floors Fail Over Concrete, and How Do You Fix It?
- What Should You Expect From a Professional Slab Inspection?
- Should You DIY Your Hardwood-on-Concrete Install or Hire a Pro?
- Get a Professional Slab Assessment Before You Buy Flooring
- Sources
Which Installation Method Works Best Over Concrete?
Three approaches dominate hardwood-over-concrete jobs, and the right one depends on your slab’s condition and how much floor height you can afford to lose.
Glue-down puts the flooring directly onto the concrete with adhesive, adding almost no height to your floor. It’s the go-to for engineered wood over a slab and delivers a solid, quiet underfoot feel. The catch: the slab has to be nearly perfect. Any hump, dip, or hidden moisture problem shows up fast, and repairs after the glue sets are a demolition job, not a patch job.
Plywood-on-slab installs a plywood layer over the concrete first, then nails or glues the hardwood to that. This method forgives minor slab imperfections that would sink a glue-down job, and it opens the door to nail-down installation, which many homeowners prefer for solid hardwood. You give up some floor height, usually around three-quarters of an inch, but you gain flexibility and easier future repairs.
Sleeper systems use pressure-treated wood strips laid over the slab, shimmed level, with plywood or hardwood nailed on top. This is the traditional route when you want a fully nailed solid floor and don’t mind the added build-up, which can run an inch or more. It’s less common in modern renovations but still shows up in older homes and specific solid-wood applications.
A few quick rules of thumb:
- Tight on floor height (doorways, transitions to tile)? Glue-down engineered wood is your best bet.
- Slab has minor unevenness or you want nail-down hardwood? Plywood-on-slab.
- Need a fully traditional nailed floor and have height to spare? Sleepers.
- Installing below grade, like a basement? Skip solid wood entirely. Go engineered and glue-down.
The National Wood Flooring Association backs all three methods when the slab is properly prepared, but “properly prepared” is doing a lot of work in that sentence, which is exactly what the next few sections cover.
How Do You Test a Concrete Slab for Moisture Before Installing Hardwood?
Two tests matter here, and skipping them is the single most common reason hardwood floors fail over concrete.
ASTM F2170 is the industry-preferred method. Installers drill small holes into the slab, insert humidity probes, and measure relative humidity at 40% of the slab’s depth. That depth matters because it reflects how the concrete will behave over its full service life, not just at the surface. Professionals treat these in-situ RH readings as the most predictive tool available for long-term moisture behavior.
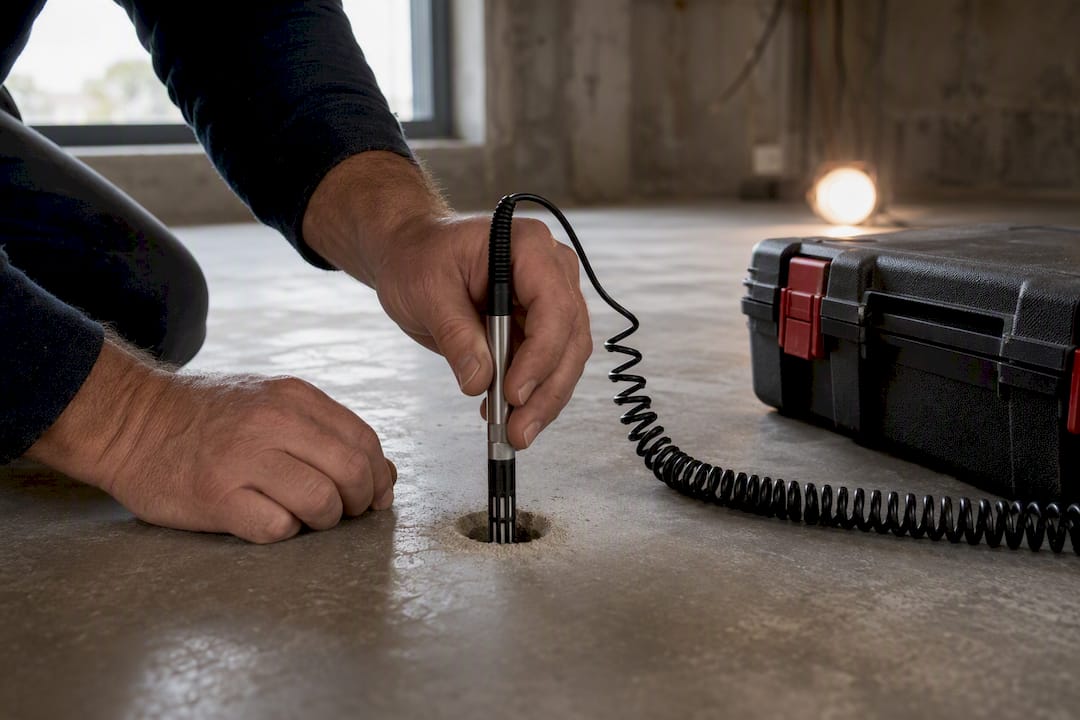
ASTM F1869, the calcium chloride test, is older but still widely used. A sealed dish of calcium chloride sits on the slab for 60 to 72 hours and absorbs moisture vapor. Weighing it before and after gives you the moisture vapor emission rate, expressed in pounds per 1,000 square feet per 24 hours. It’s cheaper and faster to run than F2170, but it only reads surface conditions, not the slab’s core.
Here’s the testing sequence a contractor should follow:
- Run the building’s HVAC system for at least 48 hours before testing, matching normal occupied conditions. Testing a cold, unconditioned space gives you false readings.
- Insert F2170 probes at the depth and spacing specified by the standard, and let them stabilize for the required period before reading.
- Run F1869 calcium chloride tests in parallel if the flooring manufacturer’s technical data sheet calls for it.
- Compare both readings against the specific hardwood product’s documented threshold, not a generic industry number.
Statistic to remember: most hardwood products require slab relative humidity at or below roughly 75%, though the exact number always comes from the manufacturer’s technical data sheet, not a blanket rule. Resilient flooring categories often tolerate higher RH, which is one reason vinyl or laminate sometimes makes more sense on a marginal slab.
If your readings come back over threshold, you have three options: install a moisture mitigation system rated for the reading you got, apply a compatible surface primer, or wait. Waiting costs you nothing but time. Installing anyway costs you a floor.
What Slab Prep Does Hardwood Installation Require?
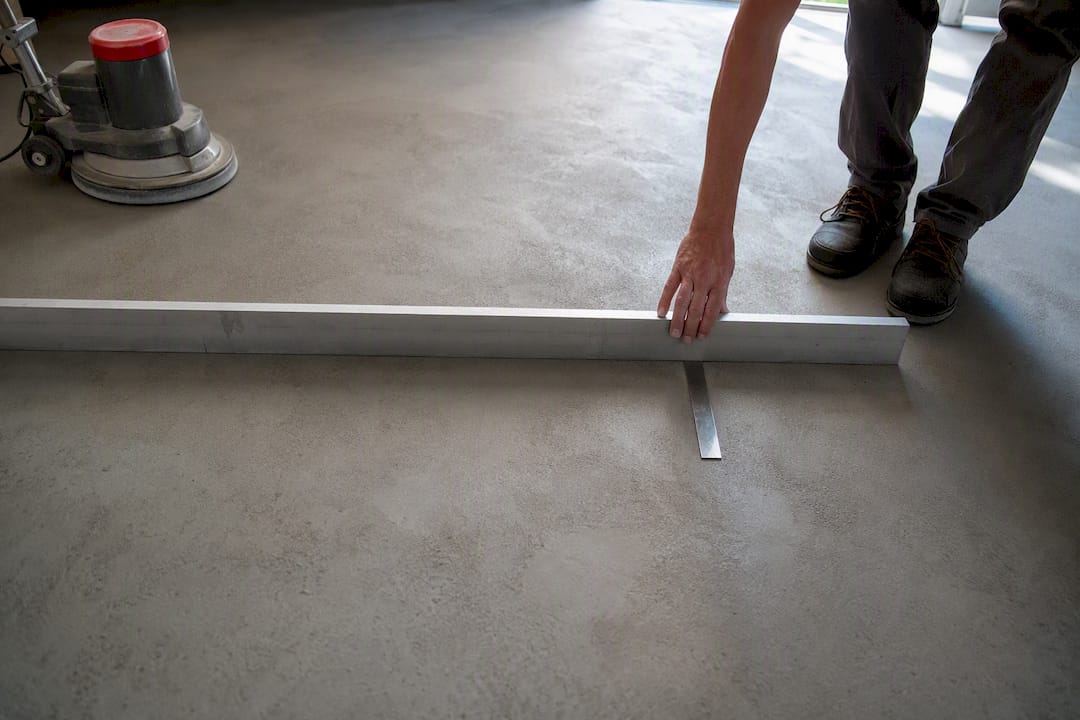
Flatness is where most DIY installs go wrong, because a slab can look level to the eye and still fail the tolerance that matters. The standard is 1/8 inch of variation within any 6 foot span, or 3/16 inch within 10 feet. Installers check this with a straightedge and feeler gauges, not a level, and grind down high spots or skim-coat low ones until the slab passes.
Strength matters too. Concrete should test at a minimum of roughly 3,000 psi compressive strength. Older slabs, especially in homes built before modern mix standards, sometimes fall short and need a structural evaluation before anyone talks about flooring.
Before any leveling happens, the slab needs to be stripped of anything that blocks adhesion:
- Remove old sealers, curing compounds, and paint through grinding or shot-blasting.
- Clean off oil, grease, or efflorescence (that white mineral bloom on concrete) completely.
- Patch cracks and voids with a compatible cementitious patching compound.
- Apply a primer or densifier if the manufacturer’s adhesive system calls for one.
Once the surface is clean and flat, the vapor retarder goes down. NWFA guidance and most manufacturers call for a membrane rated at perm ≤0.13, commonly a 6 mil polyethylene sheet, taped and sealed at seams and edges.
Pro Tip: Don’t rely on the vapor retarder alone if your RH readings came back marginal. Pair it with a mitigation system rated for your actual reading, not just the minimum spec on the product box.
Should You Choose Solid Hardwood or Engineered Flooring Over Concrete?
The slab’s location in your home, and its moisture history, usually decides this for you.
Solid hardwood can go directly over concrete when the slab is on-grade or above-grade and moisture control is airtight. Manufacturers generally allow solid parquet to be glued to on-grade or above-grade slabs with the correct vapor retarder, but solid wood below grade, meaning a basement, is a different story. Concrete below grade sits closer to soil moisture and water tables, and even a passing test today doesn’t guarantee stable conditions across every season. Many contractors will only install engineered flooring in basements for exactly this reason.
Engineered wood handles moisture swings better because of its layered construction, which resists the expansion and contraction that warps solid boards. That stability is why it’s the default recommendation for basements and any slab with borderline RH numbers.
Plank width changes the math too:
- Boards under 3 inches wide tolerate a moisture differential of up to about 4% between the wood and subfloor.
- Boards 3 inches or wider need a tighter tolerance, closer to 2%, because wider boards move more per percentage point of moisture change.
- Always check the manufacturer’s technical data sheet. It overrides any general rule here, including this one.
If you’re set on wide-plank solid oak in a basement, that’s the one combination worth reconsidering entirely.
What Are the Steps to Install Hardwood on a Concrete Slab?
Every successful hardwood-over-concrete job follows roughly the same sequence, whether it’s a DIY weekend project or a full contractor install.
1. Condition the space. Run HVAC at normal occupied settings for at least 48 hours before any testing begins. Document the temperature and humidity readings as your baseline.
2. Test the slab. Run ASTM F2170 probes, and F1869 calcium chloride tests if your product’s data sheet requires it. Record every reading with the date, location, and depth.
3. Repair and prep. Grind or patch to hit flatness tolerance, strip contaminants, and confirm the slab meets minimum compressive strength. This is also when you’d address any subfloor structural issues uncovered during testing.
4. Install the vapor retarder. Lay 6 mil polyethylene or the manufacturer-specified membrane, taping seams and running it up walls slightly before trimming.
5. Choose your subfloor system. Glue-down, plywood-on-slab, or sleepers, based on the method decisions covered earlier. If radiant heat is embedded in the slab, installation requirements change significantly, and power-actuated fasteners that penetrate the slab are off the table. In that case, installers typically use scored plywood glued down with heat-compatible mastic instead.
**6. Skipping this step is how perfectly good flooring ends up gapping six months later.
7. Install and finish. Follow the adhesive or fastening manufacturer’s instructions exactly, including trowel size and open time for glue-down systems.
8. Final inspection. Walk the floor for hollow spots, check expansion gaps at the perimeter, and file your moisture test documentation somewhere you can find it later. Most manufacturer warranties require proof of proper moisture testing if you ever file a claim.
Why Do Hardwood Floors Fail Over Concrete, and How Do You Fix It?
Moisture is behind nearly every hardwood failure over concrete, and the pattern is predictable once you’ve seen it a few times.
Cupping shows up as board edges lifting higher than their centers, usually the earliest visible sign of moisture intrusion. Buckling is more severe: boards lift entirely off the subfloor, sometimes inches, when moisture has been building for a while. Adhesive delamination means the bond between wood and slab has failed, often accompanied by a hollow sound when you tap the floor. Any musty odor or visible discoloration signals mold, which means the moisture problem has been ongoing long enough to support growth.
The root cause traces back almost every time to the same culprits: elevated slab RH that wasn’t caught before installation, a vapor retarder that failed or was skipped, poor adhesive coverage, or a slab that wasn’t flat enough for full contact.
- Document everything: photos, moisture test results, and installation dates before calling a professional.
- Isolated cupping in one area often points to a localized leak, not a slab-wide problem.
- Widespread buckling usually means the vapor retarder failed or was never installed correctly.
- Selective board replacement can work if the moisture source gets fixed first; reinstalling over an unresolved moisture problem just restarts the clock.
Pro Tip: If you smell must before you see any visible damage, don’t wait for cupping to confirm it. Pull a board in an inconspicuous spot and check the subfloor underneath.
What Should You Expect From a Professional Slab Inspection?
Over more than a decade working Denver-area flooring projects, Leonardo’s Flooring Corp has seen every version of the concrete-slab problem: slabs that looked fine and failed testing, slabs that looked rough and passed with minor prep. Experience tells you which is which faster than guesswork does.
A proper professional inspection checks:
- ASTM F2170 RH readings at the correct depth and location count for the room’s square footage.
- Flatness measurements against the 1/8 inch in 6 feet standard.
- Adhesive and flooring manufacturer technical data sheets, cross-checked against your actual test results.
- Slab strength and structural condition, especially in older homes.
Before hiring anyone, ask what testing method they use, whether they’ll provide written moisture reports, and how they handle a slab that fails on the first pass. A contractor who can’t answer those questions clearly is a red flag.
A vapor retarder installed correctly, backed by documented moisture testing, remains the single biggest determinant of whether a hardwood-over-concrete installation lasts.
The standard is backed by many positive customer reviews and an approach that treats every slab with individual care, not as a cookie-cutter job.
Should You DIY Your Hardwood-on-Concrete Install or Hire a Pro?
A small room, a slab with a documented dry history, and a simple glue-down engineered product? That’s a reasonable DIY weekend. The margin for error is forgiving, and a mistake costs you a few square feet, not a whole house.
Solid hardwood on a slab you don’t know the history of, tight flatness tolerances, or any hint of radiant heat changes the calculation entirely. Those jobs punish shortcuts, and the cost of getting it wrong (tear-out, re-testing, replacement flooring) dwarfs what a professional install would have cost upfront. If you’re weighing budget against risk, that’s the real trade to think about, not the price of the flooring itself.
— Jim
Get a Professional Slab Assessment Before You Buy Flooring
Some contractors specialize in running ASTM testing, providing accurate moisture readings, and recommending installation methods based on slab conditions rather than convenience.

An inspection covers moisture testing, flatness verification, and slab prep needs, and you walk away with a written moisture report, a recommended installation method, and a firm quote before any work starts. No guessing which vapor retarder to buy or whether your basement slab can handle solid oak. If your project touches subfloor repair too, our subfloor preparation work folds into the same estimate.
Backed by 125+ five-star reviews and over a decade serving the Denver metro, we’ll tell you straight whether your slab is ready or needs work first. Schedule a hardwood flooring estimate and get real numbers instead of guesses.
Sources
- WOOD FLOORING INSTALLATION GUIDELINES
- Concrete Moisture Testing: Practical Guide for Flooring Projects
- Installing a Hardwood Floor Over a Concrete Slab