
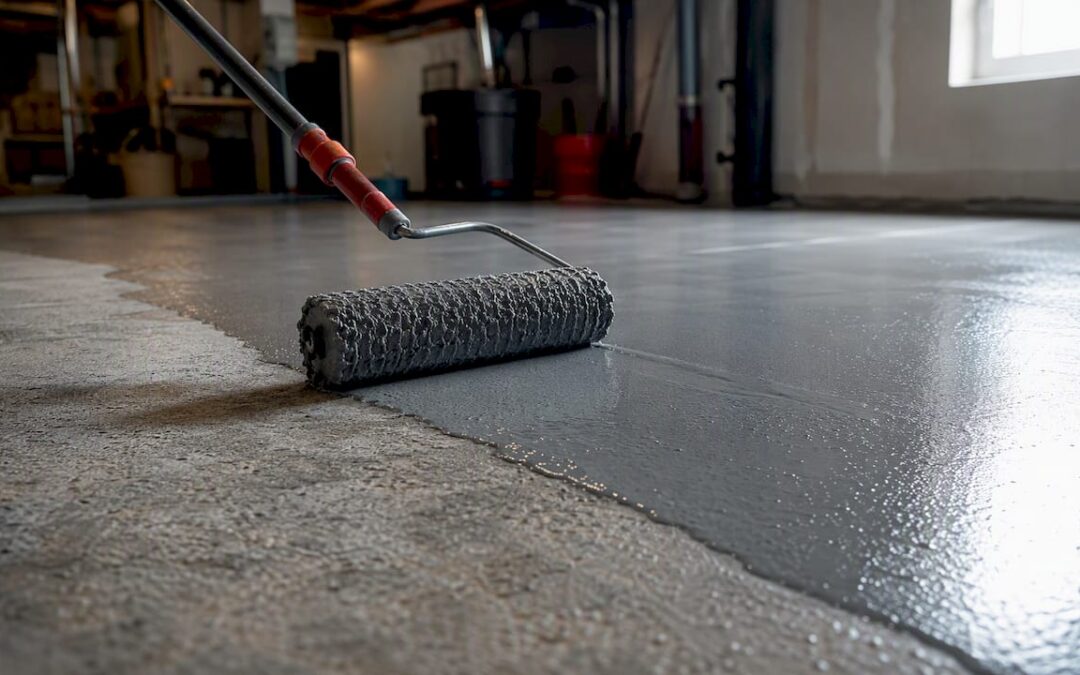
Most residential garages and light-commercial floors need epoxy floor thickness somewhere between 10 and 125 mils depending on the system. A simple rule: light foot traffic and residential garages call for 10–25 mils; retail and office spaces typically need 20–40 mils; warehouse and industrial floors with forklifts or heavy equipment require 30–125+ mils, and sometimes a mortar system at 250–500+ mils.
One conversion worth memorizing: 1 mil = 0.001 inch. So a 20-mil coating is just 0.020 inches thick. That sounds thin, but a properly applied 20-mil system on a well-prepped slab outperforms a 60-mil system poured over a damp, contaminated one.
Before you call a contractor or buy a kit, run through three quick steps:
- Measure your slab and note any cracks, spalling, or surface contamination
- Test for moisture (more on this in Section 6)
- Choose a system based on your expected traffic and chemical exposure
Key Takeaways
Matching epoxy floor thickness to your specific application, substrate condition, and load demands is the single most reliable way to avoid premature failure and get full value from your investment.
| Point | Details |
|---|---|
| Match thickness to load | Residential garages need 10–25 mil; commercial and industrial floors need 30–125+ mil or mortar systems. |
| Verify DFT, not WFT | Always confirm dry film thickness in writing; water-based products shrink significantly during cure. |
| Prep drives longevity | Moisture testing, crack repair, and proper grinding matter more than adding extra mils over a bad slab. |
| Demand documentation | Require product TDS, moisture test results, and post-install DFT readings from any contractor. |
| Leonardosflooringcorp | Provides documented moisture testing, DFT verification, and written specs on every Denver epoxy install. |
Table of Contents
- What epoxy floor thickness actually means across different systems
- Recommended thickness by application: which system fits your space
- How thickness affects performance — and where more stops helping
- How coats add up: layering, measurement, and what to put in your bid
- Substrate prep and moisture: when thicker epoxy can’t save a bad slab
- Pour limits, cure times, and how thickness affects your project schedule
- What real projects cost: DIY kits vs. pro installs across garage sizes
- The part of the epoxy thickness conversation nobody talks about
- Leonardosflooringcorp handles the thickness spec so you don’t have to
- Sources
What epoxy floor thickness actually means across different systems
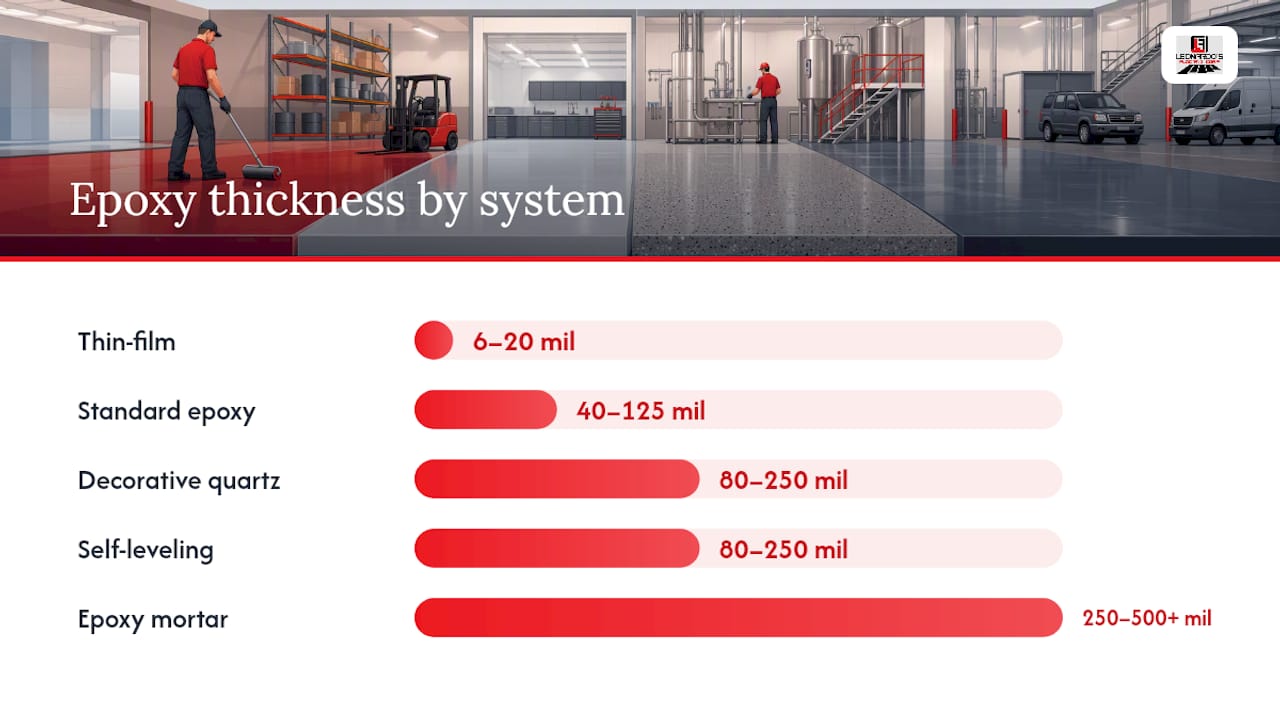
Epoxy flooring is not one product. It is a family of resinous systems, each applied differently and each suited to a different load and use profile. The common thickness bands break down like this:
| System | Mil Range | Inch Equivalent | Typical Use |
|---|---|---|---|
| Thin-film coating | 6–20 mil | 0.010–0.025 in | Light residential, decorative seal coat |
| Standard epoxy | 40–125 mil | 0.040–0.125 in | Residential garage, light commercial |
| Decorative quartz/flake | 80–250 mil | 0.080–0.250 in | Showrooms, retail, garage aesthetics |
| Self-leveling epoxy | 80–250 mil | 0.080–0.250 in | Commercial kitchens, labs, retail |
| Epoxy mortar | 250–500+ mil | 0.250–0.500+ in | Warehouses, industrial, heavy equipment |
Thin-film coatings (6–20 mil) go on with a roller, dry fast, and work fine for a basement utility area or a light-traffic showroom floor that just needs a clean, sealed look. They chip under vehicle tires and offer minimal chemical resistance.
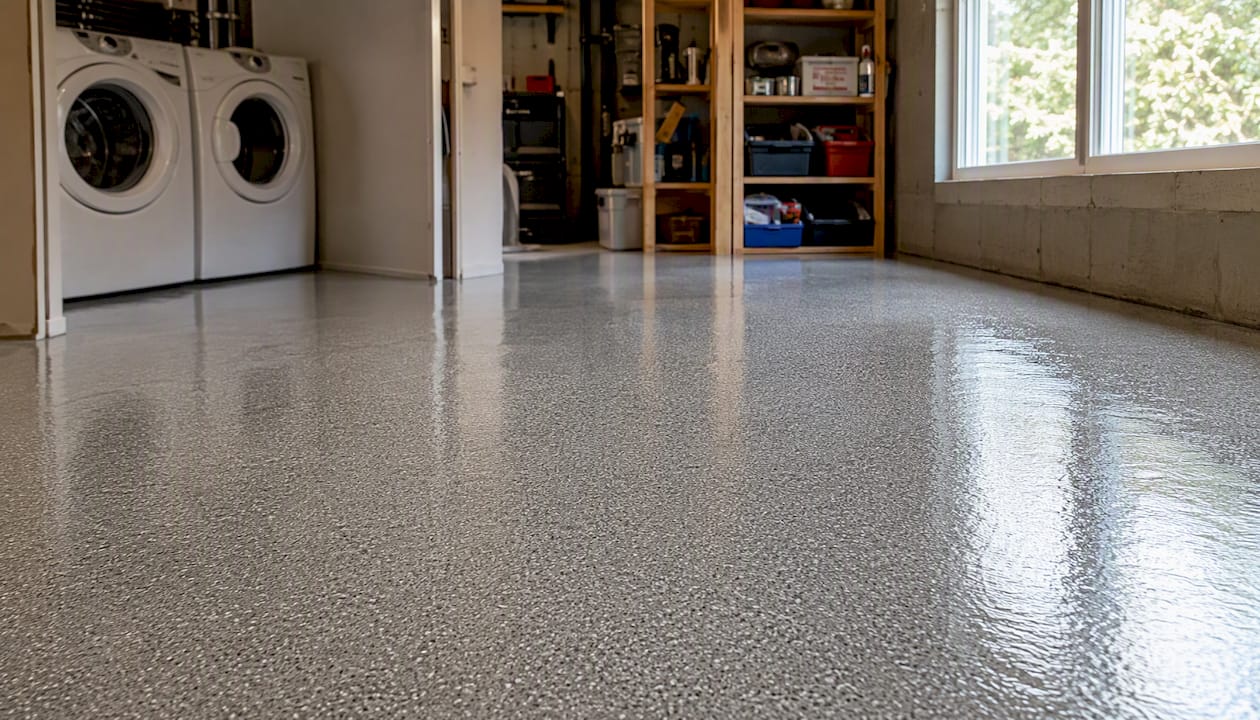
Standard epoxy systems (40–125 mil) are the workhorse for residential garages. A two-coat system with a primer and body coat lands most installs in this range. You get real abrasion resistance and enough build to bridge minor surface texture.
Decorative broadcast systems (quartz or flake, 80–250 mil) add an aggregate layer between base coat and topcoat. The aggregate itself adds thickness and dramatically improves slip resistance and visual depth. These are the systems you see in car dealerships and upscale garages.
Self-leveling systems (80–250 mil) are poured rather than rolled, flow to a flat plane, and are standard in commercial kitchens and pharmaceutical facilities where seamless, chemical-resistant floors matter. Self-leveling and high-build systems commonly range 80–250 mil, while epoxy mortar starts at roughly 250 mil for extreme industrial use.
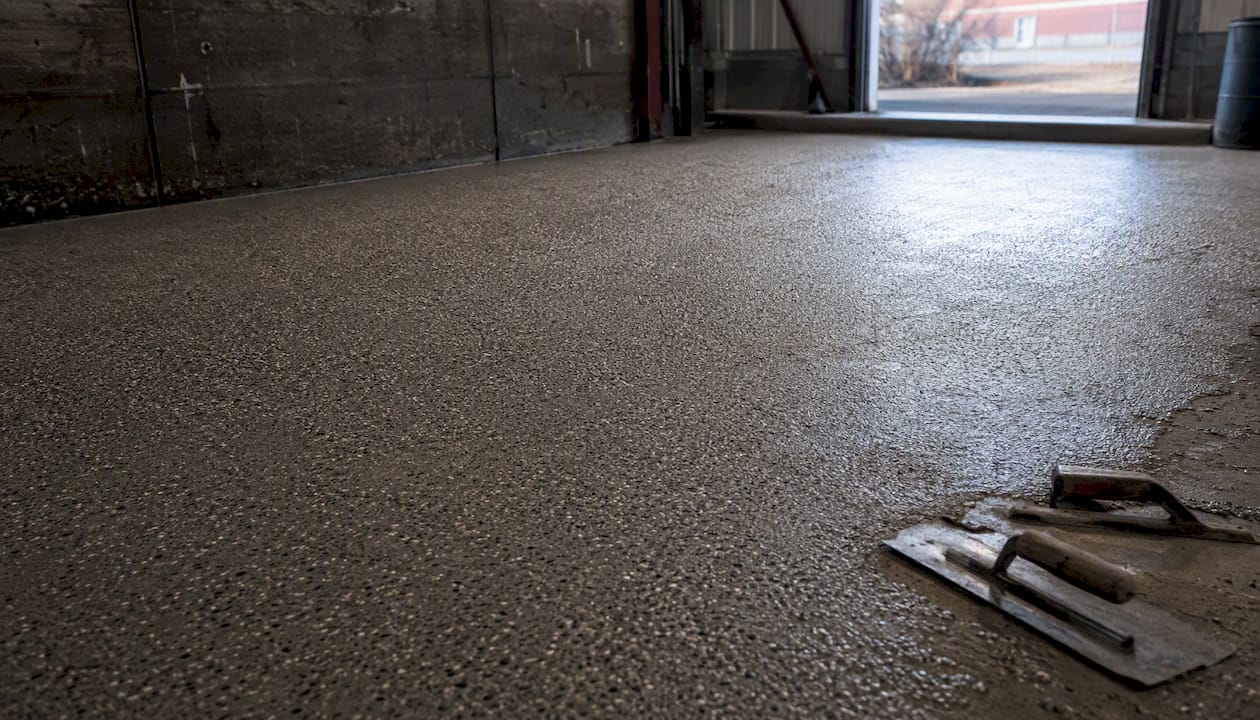
Epoxy mortar (250–500+ mil) is trowel-applied, uses aggregate filler for structural bulk, and handles forklifts, heavy pallet jacks, and thermal shock. It is the thickest and most durable option, but also the most labor-intensive to install.
Recommended thickness by application: which system fits your space
Matching epoxy flooring depth to the actual demands of a space is where most homeowners go wrong. They either under-specify (a thin-film kit in a two-car garage that sees daily vehicle traffic) or over-specify (a mortar system in a basement that only stores holiday decorations).
| Application | Typical Thickness | Best For | Durability Notes | Approx. Cost/Sq Ft | Cure/Return-to-Service |
|---|---|---|---|---|---|
| Residential garage (light) | 10–20 mil | 1–2 cars, foot traffic | Moderate abrasion resistance | $3–$7 | 24–72 hrs foot traffic |
| Residential garage (heavy) | 20–40 mil | 2–3 cars, motorcycles | Good abrasion, moderate chemical | $5–$10 | 48–72 hrs vehicle |
| Basement/utility | 10–25 mil | Storage, light foot traffic | Decorative seal, low wear | $2–$6 | 24–48 hrs |
| Retail/office | 20–40 mil | Foot traffic, carts | Good abrasion, easy clean | $4–$8 | 24–48 hrs |
| Commercial kitchen | 80–125 mil | Thermal shock, chemicals | High chemical/abrasion resistance | $8–$15 | 48–72 hrs |
| Showroom/decorative | 80–250 mil | Broadcast flake/quartz | Slip-resistant, aesthetic depth | $6–$12 | 48–72 hrs |
| Warehouse/industrial | 30–125+ mil | Pallet jacks, forklifts | High impact/abrasion | $7–$12 | 72 hrs–7 days |
Thickness recommendations by application confirm that residential garages commonly need 10–25 mil, commercial retail 20–40 mil, and warehouse or industrial floors 30–125+ mil. Choosing the wrong thickness is one of the leading causes of premature failure.
For decorative broadcast systems, the aggregate layer itself contributes 20–60 mils of additional build. That is why a flake or quartz system in a showroom or upscale garage lands at 80–250 mil total even though the epoxy layers alone might be thinner. If you want that look for your garage, budget for the full system, not just a base coat.
Pro Tip: If your garage sees more than two vehicles daily, frequent oil drips, or any chemical storage, move up one tier. The cost difference between a 20-mil and a 40-mil system is modest; the performance gap over five years is not.
How thickness affects performance — and where more stops helping
More mils generally means better abrasion resistance, higher impact tolerance, and stronger chemical resistance. But the relationship is not linear, and industry technical guidance is explicit: there is no single ideal thickness, and excessive thickness in rigid epoxy systems can generate internal stress that leads to cracking or delamination.
The reason is thermal and mechanical. Thick rigid epoxy layers expand and contract at a different rate than concrete. When a single pour is too thick, the heat generated during cure (exotherm) can cause bubbling, surface cracking, or adhesion failure at the substrate interface. The fix is not to pour less epoxy overall, but to build thickness in multiple lifts with proper recoat windows.
A second factor that most homeowners miss: the difference between wet-film thickness (WFT) and dry-film thickness (DFT). Installers specify DFT because solvents and water evaporate during cure, leaving a thinner final film. A 100% solids epoxy retains essentially all of its applied thickness. A water-based system at 50% volume solids will shrink to roughly half the wet-film reading. That is why a contractor quoting you “20 mils” on a water-based product is not giving you the same floor as one quoting “20 mils DFT” on a 100% solids system.
Pro Tip: Ask your contractor to provide the product’s Technical Data Sheet (TDS) and confirm the volume solids percentage. Then verify the quoted DFT is achievable with the specified product at the stated spread rate. A 100% solids product at 200 sq ft per gallon yields roughly 8 mils DFT per coat — the math should check out.
How coats add up: layering, measurement, and what to put in your bid
Total system thickness is the sum of every coat applied, not just the topcoat. Manufacturers and contractors specify total system thickness as the meaningful number, but marketing materials often quote only the topcoat or the “decorative layer.” Always confirm total DFT in writing.
A typical two-car garage standard system builds like this:
| Coat | Typical Mil Range | Notes |
|---|---|---|
| Primer/sealer | 4–8 mil | Penetrates slab, seals porosity |
| Base/body coat | 8–15 mil | Main structural layer |
| Topcoat (clear) | 4–8 mil | UV stability, chemical resistance |
| Total DFT | 10–25 mil | Varies by product and spread rate |
A broadcast flake system on the same slab adds a flake or quartz layer between the base coat and topcoat, contributing an additional 20–60 mils of build and landing the total system at 40–90+ mil.
Wet-film gauges during application and magnetic dry-film meters after cure are the two tools installers use to verify thickness. Spot readings taken at multiple points across the floor document even distribution and confirm the system meets spec.
Here is what to require in any written bid or contract:
- Total system DFT (not just topcoat thickness)
- Product names and TDS references for every coat
- Surface preparation method (CSP level, grinding or shot-blast specification)
- Moisture test results and acceptable thresholds
- Warranty terms, including workmanship and delamination coverage
Substrate prep and moisture: when thicker epoxy can’t save a bad slab
A thicker coating does not fix a compromised slab. This is the single most common misconception in residential epoxy installs, and it causes more failures than any thickness miscalculation.
The concrete surface profile (CSP) must match the system. Thin coatings need a light mechanical profile (CSP 1–2); high-build and self-leveling systems need more aggressive profiling, typically CSP 3–4, achieved through diamond grinding or shot blasting. Concrete surface profile requirements scale with system build — a self-leveling pour on an unground slab will delaminate regardless of how thick it is.
Moisture vapor transmission (MVT) is the other slab killer. Concrete releases moisture vapor upward, and epoxy is largely impermeable. When vapor pressure builds beneath the coating, it lifts the film from the slab. The fix is a dedicated moisture mitigation system, not a thicker topcoat. If your slab tests above 3 lbs per 1,000 sq ft per 24 hours (the common industry threshold for standard epoxy), you need either a moisture-tolerant primer, a vapor barrier, or a urethane cement system designed for high-MVT environments.
Common pre-installation tests to require from any contractor:
- Calcium chloride or relative humidity (RH) probe test for moisture vapor emission
- pH test (concrete pH above 10 can inhibit adhesion)
- Visual CSP assessment and documentation
- Crack mapping and repair plan for any cracks wider than hairline
Pro Tip: Ask to see the moisture test report before any material is ordered. A contractor who skips this step on a Denver slab — where seasonal freeze-thaw cycles and ground moisture vary significantly — is setting up a warranty dispute, not a floor.
For subfloor preparation issues like spalling, delamination, or significant cracking, the repair work needs to happen before any epoxy goes down. Trying to cover those conditions with extra mils is a short-term patch that typically fails within a year.
Pour limits, cure times, and how thickness affects your project schedule
Epoxy cures through a chemical reaction that generates heat. In thin coats, that heat dissipates quickly. In thick single pours, the heat builds internally, a phenomenon called exotherm, and can cause bubbling, yellowing, or cracking. Practitioners manage this by limiting single-lift thickness and using multi-lift approaches for high-build systems.
For standard epoxy, most manufacturers cap single-lift pours at 20–30 mils. Self-leveling systems can go thicker per lift, but installers still stage pours for very thick builds. Epoxy mortar systems are trowel-applied in layers, which naturally limits exotherm risk.
Typical return-to-service windows by system:
- Thin-film (6–20 mil): foot traffic in 12–24 hours, vehicle traffic in 48–72 hours
- Standard epoxy (40–125 mil): foot traffic in 24–48 hours, vehicle traffic in 72 hours
- Self-leveling/broadcast (80–250 mil): foot traffic in 24–48 hours, vehicle traffic in 3–7 days
- Epoxy mortar (250+ mil): foot traffic in 48–72 hours, vehicle/heavy equipment in 5–7 days
Polyaspartic and polyurea systems typically cost more per square foot than standard epoxy but return to service in as little as 24 hours for vehicle traffic, which matters when a garage or commercial floor cannot be out of service for days.
Environmental conditions shift every one of these windows. Temperature below 50°F slows cure significantly and can prevent proper cross-linking. High humidity above 85% risks blushing and adhesion failure. Key variables to track:
- Ambient temperature (ideal range: 60–85°F during application and initial cure)
- Concrete surface temperature (must be at least 5°F above dew point)
- Relative humidity (below 85% for most systems)
- Ventilation (critical for solvent-based products and for moisture escape)
What real projects cost: DIY kits vs. pro installs across garage sizes
Cost differences between DIY and professional epoxy installs are real, but the gap is mostly about prep and system quality, not raw material volume. DIY 2-car garage kits typically run $800–$2,000 in materials, while professionally installed epoxy or polyaspartic systems for the same space generally range from $2,000 to $6,000 depending on prep scope and system type.
| Scenario | Typical Thickness | Approx. Cost/Sq Ft | Cure/Return-to-Service |
|---|---|---|---|
| DIY thin-mil kit (1-car, ~250 sq ft) | 6–12 mil | $1–$4 | 24–48 hrs foot traffic |
| Pro standard epoxy + broadcast flake (2-car, ~500 sq ft) | 20–40 mil | $5–$10 | 48–72 hrs vehicle |
| Pro polyaspartic fast-cure (2-car, ~500 sq ft) | 15–25 mil | $7–$12 | 24 hrs vehicle |
A 3-car garage at roughly 750 sq ft scales proportionally. At $7 per sq ft for a mid-range broadcast system, that is $5,250 before any crack repair or moisture mitigation. Those line items are where budgets expand: grinding alone can add $1–$2 per sq ft, and a moisture mitigation primer adds another $1–$3 per sq ft on top.
Pro Tip: Get an itemized bid that separates prep costs from material and labor. A low per-square-foot quote that bundles everything often hides minimal prep. The prep scope is where the real cost difference between a 5-year floor and a 15-year floor lives.
See commercial epoxy project examples for a sense of what professionally documented installs look like at different scales.
The part of the epoxy thickness conversation nobody talks about
Most guides on epoxy flooring depth spend their energy on mil numbers. Pick the right range, apply it correctly, done. That framing misses the real decision point.
The thickness spec matters less than the substrate condition and the installer’s documentation discipline. A 20-mil system on a properly ground, moisture-tested, crack-repaired slab will outlast a 60-mil system poured over a contaminated surface every time. The industry knows this. The technical guidance from coating manufacturers says it plainly: match the system to the mechanical and chemical demands, and do not use thickness as a substitute for proper prep.
What I see homeowners get wrong most often is treating a thicker coating as insurance. It is not. Thickness adds performance only when the bond to the substrate is solid. When it is not, a thicker coating just means a bigger piece of epoxy peeling off the floor.
The second thing the guides underplay: the difference between a contractor who hands you a TDS, a moisture test report, and post-install DFT readings versus one who just sends you a photo of the finished floor. That documentation is not bureaucratic overhead. It is the only way to know whether you got what you paid for, and it is the foundation of any warranty claim if something goes wrong.
If you are a property manager specifying epoxy for a commercial kitchen or warehouse, demand those documents as a contract deliverable, not an afterthought. If you are a homeowner doing a garage, at minimum ask for the product name, the volume solids percentage, and the target DFT per coat. A contractor who cannot answer those questions in 30 seconds is not the right contractor.
Leonardosflooringcorp handles the thickness spec so you don’t have to

Getting the epoxy flooring depth right for a Denver garage or commercial space means accounting for Colorado’s freeze-thaw cycles, variable slab moisture, and the specific load demands of your property. Leonardosflooringcorp has been installing epoxy floors across the Denver metro for over 10 years, with 125+ five-star reviews built on one consistent practice: we document everything.
Every install includes moisture testing before any material is ordered, post-install DFT verification with spot readings across the floor, and full product TDS references in the project record. You get a floor that meets spec and paperwork that proves it.
For a garage, basement, or commercial floor that needs a proper build, not a kit-and-hope approach, request a quote for epoxy floor coating in Denver and get a written scope that covers prep, system thickness, and warranty terms before work begins.
Sources
- How Thick Should an Epoxy Floor Coating Be?
- How Thick Is Epoxy Flooring: Pros, Cons, and Buying Guide – FlooringClarity
- How Thick is Epoxy Flooring: Pros, Cons, and Buying Guide – D and G Flooring
- How garage epoxy thickness is measured accurately – Top Gun Garage
- Epoxy Floor Coating Thickness Guide 2026: Standards Included
- Garage floor coating cost — HomeGuide