
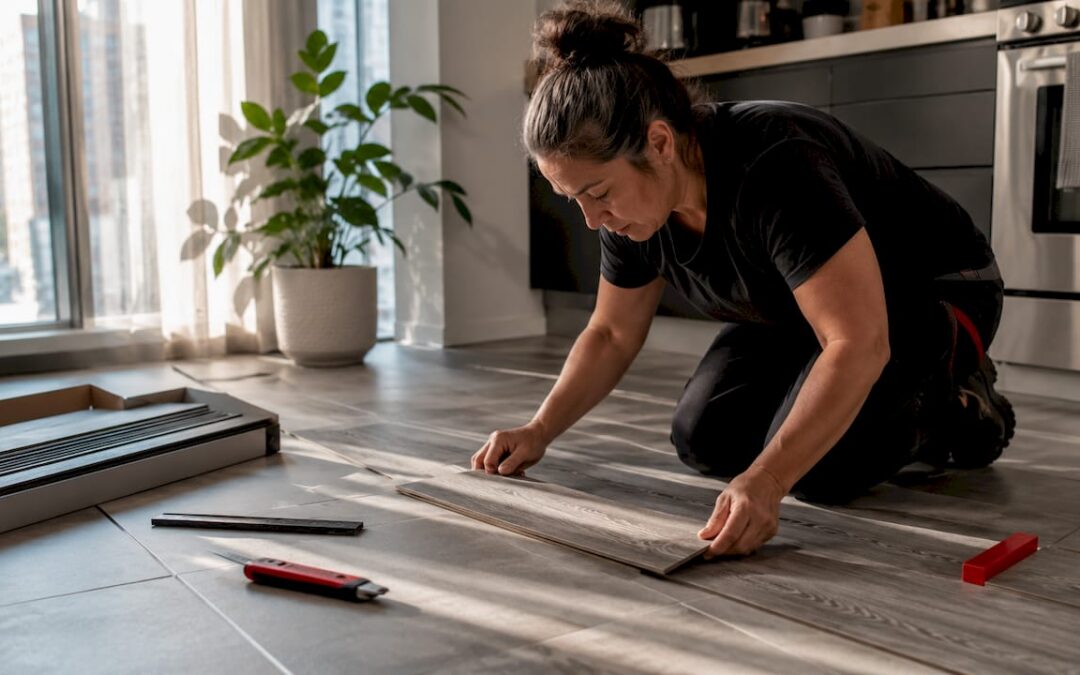
Do it yourself flooring is the practice of purchasing, preparing, and installing floor materials without hiring a professional installer. Homeowners who take this route save 50% or more on labor costs compared to full-service installation. Peel-and-stick vinyl and click-lock luxury vinyl plank (LVP) are the most beginner-friendly options, requiring no glue, no nails, and minimal tools. Preparation, specifically subfloor leveling and material acclimation, determines whether a DIY floor lasts five years or twenty. Get the prep right, and the installation itself is the easy part.
Which flooring types are easiest for do it yourself installation?
Not all floors are created equal when it comes to DIY difficulty. Ranking them from easiest to hardest gives you a clear starting point.
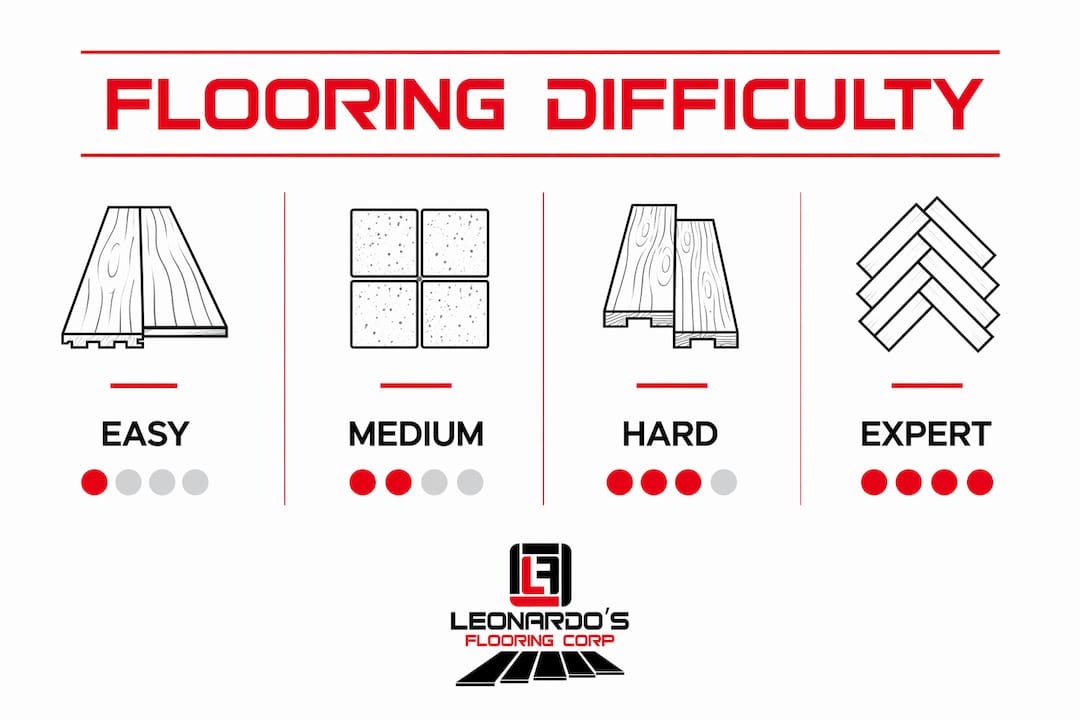
Peel-and-stick vinyl sits at the top of the beginner list. No adhesive mixing is required, a standard utility knife handles all cuts, and you can reposition tiles within minutes of placing them. A 200-square-foot room takes roughly 2–4 hours. Cost runs $0.50–$3.00 per square foot, making it the most affordable flooring option available.
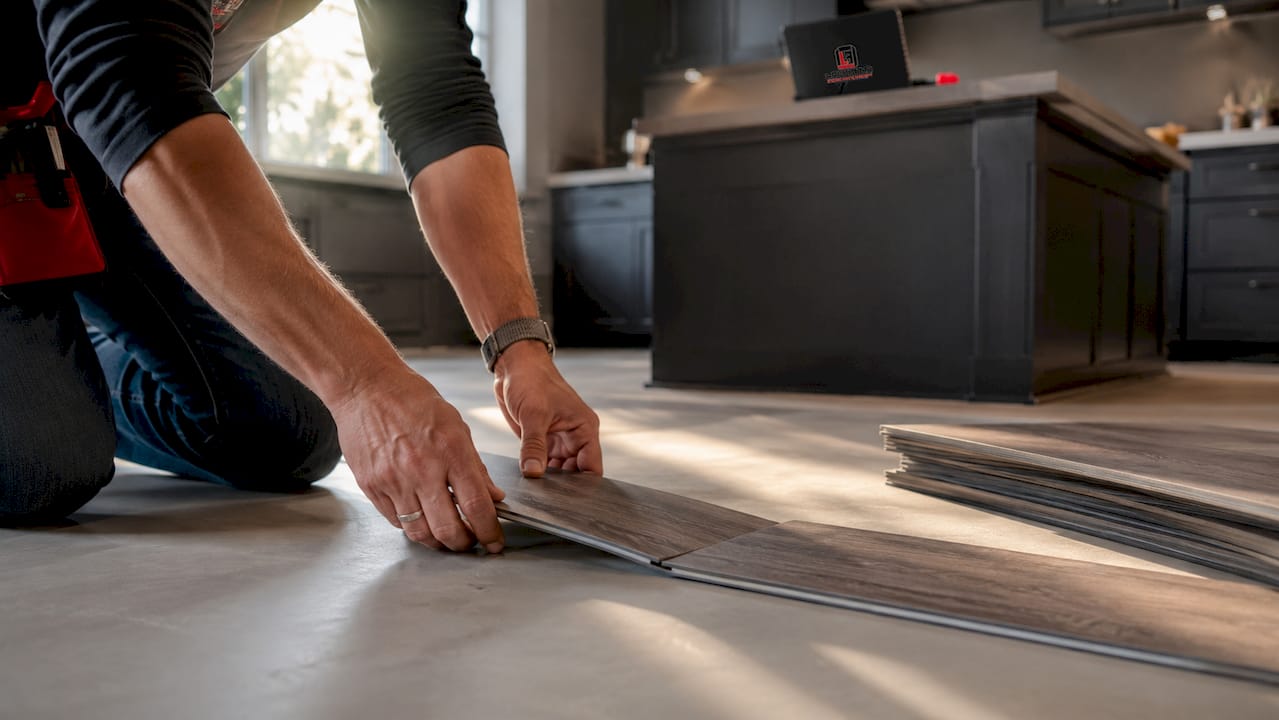
Click-lock luxury vinyl plank (LVP) is the next step up. LVP delivers 100% waterproof performance and costs $2–$5 per square foot. It works in kitchens, bathrooms, and basements where moisture is a real concern. Installation in a 200-square-foot room takes 3–5 hours.
Laminate flooring uses the same click-lock principle as LVP but is not waterproof. It costs $1–$4 per square foot and takes 4–6 hours for a standard room. AC4-rated laminate handles heavy residential foot traffic well, making it a solid mid-range pick.
Tile is the hardest DIY flooring type. Tile installation demands mortar, grout, and sealer plus significant substrate preparation. Expect 12–20 hours for a 200-square-foot room, and budget for a wet saw rental.
| Flooring type | Skill level | Cost per sq ft | Time (200 sq ft) | Waterproof |
|---|---|---|---|---|
| Peel-and-stick vinyl | Beginner | $0.50–$3.00 | 2–4 hours | Yes |
| Click-lock LVP | Beginner/Intermediate | $2.00–$5.00 | 3–5 hours | Yes |
| Laminate | Intermediate | $1.00–$4.00 | 4–6 hours | No |
| Tile | Advanced | Varies | 12–20 hours | Yes |
Pro Tip: If this is your first floor installation, start with peel-and-stick vinyl in a small bathroom or laundry room. The low stakes and fast results build confidence before you tackle a larger space.
Floating floor systems like click-lock LVP and laminate are engineered as puzzle-like interlocking systems. They require a utility knife, tapping block, pull bar, and a miter saw. No glue, no nails, and no professional-grade equipment. That tool list is short enough to fit in a single tote bag.
What are the essential preparation steps before starting DIY flooring?
Subfloor preparation is the single biggest predictor of whether a DIY floor succeeds or fails. Skipping prep is the number one cause of long-term dissatisfaction in DIY flooring projects. Every hour you spend on prep saves you three hours of troubleshooting later.
Follow these steps before you open a single box of flooring:
- Measure the room accurately. Calculate the total square footage, then order 10–15% extra material to account for cuts, corners, and future repairs. Buying extra from the same production run prevents color mismatch down the road.
- Inspect and level the subfloor. Lay a long straight edge across the floor and look for high spots or dips. Any variation greater than 3/16 of an inch over 10 feet needs to be corrected with a floor leveling compound. Read the full process in this subfloor prep guide before you start.
- Clean the subfloor completely. Sweep, vacuum, and wipe down the surface. Even small debris causes floating floors to buckle or produce clicking sounds underfoot.
- Acclimate your flooring materials. Leave boxes of flooring flat in the installation room for 24–48 hours before opening them. This allows the planks to adjust to the room’s temperature and humidity. Skipping this step causes planks to shrink or expand after installation, which can void the manufacturer’s warranty.
- Install underlayment or vapor barrier. Most click-lock LVP and laminate products require a foam underlayment. Concrete subfloors also need a vapor barrier to block moisture migration.
- Gather your tools. At minimum, you need a utility knife, tapping block, pull bar, tape measure, chalk line, and a miter saw or circular saw.
Pro Tip: Take photos of your subfloor before covering it. If a problem shows up six months later, those photos help you diagnose whether it started below the surface.
How to install popular DIY flooring types step by step
Installing peel-and-stick vinyl tiles
Peel-and-stick vinyl is the fastest path to a finished floor. The process is straightforward.
- Clean the existing floor until it is free of dust, grease, and loose material.
- Find the center of the room by snapping two chalk lines from the midpoints of opposite walls.
- Dry-lay a row of tiles from the center outward to check the layout before peeling anything.
- Peel the backing and press each tile firmly from the center outward, removing air bubbles as you go.
- Cut border tiles with a utility knife and a straight edge. Score and snap for clean cuts.
- Roll the entire floor with a floor roller to bond the adhesive fully.
Installing click-lock luxury vinyl plank
LVP installation rewards patience and careful measuring. Click-lock LVP systems produce professional-looking floors with moderate time investment and minimal tools.
- Lay your underlayment or vapor barrier flat, taping seams with the manufacturer’s recommended tape.
- Start in the left corner of the room, placing spacers along the wall to maintain a 1/4-inch expansion gap on all sides.
- Click the short ends of planks together first, then angle and press down to lock the long edge.
- Stagger end joints by at least 6 inches between rows. Random stagger patterns look the most natural.
- Use a tapping block and pull bar to close gaps without damaging the locking profile.
- Cut the final row to width with a circular saw or jigsaw, maintaining the expansion gap.
Pro Tip: Run planks parallel to the longest wall in the room. This makes the space feel larger and reduces the number of cuts you need to make.
Installing laminate flooring
Laminate follows the same click-lock process as LVP with one critical difference: it is not waterproof. Keep it out of bathrooms and areas with standing water risk. The laminate installation process mirrors LVP, but always confirm the underlayment type with the product manufacturer, since some laminate products include a pre-attached pad.
Installing tile flooring
Tile is the most demanding DIY flooring project. Approach it only after completing a simpler floor first.
- Apply a layer of thinset mortar to the substrate using a notched trowel.
- Press each tile firmly into the mortar, twisting slightly to improve adhesion.
- Use tile spacers to maintain consistent grout lines.
- Allow mortar to cure fully before walking on the tiles, typically 24 hours.
- Apply grout with a rubber float, working it diagonally across the joints.
- Wipe excess grout with a damp sponge before it hardens, then seal the grout after it cures.
Common mistakes to avoid across all flooring types:
- Skipping the expansion gap along walls, which causes buckling in warm weather
- Failing to stagger joints, which weakens the floor structurally and looks unnatural
- Installing over an uneven subfloor, which creates hollow spots and noise
- Rushing acclimation, which leads to plank movement after installation
How to troubleshoot and maintain your DIY floor
Even a well-installed floor develops issues over time. Knowing what causes them speeds up the fix.
- Buckling or lifting planks usually trace back to a missing expansion gap or a subfloor that was not level. Pull the baseboard trim, check the gap, and re-level if needed.
- Clicking or hollow sounds underfoot signal debris under the floor or an uneven subfloor. Minor unevenness causes floating floors to buckle and click audibly. In mild cases, a floor roller can reseat the planks.
- Gaps between planks often result from skipping acclimation. Skipping acclimation voids manufacturer warranties and causes visible separation. Replacing affected planks is the only permanent fix.
- Scratches on LVP or laminate respond well to manufacturer-approved touch-up kits. For deeper damage, individual planks in a floating floor can be replaced without disturbing the rest of the floor.
Maintenance by flooring type is simple but consistent:
- LVP: Sweep or vacuum regularly. Damp mop with a pH-neutral cleaner. Avoid steam mops, which can warp the core.
- Laminate: Sweep frequently. Use a barely damp mop. Never let water pool on the surface.
- Peel-and-stick vinyl: Wipe clean with a mild cleaner. Avoid abrasive scrubbers that dull the surface finish.
“The floors that last the longest are the ones where the homeowner spent more time on prep than on installation. A clean, level subfloor is the real foundation of a great DIY floor.”
Key takeaways
DIY floor installation saves 50% or more on labor costs when homeowners choose the right material, prepare the subfloor thoroughly, and follow the correct installation sequence for their chosen flooring type.
| Point | Details |
|---|---|
| Choose the right material | Peel-and-stick vinyl and click-lock LVP are the best starting points for beginners. |
| Prep determines longevity | Level and clean the subfloor before installation to prevent buckling and noise. |
| Acclimate before installing | Leave flooring in the room for 24–48 hours to prevent shrinkage or expansion after install. |
| Order extra material | Buy 10–15% more than your square footage to cover cuts and future repairs. |
| Tile requires advanced skills | Reserve tile installation for after you have completed at least one floating floor project. |
What I’ve learned after watching hundreds of DIY floors go in
Most DIYers underestimate prep and overestimate installation difficulty. The installation itself, once the subfloor is clean and level, is genuinely manageable for anyone willing to read the instructions and work slowly. The problems I see most often come from one of two places: a subfloor that was not leveled, or planks that were not acclimated.
The other thing worth saying plainly is that floating floors are forgiving in a way that glue-down and nail-down floors are not. If you make a mistake with a click-lock system, you can pull the planks back up and start that row again. That reversibility is what makes LVP and laminate the right choice for first-time installers. Hardwood and tile do not give you that option.
Realistic time expectations matter too. A 200-square-foot room in LVP will take most first-timers a full day, not an afternoon. Plan for that, and you will not feel like something went wrong when it takes longer than the YouTube video suggested. The learning curve is real, but it flattens fast. By the second row, most homeowners have the rhythm down.
— Jim
When a professional installation makes sense
Some flooring projects call for a professional, and knowing when to make that call saves money in the long run.
Leonardosflooringcorp has served the greater Denver area for over 10 years, handling hardwood floor installation, laminate, vinyl, tile, and epoxy coating for both residential and commercial properties. The team also provides expert subfloor preparation services, which is the step most DIYers find hardest to get right on their own. If your subfloor has significant damage, moisture issues, or major height variations, professional prep sets up any floor, DIY or installed, for lasting results. Leonardosflooringcorp offers consultations tailored to your budget and timeline, with 125+ five-star reviews backing every project.
FAQ
How much can I save by installing flooring myself?
DIY flooring installation saves homeowners 50% or more on labor costs compared to hiring a professional installer. The exact savings depend on the room size and flooring type chosen.
What is the easiest flooring to install for beginners?
Peel-and-stick vinyl is the easiest DIY flooring option. It requires no special tools, no adhesive mixing, and allows repositioning within minutes of placement.
Do I need to acclimate flooring before installing it?
Yes. Leaving flooring in the installation room for 24–48 hours before install prevents shrinkage or expansion after the floor is laid. Skipping this step can void the manufacturer’s warranty.
Can I install flooring over my existing floor?
Peel-and-stick vinyl and some click-lock LVP products can go over an existing floor if the surface is flat, clean, and structurally sound. Always check the product manufacturer’s guidelines before layering floors.
What tools do I need for a basic DIY floor installation?
A utility knife, tapping block, pull bar, tape measure, chalk line, and a miter saw cover most floating floor installations. Tile requires additional tools including a wet saw, notched trowel, and grout float.