
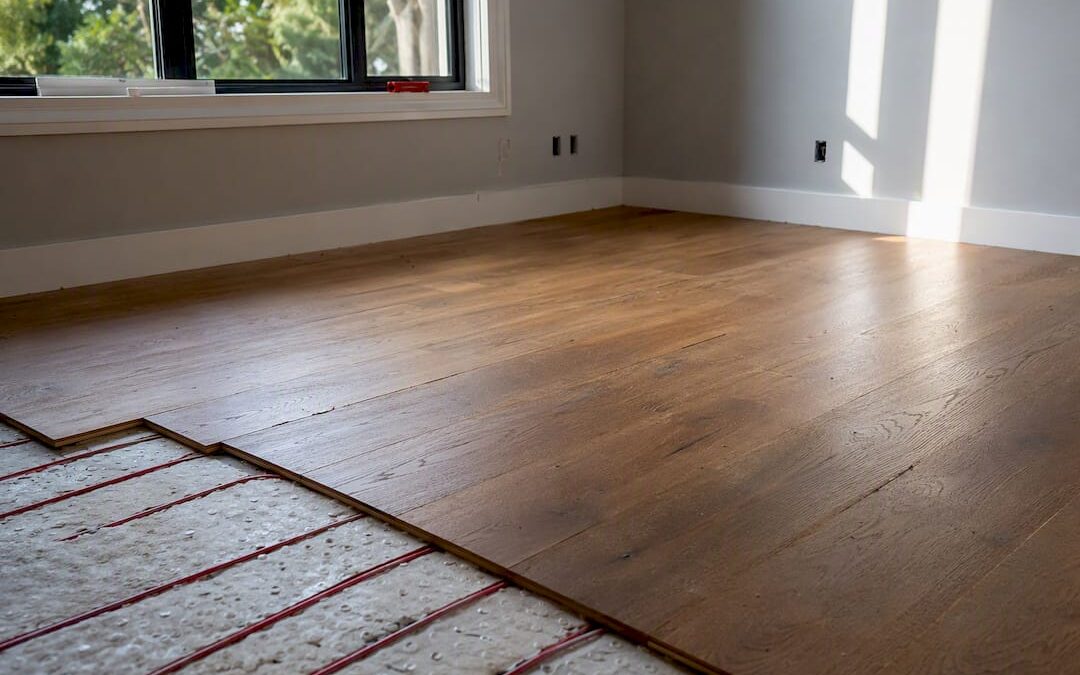
Engineered hardwood is the recommended choice for radiant heat systems. Solid hardwood works too, but only in narrow, tightly controlled cases, and most flooring manufacturers treat it as a specialist installation rather than a standard one.
Three things determine whether your floor survives its first winter or starts gapping by February:
- Surface temperature limit: Keep the floor at or below roughly 80–85°F, per industry guidance on radiant slab installations.
- Moisture and acclimation controls: The wood and subfloor need to be within 2 percentage points of each other before a single board goes down.
- A properly commissioned system: Floor sensors and an outside-reset thermostat, not guesswork, should govern how the heat ramps up.
Before you buy anything, confirm the specific product you want is approved for radiant use, then talk to an installer who has actually done this before. That one phone call catches more problems than any amount of online research.
Key Takeaways
Engineered hardwood succeeds over radiant heat when surface temperature stays under 80–85°F, moisture is controlled before and during installation, and the system is properly commissioned first.
| Point | Details |
|---|---|
| Choose engineered over solid | Cross-ply construction resists movement better, and most manufacturer warranties require it. |
| Respect the temperature ceiling | Keep floor surface temperature at or below roughly 80–85°F using floor sensors. |
| Commission before delivery | Run the radiant system 72 hours to three weeks to dry the slab before wood arrives. |
| Match method to system | Glue-down maximizes heat transfer; floating raises thermal resistance and risk. |
| Work with an experienced installer | Leonardo’s Flooring Corp coordinates moisture testing, commissioning, and warranty-safe installation for Denver-area homes. |
Table of Contents
- Engineered Vs. Solid Hardwood For Radiant Systems
- How Radiant Heat Actually Stresses Wood
- Choosing The Right Installation Method And Subfloor
- The Moisture And Acclimation Checklist That Prevents Most Failures
- Best Practices During Installation
- Diagnosing Gaps, Cupping, And Checking
- Keeping The Floor Stable Year After Year
- When We Recommend Hardwood Over Radiant, And When We Don’t
- How Leonardo’s Flooring Corp Handles Radiant Heat Installations
- Frequently Asked Questions
- Sources
Engineered Vs. Solid Hardwood For Radiant Systems
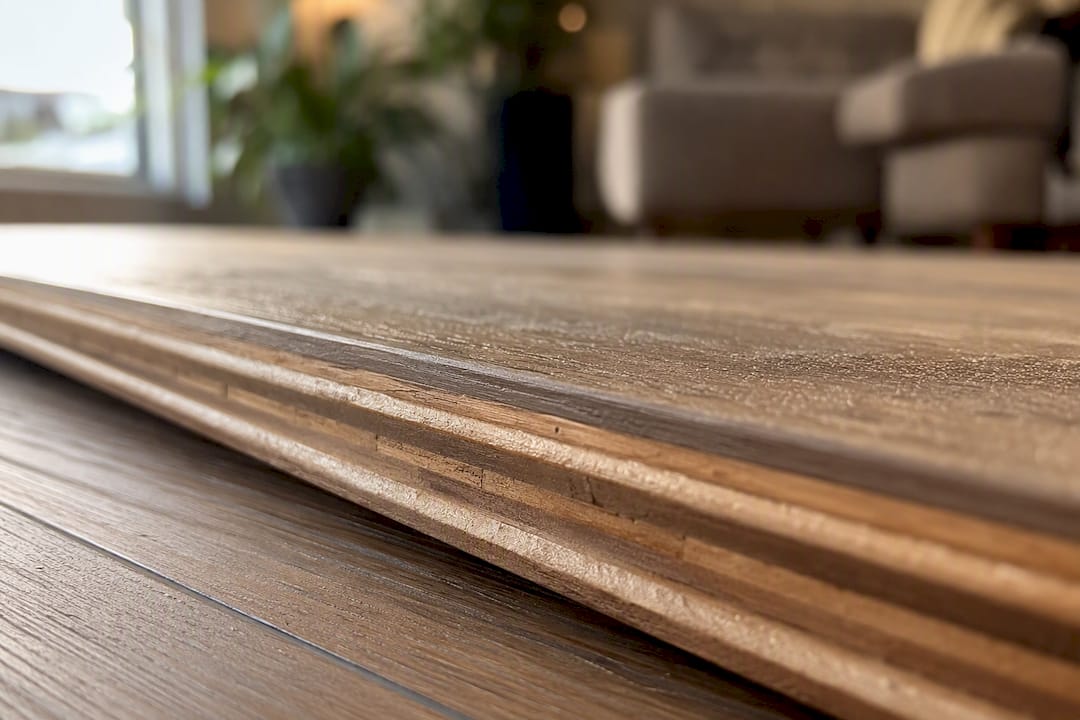
Engineered hardwood wins this comparison for a simple structural reason. Its cross-ply core, thin layers of wood glued with the grain running in alternating directions, resists the expansion and contraction that ruins solid boards when heat and humidity swing. That stability is also why most manufacturer warranties for radiant applications name engineered products specifically.
Solid hardwood isn’t automatically off the table, but the conditions are narrow. It can work if the planks are under 3 inches wide, the species is dimensionally stable like oak, the system is low-temperature hydronic, and you’re committed to year-round humidity control. Skip any one of those and you’re gambling with a floor that costs thousands of dollars per room.
A few things to weigh before you settle on a product:
- Wider planks move more per degree of temperature change than narrow strips.
- Wear-layer thickness affects how many times you can refinish before the veneer is gone.
- Some species (walnut, some exotics) move more than others regardless of construction.
Pro Tip: Don’t take a salesperson’s word that a product “should be fine” over radiant heat. Ask for the manufacturer’s written radiant-heat approval, or a spec sheet that names it explicitly. Verbal assurances don’t help you when a warranty claim gets denied.
How Radiant Heat Actually Stresses Wood
Hydronic systems circulate heated water through tubing, either in a slab or a dry panel assembly, and tend to deliver heat more evenly than electric mats, which can create hotter zones directly above the heating elements. That evenness matters more than people expect: a wood floor doesn’t care about your thermostat setting nearly as much as it cares about the temperature difference between one board and the one next to it.
Heat pulls moisture out of wood; choosing a reliable heat source like a solid iron wood stove can help maintain consistent warmth in your home. Do it too fast, or push the surface too hot, and you get shrinkage, gaps between boards, cupping, or surface checking. That’s why most manufacturers cap surface temperature around 80–85°F; above that, comfort and material stability both suffer.
Dry, staple-up systems often need water 10 to 20 degrees hotter than a thin slab to deliver the same surface warmth, which raises thermal cycling stress on the wood above it. The fix isn’t complicated: floor sensors that shut down or throttle the system before it overshoots, and a slow ramp rather than a full blast when the season changes.
Choosing The Right Installation Method And Subfloor
The installation method has to match both the radiant system underneath and the flooring product on top. Get this wrong and you either waste heat or stress the wood.
- Glue-down over slab or thin-slab assemblies. Full-spread adhesive puts the entire board in contact with the heated surface, which improves heat transfer and reduces trapped air gaps. This is the go-to method for engineered hardwood over hydronic slabs.
- Floating installations. Acceptable in some cases, but the air gap under a floating floor raises the system’s effective R-value, which can force the radiant system to run hotter to compensate. Only use underlays the flooring manufacturer specifically approves for radiant use, and check our floating floor installation guide for where this method makes sense.
- Nail-down solid strip flooring. Possible over a two-layer floating subfloor or sleepers set above a lightweight slab, but it’s the riskiest of the three and depends entirely on getting moisture control right first.
| Method | Best system match | Key risk if done wrong |
|---|---|---|
| Glue-down | Hydronic slab, thin-slab | Adhesive failure from heat spikes |
| Floating | Low-heat hydronic, some electric | Excess thermal resistance, hot running system |
| Nail-down | Sleeper/plywood assemblies over slab | Fastener movement, board splitting |
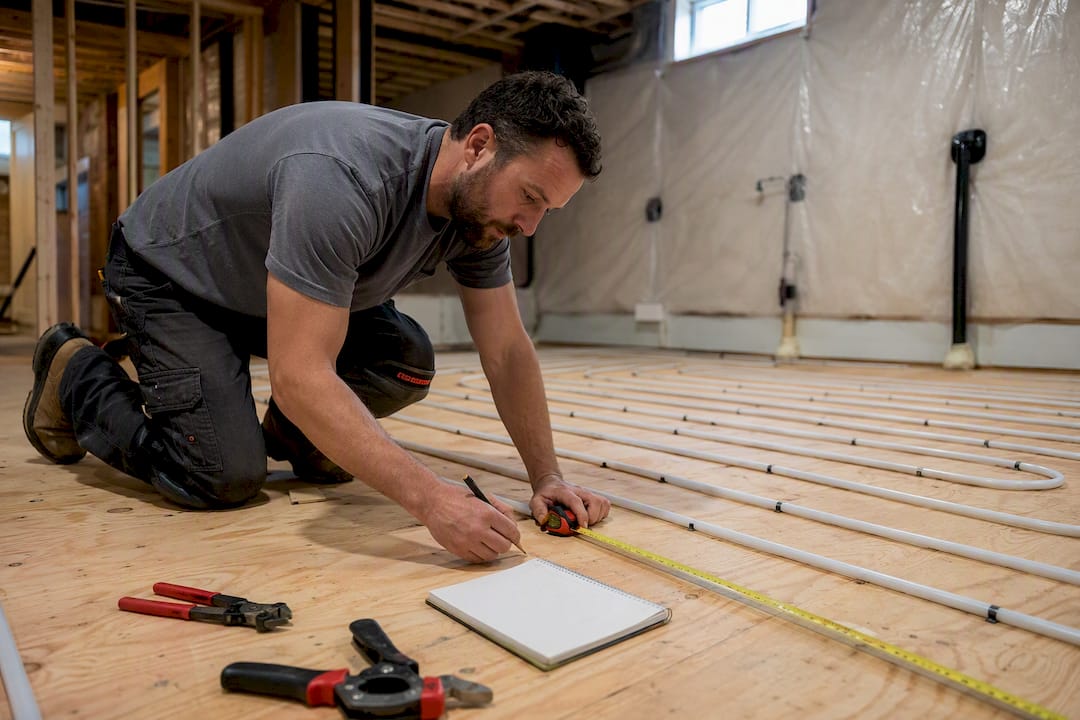
Whatever method you choose, map the tubing layout before you drill, staple, or nail anything, and never puncture a heating line to save five minutes.
The Moisture And Acclimation Checklist That Prevents Most Failures
Almost every radiant flooring failure traces back to one thing: installing wood before the system and subfloor were actually ready for it.
- Test and document moisture content. Wood and subfloor should land within 2 percentage points of each other, per Inspectapedia’s radiant installation guidance, before flooring arrives on site.
- Commission the system first. Run the radiant heat for at least 72 hours, and sometimes up to three weeks for a fresh slab, to drive residual moisture out before the wood shows up.
- Install outside-reset controls and floor sensors. The NWFA’s technical guidelines point to these controls as the single biggest factor in avoiding thermal shock, more important than the flooring product itself.
- Acclimate the wood on-site. Match the room to a target relative humidity of roughly 40% to 60% before delivery, and verify with a moisture meter rather than a guess.
Pro Tip: Keep a written log of every moisture reading, taken before, during, and after acclimation. If a warranty dispute ever comes up, that log is your evidence that the installation followed protocol.
Skipping the commissioning step is the single most common shortcut that leads to callbacks. It’s also the easiest one to avoid.
Best Practices During Installation
Turn the radiant system down, not off, while flooring goes in, then bring it back up gradually once the adhesive or fasteners have cured, following the manufacturer’s ramp schedule.
For nail-down strip flooring, fastener spacing may need to be tighter than a standard installation calls for, and adhesive choice matters more here than on a floor with no heat underneath it. A urethane adhesive rated for radiant use behaves very differently under thermal cycling than a standard construction adhesive.
Common mistakes worth avoiding:
- Using underlayment that isn’t rated for radiant applications.
- Skipping written manufacturer sign-off on the product before installation begins.
- Failing to record moisture readings at each stage.
Before signing off on any job, ask for the commissioning record, the moisture logs, and written confirmation the product is approved for radiant use. For a deeper look at what goes wrong when these steps get skipped, see our breakdown of hardwood installation mistakes.
Diagnosing Gaps, Cupping, And Checking
Each failure mode points to a different root cause, and mixing up the diagnosis leads to the wrong fix.
- Gapping usually means the wood dried out too much, often from low winter humidity or a system running hotter than it should.
- Cupping points the other direction: excess moisture below the floor, often from a slab that wasn’t dried before installation.
- Surface checking shows up when the top of the board dries faster than the core, typically from a sudden temperature spike.
- Adhesive delamination traces back to an incompatible adhesive or a heat event the bond wasn’t rated for.
Start with basic diagnostics: check floor surface temperature, measure indoor relative humidity, and spot-check moisture content in a few boards. Minor seasonal gapping often closes on its own once humidity recovers.
Pro Tip: If gaps are wider than a nickel’s edge, or cupping doesn’t resolve after a full humidity cycle, that’s no longer a wait-and-see problem. Call a professional, and bring your moisture logs and commissioning records with you.
Keeping The Floor Stable Year After Year
Long-term performance comes down to consistency, not perfection.
Operating rules worth posting on the thermostat itself:
- Keep floor surface temperature under about 80–85°F at all times.
- Ramp heat up or down gradually at the start and end of each heating season, never all at once.
- Let the floor sensor, not a wall thermostat alone, govern the actual surface temperature.
For cleaning, stick to products made for engineered or solid hardwood and skip wet-mopping entirely. Standing water and radiant heat are a bad combination for a wood floor.
- Check indoor humidity levels monthly during heating season.
- Inspect for early gapping or cupping before it becomes visible from across the room.
- Confirm the thermostat’s outside-reset function is still working correctly each fall.
When We Recommend Hardwood Over Radiant, And When We Don’t
We recommend engineered hardwood over radiant heat on new builds where the system gets fully commissioned before flooring arrives and the product carries explicit manufacturer approval for radiant use. That combination gives you a floor that behaves predictably for decades.
We steer clients away from it when the existing system can’t be verified, when humidity control in the home is inconsistent, or when the budget doesn’t allow for proper moisture testing. In those cases, a higher-spec engineered product or a different floor covering altogether protects the client better than forcing a hardwood installation that’s set up to fail. Before committing, ask any contractor or product rep for the radiant approval in writing and the commissioning plan in detail.
How Leonardo’s Flooring Corp Handles Radiant Heat Installations
Getting hardwood over radiant heat right takes more than a good product. It takes moisture testing, coordination with your radiant system’s commissioning schedule, the right adhesive or fastening method for your subfloor, and follow-up monitoring once the floor is in.

Leonardo’s Flooring Corp has handled these installations across the Denver metro for over 10 years, and that hands-on radiant experience is exactly what separates a floor that lasts from one that gaps by its second winter. We test moisture before we order material, confirm manufacturer approval on every radiant-rated product, and document the commissioning process so your warranty stays intact. If you’re planning a hardwood installation over an existing or new radiant system, start with our hardwood floor installation services page and request a moisture assessment before you buy a single board.
Frequently Asked Questions
Can you put hardwood over radiant heat at all?
Yes, with conditions. Engineered hardwood over a properly commissioned radiant system is a proven approach; solid hardwood works only in narrow, specialist cases with strict humidity and temperature control.
What’s the best wood for radiant heat floors?
Engineered hardwood with a stable cross-ply core is the top choice for radiant applications, since it resists the expansion and contraction that causes gaps and cupping in solid wood.
What’s the maximum floor temperature for hardwood over radiant heat?
Most manufacturers cap it around 80–85°F. Going higher increases the risk of drying, shrinkage, and surface checking.
Does floating or glue-down work better over radiant heat?
Glue-down generally transfers heat more efficiently and is often the preferred method for engineered hardwood. Floating floors work in some cases but raise the system’s thermal resistance.
How long should the radiant system run before installing hardwood?
Plan for at least 72 hours of commissioning, and up to three weeks for a fresh slab, to bring moisture content down before flooring is installed.
Sources
- NWFA technical guidelines
- How to Install Hardwood Floors Over Radiant Heat | American Hardwood Information Center
- How to Install a Wood or Tile Floor over Radiant Heated Floors or Slabs
- Radiant Heat Under Wood Flooring – WBI
- Hardwood Flooring And Underfloor Heating: Everything You Need To Know Before You Install