
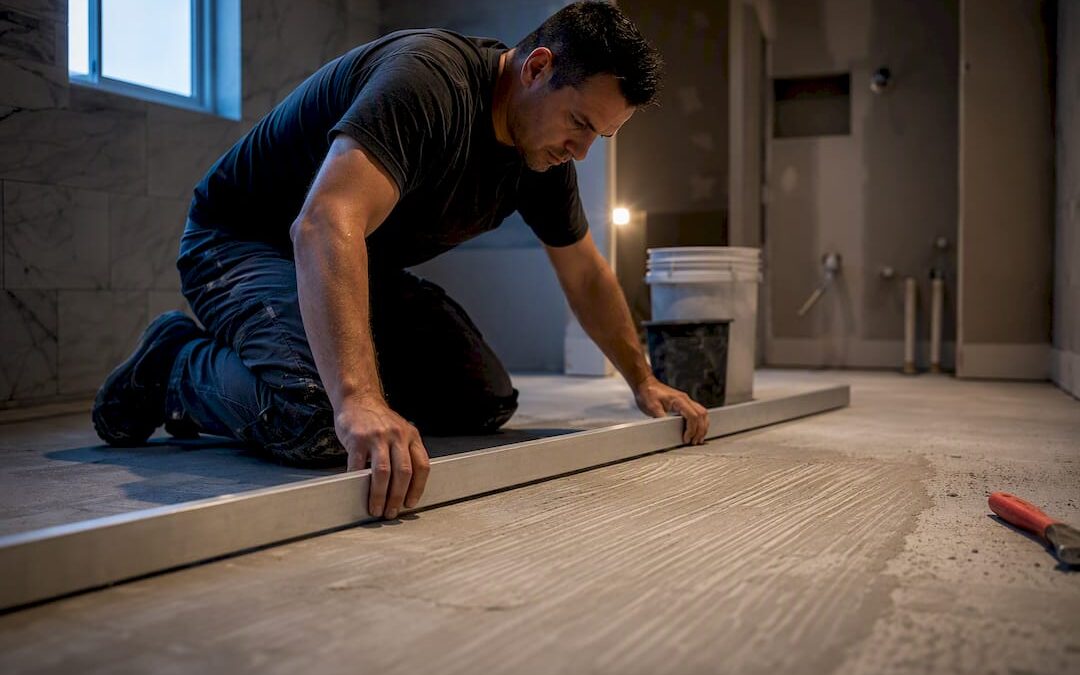
Yes, waterproof LVP makes an excellent bathroom floor, but only if you use the right format and prep the subfloor correctly. Choose a rigid-core click product or a properly glued flexible LVT rated for wet areas, then flatten and seal the subfloor before a single plank goes down. Skip that prep, and even a “100% waterproof” plank will fail at the seams within a year.
TL;DR:
- Proper subfloor preparation and moisture testing are crucial, with flatness within 1/8 to 3/16 inch, to prevent future failures.
- Rigid-core click products are generally more DIY-friendly and resistant to substrate imperfections than flexible glue-down LVT, which requires perfect prep.
- Waterproof warranties depend on strict adherence to installation guidelines, especially sealing around bathtubs and toilets, and warranty claims can be voided if instructions aren’t followed.
- A polyethylene moisture barrier extended 2 inches up the walls provides added protection against leaks, especially in ground-level flooring.
- Most problems in bathroom LVP installations stem from unlevel subfloors and unsealed edges, not the quality of the plank itself.
Table of Contents
- Is LVP Good for Bathrooms? Weighing the Pros and Cons
- Which LVP Format Works Best in a Bathroom?
- What Goes Under LVP in a Bathroom?
- DIY or Hire a Pro for Bathroom LVP?
- Design and Maintenance Tips for a Bathroom LVP Floor
- What Does LVP Cost and How Long Does It Take?
- What Installers Actually See in Bathroom LVP Jobs
- Get Your Bathroom Floor Installed Right the First Time
- Sources
- FAQ
Is LVP Good for Bathrooms? Weighing the Pros and Cons
LVP earns its bathroom reputation on comfort. It’s warmer underfoot than tile, more forgiving on tired knees, and a damaged plank can be pulled and swapped without regrouting an entire room. Waterproof-rated cores also resist the splashes and humidity that ruin laminate or hardwood.
The downsides are real, though, and they tend to show up months after installation, not on day one:
- Standing water left on seams or at the tub edge for hours can still work its way underneath, especially on lower-tier products.
- Unsealed edges around the toilet flange, tub, and vanity are the number one failure point installers see.
- A subfloor with dips or old adhesive ridges will “telegraph” through thinner LVP, creating a wavy look over time.
- Quality varies wildly between brands, so a bargain plank and a premium rigid-core product are not interchangeable despite similar marketing language.
For a typical family bathroom, the pros outweigh the cons easily. For a room prone to flooding, like one with a leaky supply line history, tile or a waterproof vinyl plank built specifically for that risk deserves a closer look first.
Which LVP Format Works Best in a Bathroom?
Not all vinyl plank in bathroom settings performs the same way, and the format you choose matters more than the brand name on the box.
- Rigid-core (click/floating): Stable, DIY-friendly, and less prone to telegraphing subfloor flaws. This is the go-to for most moderate bathroom remodels.
- Flexible LVT (glue-down): Bonds permanently to the subfloor, handles heavy foot traffic and custom layouts well, but demands near-perfect subfloor prep before installation. Flexible LVT performs strongly when the substrate is properly prepared, which makes prep work, not the product, the deciding factor.
- Loose-lay: Installs fast with minimal adhesive and pulls up easily for repairs, though larger rooms benefit from perimeter bonding to keep edges from lifting near wet zones.
Each method carries different warranty terms. Rigid-core and luxury vinyl lines that manufacturers rate as 100% waterproof still require installation by their exact specifications, or the warranty simply doesn’t apply. Read the install guide before you buy, not after.
What Goes Under LVP in a Bathroom?
This is where most bathroom LVP failures actually start, not with the plank itself but with what’s underneath it. Subfloor flatness has to fall within roughly 1/8 to 3/16 inch over a 6 to 10 foot span, depending on the product. Anything more, and you’ll need a leveling compound before you touch a single plank.
Concrete subfloors need a moisture test, either a relative humidity probe or a calcium chloride test, before installation begins. Wood subfloors need a check for soft spots and squeaks. If the results come back high or borderline, general subfloor prep guidance becomes non-negotiable before the flooring order even ships.
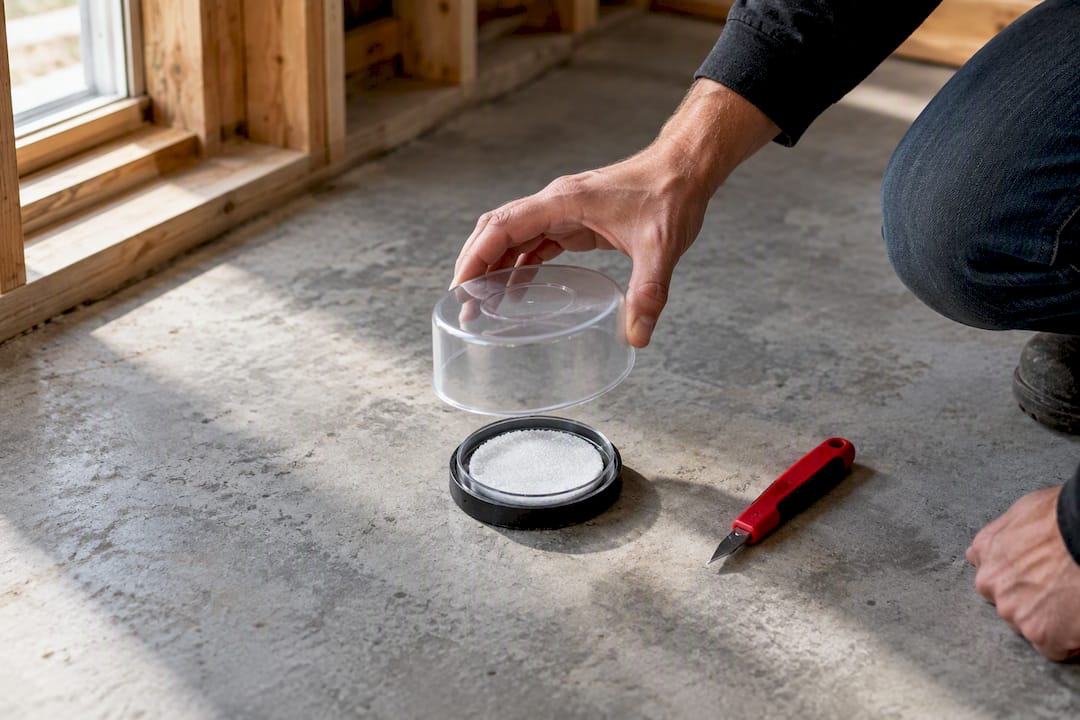
Pro Tip: On ground-level concrete or older wood subfloors, roll out a 6-mil polyethylene sheet across the entire floor and run it 2 inches up the walls before installation. It’s a cheap insurance policy against a slow leak or an overflowing tub soaking the subfloor before the baseboards go on.
Here’s the install sequence worth following, whether you’re hiring it out or doing it yourself:
- Acclimate the flooring in the room for 48 to 72 hours so it adjusts to ambient humidity.
- Test subfloor moisture and flatness, then repair or level as needed.
- Lay the moisture barrier if the subfloor calls for one.
- Add underlayment only if the manufacturer allows it. Glue-down flexible LVT often skips underlayment entirely.
- Install planks with the recommended expansion gap at every wall.
- Seal the perimeter, especially around the tub, toilet flange, and vanity, before trim goes back on.
DIY or Hire a Pro for Bathroom LVP?
A small bathroom with a flat subfloor and a rigid-core click product is a reasonable DIY weekend project. Anything involving glue-down installation, an uneven substrate, or plumbing relocations is where amateur jobs go sideways fast.
The mistakes that show up again and again on service calls:
- Skipping the moisture test because the subfloor “looked dry”
- Installing over telegraphing damage instead of leveling it first
- Using a generic construction adhesive instead of the manufacturer-specified one
- Leaving shower and tub edges unsealed, which invites mold within a season
If you’re vetting a contractor, ask about their warranty terms, specific experience with bathroom LVP rather than just LVP in general, and what moisture-mitigation steps they take before laying a single plank.
Pro Tip: Ask to see photos of a subfloor before and after leveling on a past bathroom job. A contractor who can’t show that step probably isn’t doing it.
Design and Maintenance Tips for a Bathroom LVP Floor
Plank styles read as warmer and more residential, while groutable LVT mimics ceramic tile closely enough that most guests won’t notice the difference. Mixing plank widths or adding a contrasting border near the vanity is an easy way to make a small bathroom look intentional rather than accidental.
Cleaning is simple but has real limits; you can follow expert advice on care by learning how to care for plantation shutters to keep your surfaces looking fresh.
- Damp mop with a pH-neutral cleaner. Skip anything high-alkaline or ammonia-based, since it can dull the finish over time.
- Avoid abrasive scrub pads, which scratch the wear layer and leave permanent dull spots.
- Wipe standing water at the tub or vanity promptly rather than letting it sit overnight.
- Check seam caulk every year or two, and recaulk at the first sign of cracking or discoloration.
A quick visual inspection of the edges every few months catches problems while they’re still a caulk tube fix, not a full reinstall.
What Does LVP Cost and How Long Does It Take?
Material costs run in bands: budget click-lock products start low per square foot, mid-range waterproof rigid-core lines cost more, and premium designer collections sit at the top. Retail listings for click-lock waterproof LVP give a useful sense of where entry-level pricing typically lands.
Labor costs swing on a few factors:
- Subfloor repair work adds the most variable cost, since every bathroom’s damage is different.
- Glue-down installs run more labor hours than floating floors because of adhesive setup and cure time.
- Tight bathroom layouts with lots of cuts around fixtures take longer than open rooms.
Plan on a multi-day timeline: subfloor prep and repair, 48 to 72 hours of acclimation, a day or two for installation, and a short cure window before the room sees heavy use again.
What Installers Actually See in Bathroom LVP Jobs
Experienced flooring contractors in the Denver area report that bathroom LVP calls follow a pattern. Most repair visits trace back to two things: a subfloor that was never leveled and perimeter caulk that failed at the tub edge. Rigid-core click products are what we install most often in bathrooms, simply because they tolerate minor substrate imperfections better than glue-down while still qualifying for full manufacturer waterproof warranties.
The single biggest predictor of a bathroom LVP floor lasting is whether someone tested and leveled the subfloor before installation, not which brand of plank got installed on top of it.
— Jim
Get Your Bathroom Floor Installed Right the First Time
Leonardo’s Flooring Corp handles the part of a bathroom LVP project that trips up most DIY attempts: getting the subfloor flat, dry, and properly sealed before the first plank ever gets laid.

We install vinyl flooring throughout the Denver metro, and we handle subfloor preparation as its own dedicated service rather than an afterthought squeezed into a flooring quote. That distinction matters in bathrooms specifically, where moisture testing and leveling determine whether your warranty holds up years down the road. Every project gets tailored to your budget and timeline, with honest pricing and no surprise line items added mid-job. If you’re weighing LVP against tile or wondering whether your existing subfloor can handle a bathroom remodel, request a free estimate through our services page and we’ll walk the space with you before you commit to a product.
Sources
For manufacturer-specific waterproof claims and warranty terms, check the Armstrong Flooring FAQ directly. Installation method comparisons come from Floor Covering Weekly’s trade coverage. Manufacturer instructions always govern your warranty, so confirm specifics before you buy.
FAQ
Is It a Good Idea to Put LVP in the Bathroom?
Yes, as long as you choose a waterproof-rated rigid-core or properly installed glue-down flexible LVT product. The subfloor prep, not the plank itself, determines whether the installation holds up long term.
Which LVP Is Best for a Bathroom?
Rigid-core click products tend to work best for most bathrooms because they resist telegraphing and qualify for full waterproof warranties from major manufacturers when installed per instructions. Glue-down flexible LVT is a strong second option for rooms with heavier traffic or custom layouts, provided the subfloor is properly prepared.
What Goes Under LVP in a Bathroom?
A moisture barrier, often a 6-mil polyethylene sheet extended 2 inches up the walls, protects ground-level concrete or wood subfloors from spills and vapor. Underlayment is only added when the manufacturer’s installation guidance allows it, since some glue-down systems skip it entirely.
Is LVP or Tile Better for a Bathroom?
LVP wins on comfort, warmth, and easier plank-level repairs, while tile edges out LVP in rooms with frequent standing water or heavy moisture exposure. For most family bathrooms, a quality waterproof LVP product delivers similar durability to tile with a softer, warmer feel underfoot.