
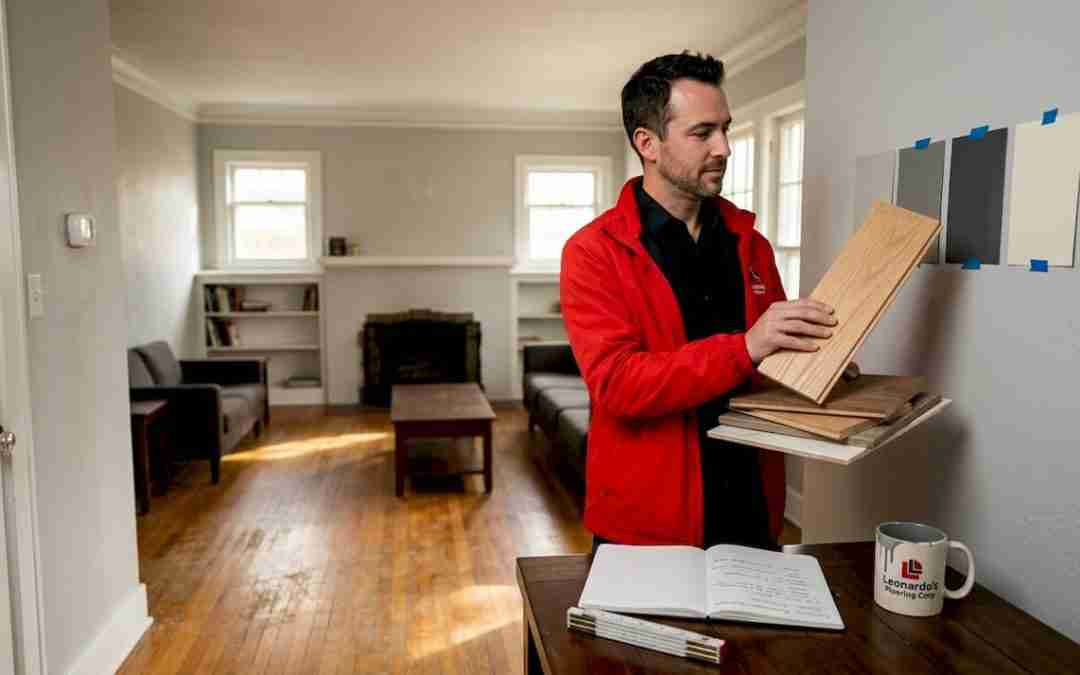
Planning a flooring renovation in Denver can feel overwhelming fast. You’re staring at samples, comparing prices, reading conflicting advice online, and still not sure whether your basement can handle hardwood or whether your kitchen needs tile. The stakes are real: flooring is one of the most visible and highest-impact investments you’ll make in your home. Get it right and you’ll enjoy it for decades. Get it wrong and you’re looking at costly repairs, premature wear, or a floor that simply doesn’t hold up to Denver’s unique climate. This guide walks you through every stage, from planning to post-installation, so you can move forward with confidence.
Table of Contents
- What to consider before your flooring renovation
- Tools, materials, and prep: Getting ready for installation
- Step-by-step installation techniques for different flooring types
- Final checks and post-installation: Ensuring lasting results
- The truth most guides miss about Denver flooring renovations
- Ready for your renovation? Expert help and next steps
- Frequently asked questions
Key Takeaways
| Point | Details |
|---|---|
| Plan ahead | Budget, room type, and material choice are crucial for a successful flooring renovation. |
| Prep thoroughly | Proper subfloor preparation and having the right tools set you up for smooth installation. |
| Follow steps | Each flooring material requires specific installation techniques for best results. |
| Verify quality | Careful inspection and maintenance extend the life and look of your new floors. |
| Local expertise matters | Denver’s climate, soil, and elevation make region-specific advice essential for lasting results. |
What to consider before your flooring renovation
Before you pull up a single plank or order a single tile, smart planning saves you time, money, and stress. Denver homeowners often underestimate how much the planning stage shapes the final result.
Budget by flooring type
Costs vary widely depending on material and complexity. Here’s a realistic comparison to help you set expectations:
| Flooring type | Material cost per sq ft | Installation cost per sq ft | Estimated total (200 sq ft) |
|---|---|---|---|
| Hardwood | $5 to $15 | $4 to $8 | $1,800 to $4,600 |
| Laminate | $1 to $5 | $2 to $5 | $600 to $2,000 |
| Vinyl (LVP) | $2 to $7 | $2 to $4 | $800 to $2,200 |
| Tile | $1 to $10 | $5 to $12 | $1,200 to $4,400 |
| Epoxy coating | $2 to $5 | $3 to $7 | $1,000 to $2,400 |
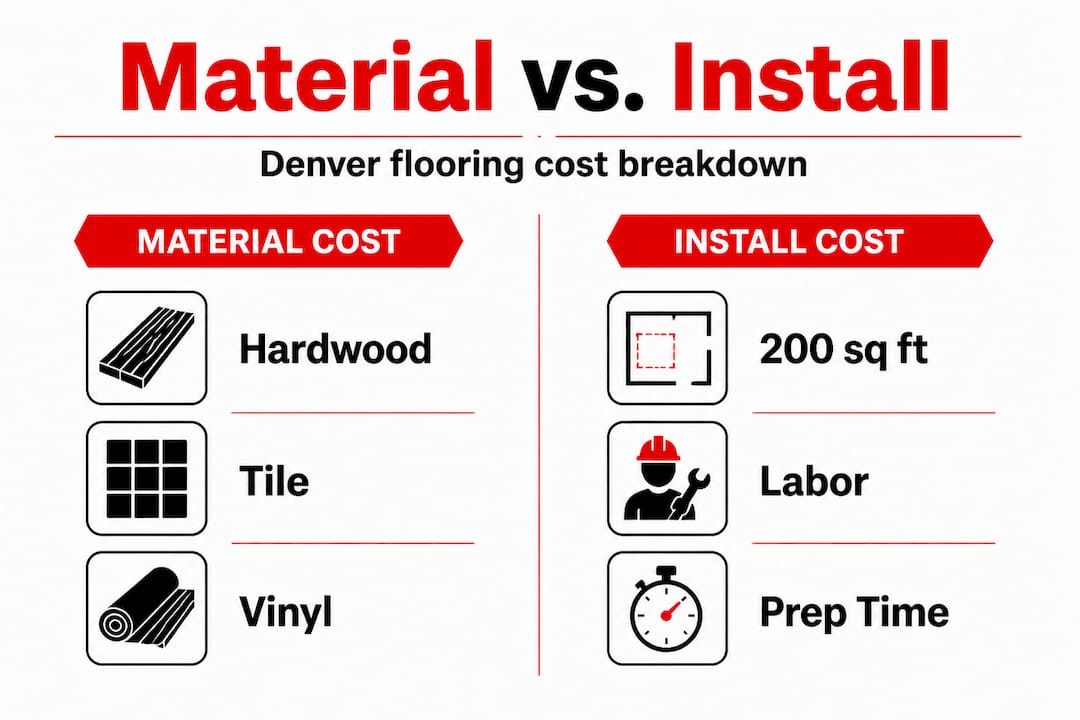
These ranges reflect real Denver market pricing. Always build in a 10 to 15 percent contingency for surprises like subfloor repairs or moisture remediation.
Matching material to room function
Not every floor belongs in every room. Here’s how to think about it:
- Living rooms and bedrooms: Hardwood and laminate both perform well here. Hardwood adds warmth and long-term value. Laminate gives you a similar look at a fraction of the cost with better scratch resistance for pet owners.
- Kitchens and bathrooms: Tile and luxury vinyl plank (LVP) are the go-to choices. Both resist moisture and are easy to clean after spills.
- Basements: Denver basements can hold moisture even when they feel dry. Vinyl and tile are the safest bets here. Hardwood is generally not recommended below grade.
- Garages and utility areas: Epoxy coatings are purpose-built for these spaces. They resist oil, chemicals, and heavy foot traffic.
Exploring all your options early through Denver flooring services helps you match the right material to each room before you commit to a purchase.
When to hire a professional
DIY flooring is possible for some materials, but there are clear situations where professional installation pays for itself:
- Hardwood installation requires precise nailing, spacing, and finishing
- Tile work involves cutting, grouting, and leveling that punish inexperience
- Any project involving subfloor repairs or moisture issues
- Large open-plan spaces where layout errors become very visible
Reading flooring tips for Denver homeowners before you decide can help you gauge the complexity of your specific project.
Common planning mistakes to avoid
Skipping a moisture test before ordering materials is the most expensive mistake we see. Ordering materials without accounting for waste (typically 10 percent extra) is the second most common error. And choosing flooring based on looks alone, without considering durability for your lifestyle, leads to regret within the first year.
Tools, materials, and prep: Getting ready for installation
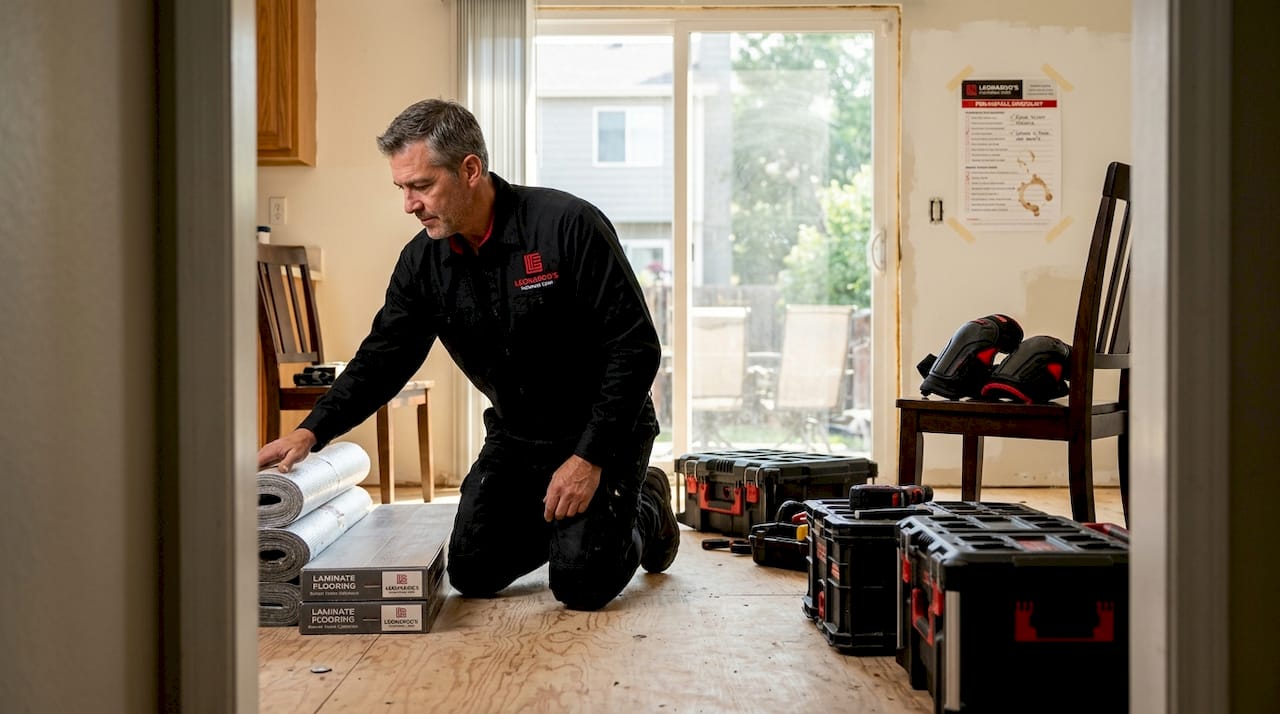
Once your planning is complete, it’s time to prepare the materials and workspace for a successful renovation. Rushing this stage is where most DIY projects go wrong.
Essential tools for installation
The tools you need depend on your flooring type, but this core list covers most residential projects:
- Tape measure and chalk line
- Utility knife or flooring cutter
- Rubber mallet and pull bar
- Tapping block
- Notched trowel (for tile and adhesive-set vinyl)
- Moisture meter
- Floor scraper for removing old adhesive
- Circular saw or miter saw for cutting planks
- Knee pads and safety glasses
- Vacuum and clean rags for prep work
Subfloor preparation: The step most people skip
Proper subfloor preparation is the single most important factor in how long your new floor lasts. A subfloor that isn’t flat, dry, and structurally sound will cause problems no matter how premium your new flooring is.
Here’s what proper subfloor prep involves:
- Moisture testing: Use a moisture meter to check the subfloor. In Denver, seasonal humidity swings are real. Concrete slabs should read below 4 percent moisture content for most flooring types.
- Leveling: Any dips or humps greater than 3/16 of an inch over a 10-foot span need to be corrected with self-leveling compound or by sanding high spots.
- Structural integrity: Walk the subfloor carefully. Squeaks, soft spots, or bounce indicate loose fasteners or damaged panels that must be addressed before installation.
| Subfloor issue | Solution | Estimated time |
|---|---|---|
| High spots | Sand or grind down | 1 to 2 hours |
| Low spots | Self-leveling compound | 4 to 24 hours cure time |
| Squeaky boards | Re-screw or nail down | 1 to 3 hours |
| Moisture problem | Vapor barrier or sealant | 1 to 2 days |
Pro Tip: Order your tools and materials at least one week before your planned start date. Delivery delays are common, and starting with incomplete supplies leads to rushed decisions and mistakes. For laminate flooring options, always check that your chosen product is rated for the moisture level in your specific room.
Safety gear essentials
Don’t skip personal protection. Flooring work generates fine dust (especially from cutting tile and sanding hardwood), sharp edges, and heavy lifting. At minimum, wear safety glasses, a dust mask rated N95 or better, knee pads, and work gloves. Keep the workspace ventilated, especially when working with adhesives or epoxy.
Step-by-step installation techniques for different flooring types
With your tools and materials prepped, now walk through the actual installation techniques for each flooring option. Each material has its own sequence and its own failure points.
Hardwood flooring installation
- Acclimatize the wood in the room for 48 to 72 hours before installation
- Install a moisture barrier or underlayment as required
- Snap a chalk line parallel to the longest wall as your starting reference
- Nail or staple the first row along the reference line, leaving a 3/4-inch expansion gap at all walls
- Continue rows, staggering end joints by at least 6 inches
- Use a pull bar and mallet near walls where the nailer won’t fit
- Sand and finish if installing unfinished hardwood; skip this step for pre-finished
The hardwood installation process in Colorado requires special attention to expansion gaps because Denver’s low humidity in winter causes wood to contract noticeably.
Vinyl plank (LVP) installation
Vinyl is forgiving and fast, which makes it popular for DIY projects. For vinyl installation, follow these steps:
- Acclimatize planks for 24 hours at room temperature
- Check subfloor flatness and correct any issues
- Start in the corner farthest from the main entry, working toward the door
- Click planks together at a 45-degree angle, then press flat
- Stagger joints by at least 8 inches between rows
- Use a pull bar near walls and trim with a utility knife
Safety note: Never install vinyl over a subfloor with active moisture issues. Even moisture-resistant products have limits, and trapped moisture under LVP leads to mold growth that is expensive and hazardous to address later.
Tile installation
Tile is the most demanding DIY flooring project. For tile installation, precision matters at every step:
- Find the center of the room and snap chalk lines in both directions
- Dry-lay tiles from the center to check your layout before mixing any mortar
- Mix thinset mortar to a peanut butter consistency
- Apply mortar with a notched trowel, working in small sections
- Set tiles with spacers for consistent grout lines
- Allow mortar to cure for 24 hours before grouting
- Apply grout with a float, then clean excess with a damp sponge
Pro Tip: Always acclimatize new flooring materials to your home’s temperature and humidity before installation. For hardwood, this means 48 to 72 hours. For tile, it means storing materials in the installation room overnight. Skipping this step causes expansion and contraction problems after installation that no amount of skill can fix.
Epoxy floor coating
Epoxy is primarily used in garages and utility spaces. The key steps are thorough surface prep (grinding or acid etching the concrete), applying a primer coat, then rolling on the epoxy in thin, even layers. Temperature matters: epoxy should be applied when the surface is between 55 and 85 degrees Fahrenheit.
Common mistakes across all types
- Skipping the expansion gap on hardwood and laminate
- Not back-buttering large-format tiles
- Rushing grout before mortar has fully cured
- Ignoring manufacturer instructions on underlayment requirements
Final checks and post-installation: Ensuring lasting results
Once your flooring is installed, inspecting and maintaining it properly ensures you get the most value from your renovation. A quick, thorough inspection right after installation catches small issues before they become big problems.
What to inspect immediately after installation
- Seams and joints: Walk the entire floor and look for gaps, raised edges, or planks that don’t sit flat. These are easiest to fix within the first 48 hours.
- Lippage in tile: Run your hand across tile joints. A height difference greater than 1/16 of an inch between adjacent tiles is considered excessive and should be addressed before grout cures.
- Fasteners: On nailed hardwood, check for any protruding nail heads that could snag socks or damage furniture.
- Finish consistency: On finished hardwood, check for streaks, thin spots, or areas where the finish pooled.
- Expansion gaps: Confirm that gaps at walls are consistent and that baseboards or quarter-round will cover them properly.
Addressing minor flaws
Small gaps in laminate or vinyl can often be filled with color-matched caulk. Slightly raised tile edges can sometimes be tapped back down within the first few hours. For hardwood, minor surface scratches in pre-finished planks can be treated with manufacturer-approved touch-up kits.
Maintenance tips for new floors
- Sweep or vacuum hardwood and laminate daily in high-traffic areas to prevent grit from scratching the surface
- Use felt pads under all furniture legs immediately, before you move anything back in
- Clean tile grout with a pH-neutral cleaner; avoid acidic cleaners that erode grout over time
- For vinyl, avoid rubber-backed mats, which can stain the surface permanently
- Keep indoor humidity between 35 and 55 percent year-round to protect hardwood from cracking or cupping
Scheduling a professional flooring inspection six months after installation is a smart move, especially for hardwood in Denver’s dry climate. A professional can catch early signs of moisture movement or finish wear before they require major repairs.
Pro Tip: Document your installation with photos and save all warranty paperwork in a dedicated folder. Photograph the subfloor before covering it, the layout before grouting, and the finished result. If a warranty claim ever comes up, this documentation makes the process much faster and more likely to succeed.
The truth most guides miss about Denver flooring renovations
Here’s something most flooring guides won’t tell you: generic installation advice is written for average conditions, and Denver is not average. The combination of high altitude, low humidity, and expansive clay soils creates challenges that standard guides simply don’t address.
Denver’s average indoor humidity in winter drops below 20 percent during cold snaps. That’s drier than most deserts. Hardwood floors installed without accounting for this level of dryness will gap, crack, or cup within a single heating season. Most national guides suggest a 3/4-inch expansion gap. In Denver, we often recommend going to a full inch on longer runs, and we always recommend a whole-home humidifier for any home with hardwood floors.
The clay soils under many Denver homes also shift seasonally, and that movement transmits to concrete slabs. We’ve seen perfectly installed tile floors develop hairline cracks within two years because the slab moved and nobody addressed the underlying soil expansion before installation. A moisture and soil assessment before starting any slab-level installation is not optional here; it’s essential.
Most generic guides also treat subfloor prep as a box to check. In Denver, it’s the whole game. We’ve torn out floors that failed within 18 months because the subfloor moisture was never properly tested. The local Denver flooring advice we share is built on real project experience in this specific climate, not copied from national guides written for the mid-Atlantic or Pacific Northwest.
The bottom line: trust advice from people who actually work in Denver homes, not generic content written for a national audience that has never dealt with a Colorado winter.
Ready for your renovation? Expert help and next steps
Knowing what to do is only half the battle. Having the right team behind you makes the difference between a floor you love and one you tolerate.

At Leonardo’s Flooring Corp, we’ve spent over 10 years installing floors in Denver homes. We know the local climate, the soil conditions, and the materials that hold up here. Whether you’re ready to book Denver hardwood installation, explore Denver laminate flooring, or get a quote for Denver vinyl installation, our team is ready to help you make the right call for your home, your budget, and your timeline. With 125+ five-star reviews and a no-surprises approach, we treat every project like it’s going into our own home. Reach out today and let’s get your renovation started right.
Frequently asked questions
How long does a typical flooring renovation take for a Denver home?
Most flooring renovations take 2 to 5 days depending on material, room size, and whether professional installers are involved. Larger projects or those requiring subfloor repairs may take longer.
What is the best flooring type for basements in Denver?
Vinyl is moisture-resistant, making it an excellent choice for Denver basements, along with tile, which handles humidity and temperature fluctuations well. Both outperform hardwood and laminate below grade.
Can I install new flooring over an existing floor?
Laminate can be installed over existing flooring in some cases, as can vinyl, provided the existing surface is stable, dry, level, and free of damage. Always check manufacturer guidelines first.
What safety precautions should I take during installation?
Wear gloves, goggles, and an N95 mask to protect against dust and sharp edges, and keep the workspace well-ventilated, especially when working with adhesives or epoxy coatings.
Is it worth hiring a professional installer in Denver?
Expert installation in Denver ensures proper compliance with regional building codes and accounts for local climate factors that DIY guides often miss, making it especially worthwhile for hardwood, tile, and any project involving subfloor issues.