
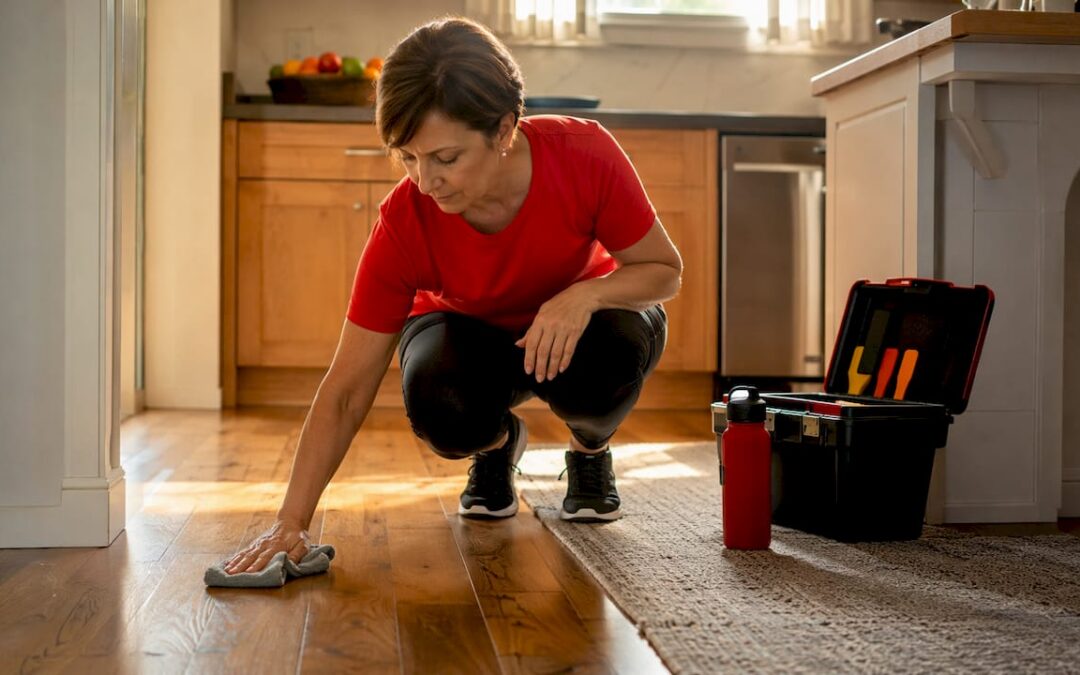
Floor installation clean up is the process of safely removing sawdust, construction dust, adhesive residue, and grout haze left behind after new flooring goes in. Done right, it protects your finish, preserves your warranty, and keeps your home healthy. The core rule: start dry, stay patient, and wait 24–72 hours before introducing any water so adhesives and finishes can cure completely.
Post-installation cleanup breaks into two phases. The first is dry removal, which handles the bulk of the work. The second is careful wet cleaning, matched to your specific floor type. Rushing either phase is how new floors get scratched, hazed, or warped before you’ve lived in the room a week.
- Remove large debris by hand before sweeping
- Use a soft-bristle broom or microfiber dust mop for initial dry passes
- Follow with HEPA-filtered vacuuming to capture fine particles standard vacuums miss
- Hold off on any wet mopping until adhesives and finishes have fully cured
- Avoid harsh chemicals, bleach, or ammonia at every stage
Pro Tip: Start at the ceiling and work downward. Dust from vents, ledges, and walls settles onto floors last, so cleaning floors first just means cleaning them twice.
What tools and supplies do you need for post-installation cleanup?
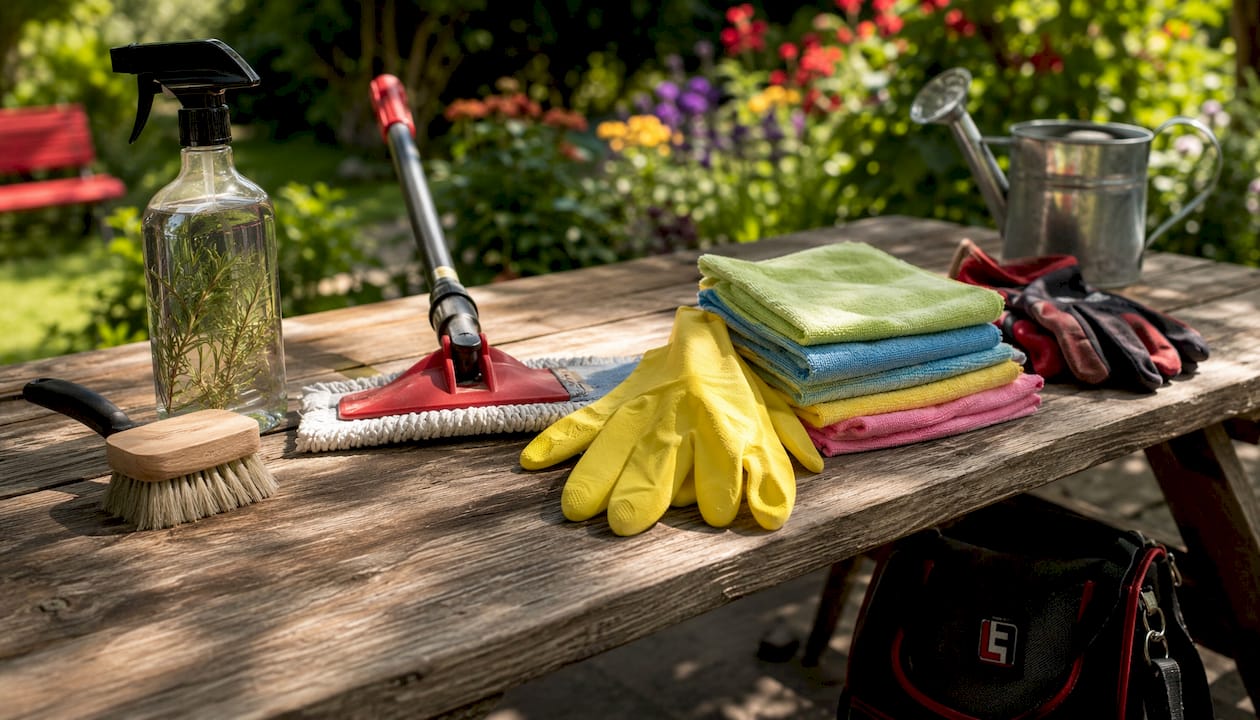
The right gear makes a real difference between a floor that looks great on day one and one that shows fine scratches within a month.
- Soft-bristle broom: Moves debris without dragging grit across the surface
- Microfiber dust mop: Traps fine particles better than standard cotton mops
- HEPA-filtered vacuum with a floor-brush setting: Captures construction dust that regular vacuums recirculate into the air; disable rotating brushes to avoid catching edges
- pH-neutral floor cleaner: Products like Bona are formulated for hardwood and vinyl without corroding factory finishes
- Plastic putty knife or old credit card: Safe for scraping adhesive spots; never use metal tools on finished floors
- Two-bucket mop system: One bucket for clean solution, one for rinsing, so you’re not spreading dirty water
- Clean microfiber cloths: For spot work and immediate drying after wet passes
- Mop bucket with wringer: Controls how much moisture reaches the floor
All-purpose household cleaners are one of the most common mistakes homeowners make on new floors. Many surfaces are sensitive to pH levels outside the neutral range, and using the wrong product can void your flooring warranty.
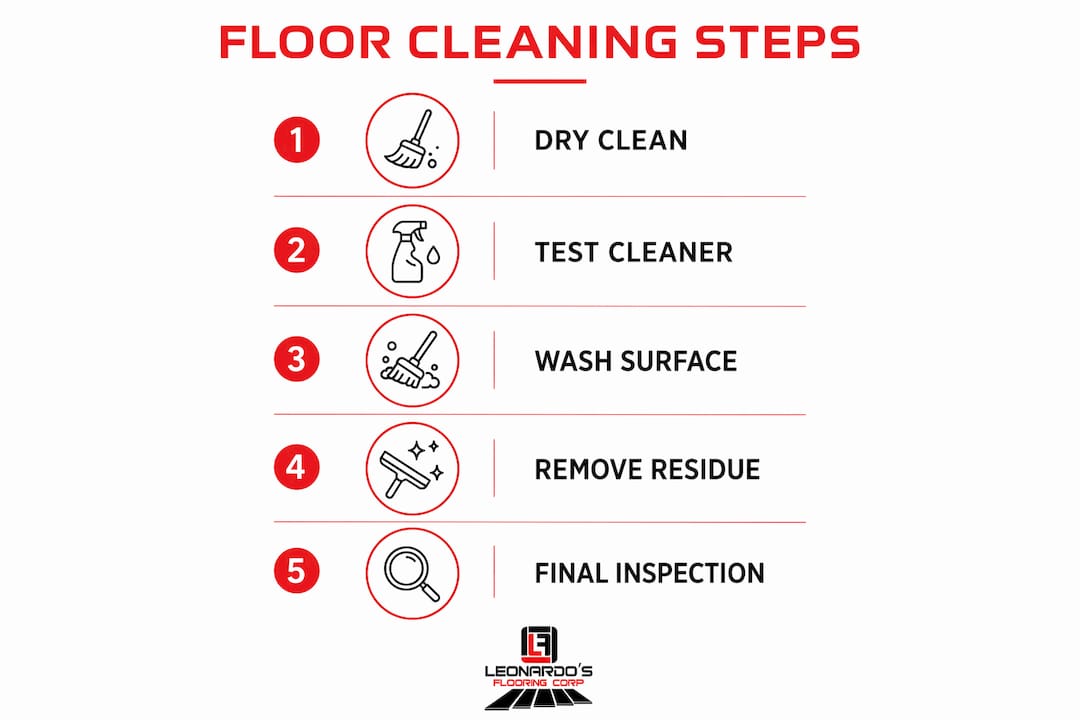
How to clean your floors after installation, step by step
Sequence matters here as much as the tools you use.
- Wait out the cure window. Hold off on any wet cleaning for 24–72 hours post-installation to let adhesives, grout, and finishes set fully.
- Let dust settle first. After installation wraps, give construction dust 2–4 hours to settle before you start, and keep your HVAC off during cleanup to prevent recirculation.
- Pick up large debris by hand. Nails, screws, and wood scraps dragged across the floor cause immediate scratches.
- Dry sweep with a soft-bristle broom. Work toward a central point; don’t push debris back into corners.
- HEPA vacuum the entire floor. Go slowly, overlap passes, and pay extra attention to edges and floor-wall joints. Dry cleaning should account for at least 80% of your total cleanup effort before you introduce any moisture.
- Microfiber dust the surface. A dry electrostatic microfiber mop picks up fine particles the vacuum leaves behind.
- Spot-treat adhesive residue. Apply a citrus or soy-based remover, let it dwell for the recommended time rather than forcing it, then lift with a plastic scraper.
- Wet mop with pH-neutral cleaner. Use the two-bucket method, work in small sections, and wring the mop well. Light misting is fine; puddles are not.
- Dry immediately. Follow every wet pass with a clean dry cloth or mop to pull moisture off the surface before it can seep into seams.
Pro Tip: Before applying any cleaner to the full floor, test it in a closet corner or behind a door. Wait a few minutes and check for discoloration or texture changes. This one step prevents a much bigger repair.
Safety and best practices during floor installation cleanup
Construction dust isn’t just messy. It contains silica particles, wood fibers, and adhesive compounds that are genuinely hazardous to breathe and handle.
- Wear an N95 respirator, safety goggles, and nitrile gloves whenever you’re working with solvents or adhesive removers, as PPE protects against chemical burns and fine-dust inhalation
- Keep HVAC systems off during intensive cleanup to stop fine dust from circulating through ducts and resettling on clean surfaces
- Use only plastic scraping tools. A metal scraper at the wrong angle will gouge a hardwood finish instantly
- Ventilate the room by opening windows to disperse solvent fumes
- Follow manufacturer guidelines on adhesive curing times and cleaner compatibility; skipping this step is the fastest way to damage a finish or void a warranty
- Never rush drying time. Moisture trapped under a floor covering causes warping and mold
For homes where other renovation work is still finishing nearby, a low-dust approach to adjacent projects reduces how much new debris lands on your freshly cleaned floor.
How to keep your new floors looking great long-term
The initial cleanup sets the baseline. What happens in the weeks and months after determines how long that baseline holds.
- Sweep or vacuum regularly to prevent grit from building up and acting like sandpaper underfoot
- Clean spills immediately with a damp cloth and a floor-appropriate cleaner; standing liquid warps hardwood and seeps through vinyl seams
- Place felt pads under all furniture legs and lay mats at entryways to catch dirt before it reaches the floor
- Deep clean periodically with a pH-neutral product matched to your floor type; Bona works well for hardwood, while vinyl floors have their own specific formulations
- Reseal grout lines every 6–12 months to prevent staining and moisture penetration
- Avoid bleach, ammonia, and vinegar on finished surfaces; all three degrade protective coatings over time
For tile specifically, grout haze can appear days after installation as a cloudy film. Catch it early with a dry microfiber cloth; if it persists, a commercial grout haze remover applied carefully will clear it without damaging the tile glaze.
Leonardosflooringcorp makes your Denver flooring project worry-free
New floors are a real investment, and the cleanup process is part of protecting it from day one. Leonardosflooringcorp has been handling flooring installation across the Denver metro for over 10 years, covering hardwood, laminate, vinyl, tile, and epoxy for both homes and commercial spaces.
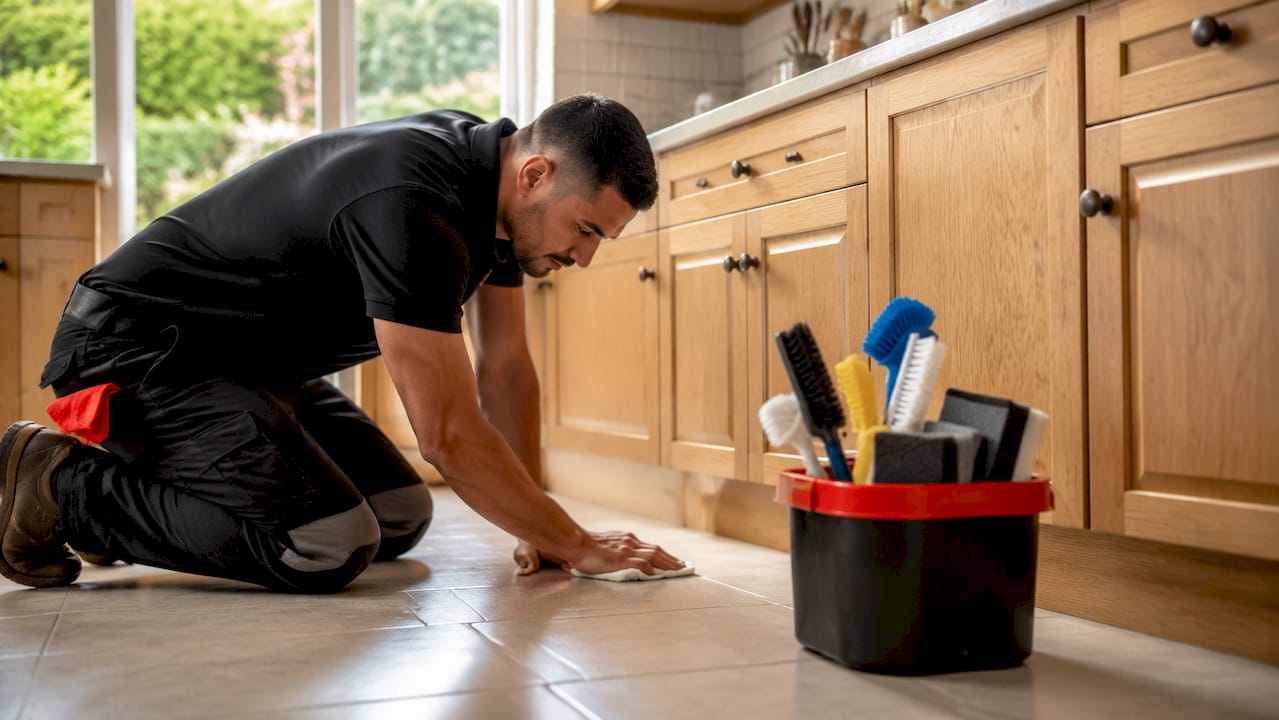

What sets Leonardosflooringcorp apart is the attention to the details most contractors skip. Every project comes with honest guidance on post-installation care, curing times, and the right products for your specific floor type. With 125+ five-star reviews and a track record as trusted Home Depot Contractors, the team treats every floor the way they’d treat their own. Ready to get started? Request a quote for your Denver flooring project today.
Key Takeaways
Proper floor installation clean up starts with a mandatory dry-cleaning phase (about 80% of your effort), waits 24–72 hours before any wet mopping, and uses pH-neutral products to protect finishes and warranties throughout.
| Point | Details |
|---|---|
| Wait before wet cleaning | Allow 24–72 hours after installation so adhesives, grout, and finishes cure fully before mopping. |
| Dry cleaning comes first | Dry removal should account for about 80% of cleanup effort before any moisture is introduced. |
| Use plastic, never metal | Plastic putty knives and old credit cards remove adhesive safely; metal tools scratch finished floors. |
| Wear proper safety gear | N95 respirators, nitrile gloves, and safety goggles protect against fine dust and solvent exposure. |
| Leonardosflooringcorp | Denver’s 10-year flooring experts handle installation and guide homeowners on post-installation care. |