
A flooring transition is ADA compliant when it follows three thresholds: any vertical change up to 1/4 inch needs no treatment at all, anything between 1/4 inch and 1/2 inch must be beveled at a slope no steeper than 1:2, and anything over 1/2 inch requires a full ramp. Every accessible surface also has to be stable, firm, and slip-resistant, per the 2010 ADA Standards for Accessible Design. That’s the whole rule in one sentence. Everything else in this guide is about applying it correctly on a real job site, because the gap between knowing the numbers and getting them right in a doorway with a crooked subfloor is where most compliance failures actually happen.
If you’re staring at a transition right now trying to decide what to do, start here:
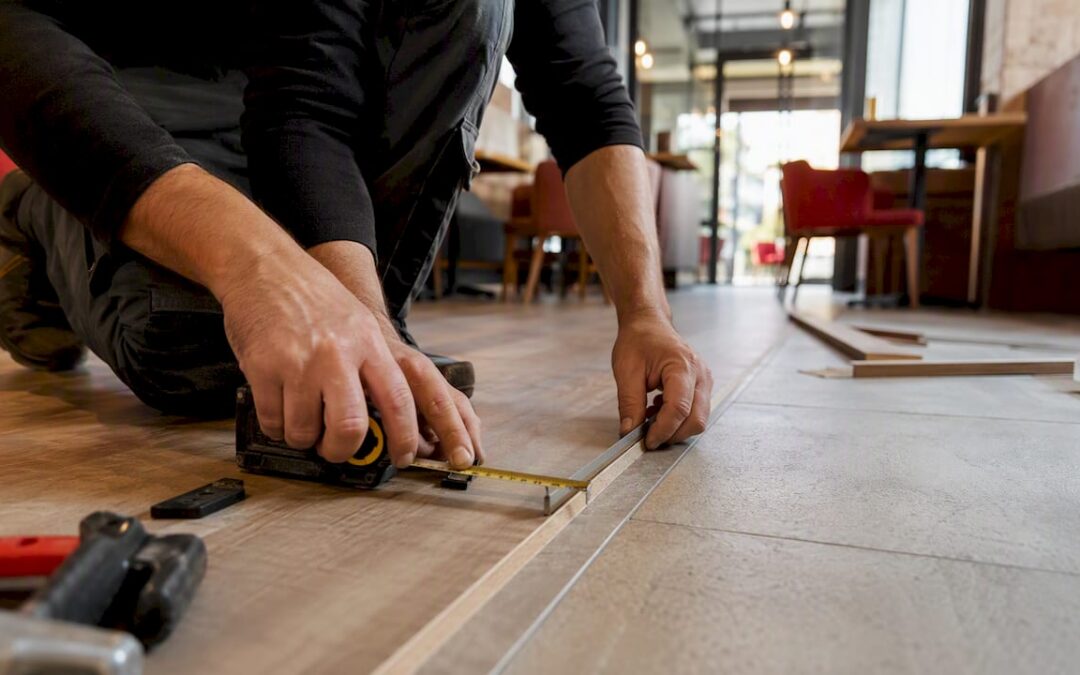
- Measure the vertical change at the highest point of the exposed edge, using a rigid tool, not a tape measure laid flat, and write the number down.
- Document before you touch anything — a photo with a ruler in frame protects you if a remediation gets questioned later, and it’s the first thing an inspector or attorney will ask for.
Quick reference: ≤1/4 inch = no treatment required. Over 1/4 inch to 1/2 inch = beveled edge, slope ≤1:2. Over 1/2 inch = ramp required, per 1991 ADA Standards Section 4.5.
Key Takeaways
ADA-compliant flooring transitions depend on three fixed numeric thresholds and one non-negotiable surface standard: stable, firm, and slip-resistant, with zero tolerance for changes in level inside turning and clear floor spaces.
| Point | Details |
|---|---|
| Know the three thresholds | ≤1/4 inch needs nothing, >1/4 to 1/2 inch needs a beveled edge at ≤1:2 slope, >1/2 inch needs a ramp. |
| Zero tolerance in turning spaces | No change in level is permitted inside a clear floor space or turning space, regardless of size. |
| Fasten carpet edges fully | Exposed carpet edges must be fastened along their entire length, with pile capped at 1/2 inch to backing. |
| Substrate prep prevents failure | An uneven subfloor is the leading cause of trim curling and re-loosening after installation. |
| Call a contractor for multi-door projects | Leonardosflooringcorp handles measurement, subfloor leveling, and custom transition installation across the Denver metro. |
Table of Contents
- What ADA Compliant Flooring Transitions Actually Require
- Where Transitions Actually Get Flagged
- Choosing the Right Transition Type and Material
- How to Measure a Transition Correctly
- Installing Transitions That Actually Stay Compliant
- A Practical Compliance Checklist for Owners
- What Owners Get Wrong About “Grandfathered” Floors
- When to Bring in a Flooring Contractor
- Frequently Asked Questions
- Sources
What ADA Compliant Flooring Transitions Actually Require
The numeric rules for changes in level trace back to the original 1991 ADA Standards and carry through unchanged in the 2010 ADA Standards: changes up to 1/4 inch can be left vertical, changes between 1/4 and 1/2 inch must be beveled at no steeper than a 1:2 slope, and anything beyond 1/2 inch needs a compliant ramp. That’s not guidance or best practice. It’s the enforceable standard, and it applies whether you’re running vinyl plank into tile in a hospital corridor or transitioning carpet to hardwood in a leased retail space.
The surface requirement matters just as much as the height rule. Floor and ground surfaces along an accessible route must be stable, firm, and slip-resistant, and this obligation doesn’t relax at doorways or fixture areas — it’s actually stricter there. Chapter 3 of the Access Board’s guidance states that thresholds at doorways generally cap out at 1/2 inch, and floor surfaces within required maneuvering clearances at doors must have zero changes in level. None. A 3/8-inch threshold that would pass elsewhere on the route can fail inside a door’s maneuvering zone.
Turning spaces and clear floor spaces get the same zero-tolerance treatment. The 2010 Standards and 36 CFR Appendix D both confirm that changes in level aren’t permitted anywhere inside a turning space or a clear floor space, regardless of how small. A wheelchair user needs a flat, unbroken surface to pivot 180 degrees or park in front of a sink, and even a 1/4-inch bevel introduces friction that can tip a caster wheel or stall a turn.
| Vertical change | Required treatment | Standard reference |
|---|---|---|
| Up to 1/4 inch | None required | 1991 ADA Standards, Section 4.5 |
| Over 1/4 inch to 1/2 inch | Beveled edge, slope ≤1:2 | 1991 ADA Standards, Section 4.5 |
| Over 1/2 inch | Full ramp required | 2010 ADA Standards, ramp provisions |
| Any change in a turning/clear floor space | Not permitted | 36 CFR Appendix D |
There’s no single numeric slip-resistance coefficient written into the standards. Instead, the Access Board’s technical guide requires that surfaces simply perform as slip-resistant under expected conditions, which in practice means choosing materials and finishes with a documented traction rating suited to the space, not just whatever looks good in a showroom.
Where Transitions Actually Get Flagged
Compliance problems cluster in predictable spots, and knowing where to look first saves hours on a walkthrough.
- Exterior-to-interior entry doors, where a raised sill or worn weatherstripping creates a bigger step than anyone measured at install.
- Doorway thresholds sitting inside the required maneuvering clearance, where even a compliant bevel can violate the “no changes in level” rule for that zone.
- Material transitions inside restrooms, especially tile-to-vinyl seams near a turning space.
- Ramp landings, where a settled slab creates an unplanned lip at the bottom of the ramp.
- Curb cuts and sidewalk-to-building connections, particularly on older properties where asphalt has settled unevenly against a concrete pad.
- Floating floor installations near doorways, where seasonal expansion gaps widen or narrow the transition height over time.
Clear floor spaces and door maneuvering clearances are allowed to overlap, according to Access Board guidance on clear floor and turning space, as long as each element still functions on its own. That overlap is exactly why a threshold that looks fine in isolation can fail once you check it against the door swing and the wheelchair turning radius together.
Historic buildings and altered spaces carry their own wrinkle. A renovation that changes the usability of an area typically triggers an obligation to bring the path of travel to that area up to current standards, which means a kitchen remodel can obligate you to fix a hallway threshold you weren’t planning to touch.
A property manager once told us about a boutique hotel lobby where the entry threshold measured a compliant 1/2 inch on its own. The problem wasn’t the threshold. It was that the door’s maneuvering clearance overlapped a marble transition strip that sat 3/8 inch proud of the tile beneath it, inside a zone where the rule allows zero change in level. The fix cost less than $400. The original walk-through inspection had missed it because nobody checked the two elements together.
Choosing the Right Transition Type and Material
Once you know your vertical measurement, the transition type mostly picks itself. A change under 1/4 inch needs nothing. A change between 1/4 and 1/2 inch needs a beveled reducer or threshold. Anything past 1/2 inch needs a ramp, full stop, whether that’s a permanent sloped subfloor build-up or a compliant threshold ramp product.
- Metal thresholds hold up best under heavy foot and cart traffic and take mechanical fasteners well, but cheap aluminum can develop sharp edges as it wears.
- Wood reducers blend visually with hardwood and laminate but are more vulnerable to moisture swelling at exterior doors.
- Vinyl threshold strips flex well for smaller height differences and resist moisture, though they wear faster under commercial traffic.
- Preformed ADA threshold ramps are the fastest fix for changes just over 1/2 inch where a full framed ramp isn’t practical.
Carpet has its own rule set. The Access Board’s technical guide caps pile height at 1/2 inch measured to the backing, and every exposed carpet edge must be fastened along its entire length. A carpet edge that’s tacked down at 12-inch intervals instead of continuously will curl within a season, and a curling edge is a new, unplanned change in level that didn’t exist at final inspection.
Pro Tip: When a height difference lands right at 1/2 inch, don’t gamble on a beveled trim passing inspection. Build in a permanent ramp instead, because a trim installed at exactly the legal limit gives you zero margin once the subfloor settles even slightly.
How to Measure a Transition Correctly
Getting an accurate measurement is the entire game. Guess wrong and you either install an unnecessary ramp or leave a noncompliant edge in place.
- Bring a rigid straightedge, a set of feeler gauges in 1/4-inch and 1/2-inch increments, a digital caliper, a pocket slope gauge, and a tape measure.
- Lay the straightedge across the transition and measure the gap at the highest point of the exposed edge, not an average across the seam.
- For an existing bevel, measure the rise and the run separately and divide rise by run to confirm the slope is 1:2 or shallower.
- For carpet, compress the pile with the caliper and measure to the backing, not to the top of an uncompressed fiber.
- For any change over 1/2 inch, verify the ramp’s slope and confirm the landing meets required dimensions before assuming a simple threshold fix will work.
- Photograph every measurement with the tool still in frame and note the location, the reading, and the date directly in the file name or caption.
A tolerance of about 1/16 inch is reasonable for hand tools on-site; anything closer than that calls for a digital caliper rather than a tape measure. Keep your bullet list of readings alongside the photos in one folder per property so a remediation contractor can quote from your data instead of re-measuring everything from scratch.
Installing Transitions That Actually Stay Compliant
A transition can meet every dimensional rule on installation day and still fail six months later, and almost every failure traces back to the same root cause: the substrate, not the trim.
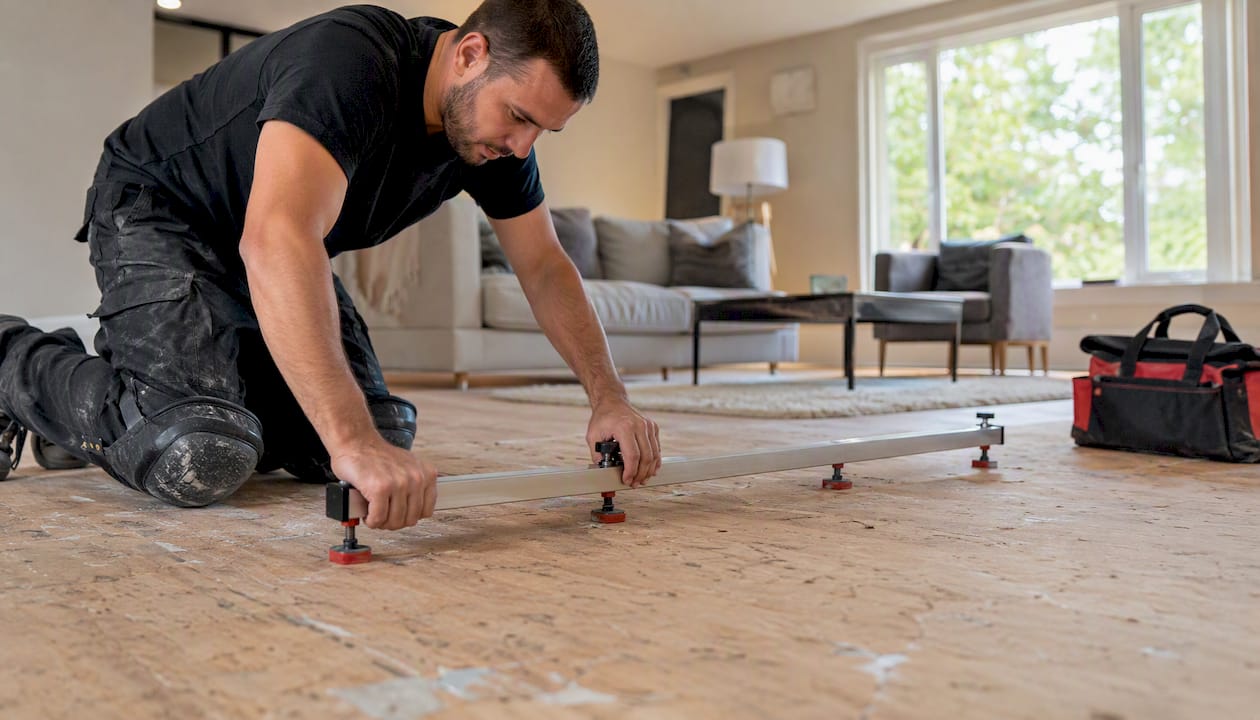
Start with a level, clean subfloor. Uneven concrete or a high spot in plywood underlayment is the single most common reason a properly sized transition strip curls or separates within a year. Use a leveling compound where the substrate varies by more than 1/8 inch across the width of the transition, then fasten the trim mechanically along its full length rather than tacking the ends and hoping the middle holds. For exterior or high-traffic thresholds, combine construction-grade adhesive with mechanical fasteners; adhesive alone flexes under repeated cart and foot traffic, and fasteners alone can work loose from vibration over time.
- Unsecured or partially fastened trim that curls at the edges, creating a new trip hazard that wasn’t there at final walkthrough.
- Carpet pile compressed past the 1/2-inch limit because nobody re-measured after a denser pad swap.
- Subfloor leveling skipped to save an afternoon, which shows up as trim separation within the first hard freeze.
- Trim selected for looks over traction, leaving a smooth metal edge that’s genuinely slick when wet.
Pro Tip: Re-check fastening on exterior and entryway transitions every six months. Freeze-thaw cycles in a Denver winter loosen fasteners faster than interior wear ever will, and a five-minute check beats a liability claim. For guidance on avoiding these mistakes during a full installation, see this rundown of hardwood installation mistakes that apply just as directly to transition work. Substrate prep matters just as much on stairs, where a similar approach to installing vinyl plank on stairs shows how leveling issues compound on uneven surfaces.
A Practical Compliance Checklist for Owners
Not every fix needs to happen today, but every fix needs a deadline. Here’s how to triage a property with multiple transitions flagged.
- This week: Walk every entry, restroom, and material transition with a straightedge and feeler gauges; measure and photograph anything that looks off.
- Immediate (trip hazards): Any exposed edge over 1/2 inch with no ramp, or any curling carpet edge, gets temporary flagging or barrier tape until repaired.
- Within 30 days: Install beveled trim on any 1/4 to 1/2 inch change; this is usually the fastest, lowest-cost fix.
- Within 90 days: Budget and schedule ramp construction for any change over 1/2 inch, since ramps involve slope and landing calculations that take more planning.
- Ongoing: Re-inspect exterior transitions after the first hard freeze and again in spring, since seasonal movement is the leading cause of new noncompliance.
| Rule | Required action | Priority |
|---|---|---|
| ≤1/4 inch change | Document with photo and measurement | Low, records only |
| >1/4 to 1/2 inch change | Install beveled trim (slope ≤1:2) | Short-term, 30 days |
| >1/2 inch change | Build compliant ramp | Mid-term, 90 days |
| Change inside turning/clear floor space | Eliminate entirely, no treatment allowed | Immediate |
What Owners Get Wrong About “Grandfathered” Floors
Facility managers tend to treat older, unpermitted flooring as untouchable, as if age alone exempts a threshold from scrutiny. It doesn’t work that way in practice. A renovation that changes how a space gets used will usually pull the connecting path of travel into the compliance conversation whether the original floor predates current standards or not.
The bigger blind spot, though, isn’t the rule itself. It’s the assumption that a technically compliant bevel is the finish line. A trim piece that meets the 1:2 slope on installation day but gets fastened at three points instead of continuously will curl inside a year, and a curled edge is a brand-new change in level that nobody signed off on. I’ve seen properties pass an initial compliance walkthrough with flying colors and fail a follow-up eighteen months later, not because the standard changed, but because nobody checked whether the fasteners held.
Substrate prep is the boring part of the job, and it’s also the part that determines whether a compliant installation stays compliant. An uneven subfloor puts stress on a transition strip every time someone rolls a cart over it, and that stress finds the weakest fastener first. If you’re planning any renovation that touches flooring, loop in your contractor on transition planning at the design stage rather than treating it as a punch-list item at the end. It’s far cheaper to level a subfloor before the trim goes down than to rip out a curled transition and start over.
When to Bring in a Flooring Contractor
Some of this you can handle in-house: the measuring, the photo documentation, flagging obvious trip hazards. But specifying the right transition hardware for a given substrate, calculating ramp slope and landing dimensions, and fastening trim so it survives a Denver winter is where experience pays for itself.
Leonardosflooringcorp has spent over 10 years handling exactly this kind of work across the Denver metro, backed by 125+ five-star reviews from property owners who needed it done right the first time.

Here’s what that looks like on a transition project:
- On-site assessment and measurement of every flagged transition, with documentation you can hand to a compliance reviewer.
- Subfloor leveling and prep before any trim or ramp goes in, so the fix actually lasts.
- Custom threshold ramps and beveled reducers sized to your exact measurements, not a one-size-fits-all product off a shelf.
- Carpet edge fastening and re-securing for properties where pile has started to curl at doorways.
If you’re managing a single flagged threshold, a DIY beveled strip might genuinely be all you need. If you’re staring down a multi-door commercial property or a renovation that’s about to trigger path-of-travel obligations, that’s when it makes sense to call in a contractor who does substrate prep and transition installation for a living. Start with a flooring installation consultation, and Leonardosflooringcorp will walk the property with you, measure what actually needs fixing, and quote the work without upselling a full floor replacement you don’t need.
Frequently Asked Questions
What is the maximum height for an ADA-compliant threshold?
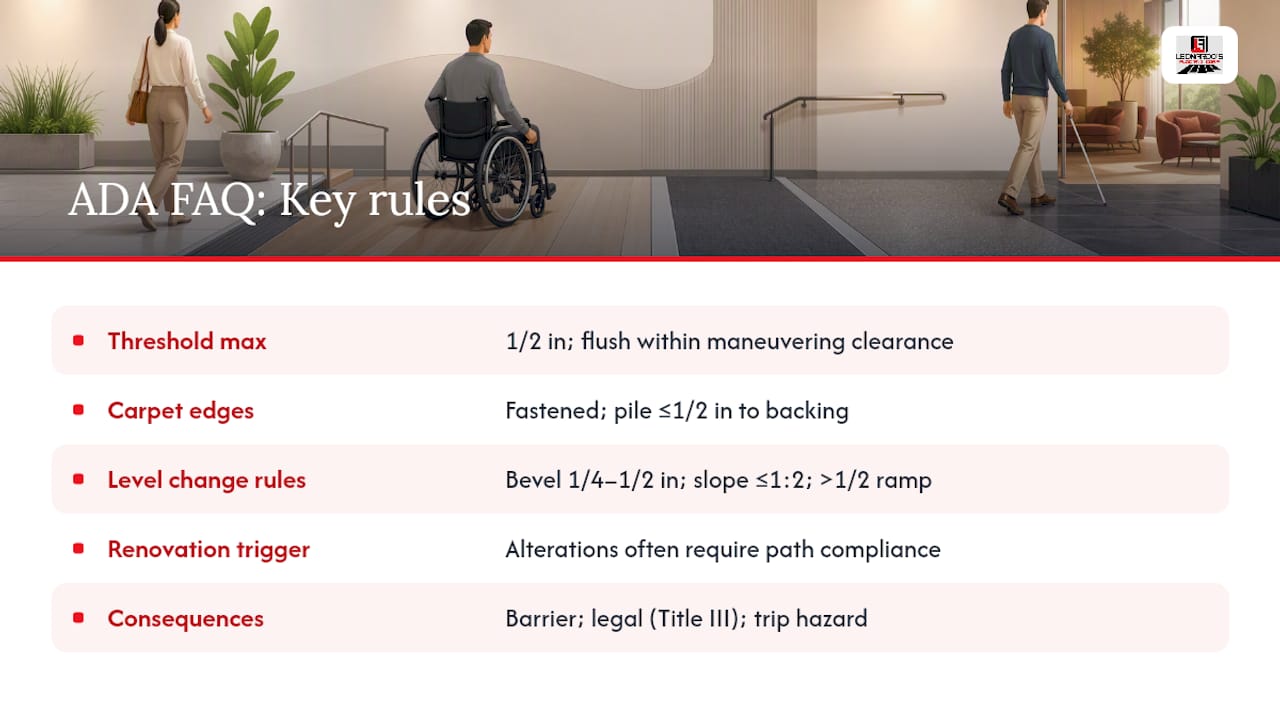
Thresholds at doorways generally cap at 1/2 inch, per Access Board guidance, and any change within the door’s maneuvering clearance must be flush with no level change at all.
Do all carpet edges need to be fastened for ADA compliance?
Yes. Exposed carpet edges must be fastened along their entire length, and pile height is capped at 1/2 inch measured to the backing.
Does a small renovation trigger full ADA compliance for existing flooring?
Often, yes. Alterations that change how a space is used typically require the path of travel to that area to be brought into compliance to the maximum extent feasible.
Can a beveled transition ever replace a ramp?
Only for changes between 1/4 and 1/2 inch, and only if the bevel slope is no steeper than 1:2. Anything over 1/2 inch legally requires a ramp.
What happens if a flooring transition is found noncompliant?
Noncompliant transitions create both an accessibility barrier and a legal exposure under Title III, and they’re also a documented trip hazard, so remediation should be prioritized rather than deferred to a future renovation cycle.
This article is general information, not a substitute for advice from a qualified lawyer. Consult a qualified legal professional about your own circumstances before acting on anything here.
Sources
- Chapter 3: Floor and Ground Surfaces
- 2010 ADA Standards for Accessible Design (PDF)
- 36 CFR Appendix D to Part 1191 — Technical (e-CFR / LII)