
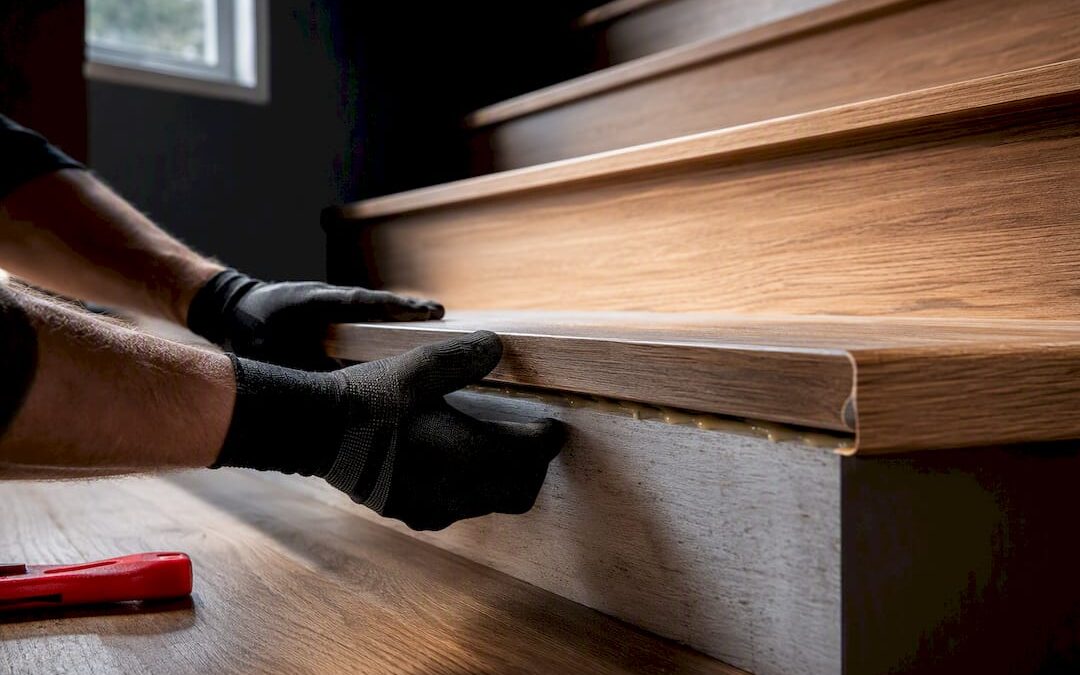
Yes, you can put laminate on stairs, but it has to be glued down and mechanically fastened, never floated like a normal room installation. Laminate works best on budget-conscious remodels where you’re matching an existing laminate floor, and it needs textured planks, AC4 or higher for durability, and real stair nosing to stay safe. Skip it for elderly households or wet entryways, and grab a runner or anti-slip strips no matter what you choose.
TL;DR:
- Laminate on stairs must be glued and screwed down, not floated, to prevent lifting and tripping hazards caused by repeated impacts and moisture absorption.
- Using AC4 or higher textured laminate with water-resistant joints and matching stair nosing from the same product line enhances durability and safety on staircases.
- Proper stair preparation, including measuring each step individually and repairing loose treads, is essential before installation to meet code tolerances and ensure longevity.
- DIY installation risks are high, especially around nosing, so hiring a professional is advisable for stairs with uneven risers, open edges, or if the homeowner lacks appropriate tools.
- For improved safety, textured laminate, rubber inserts on nosing, and stair runners are recommended, particularly in households with mobility concerns or frequent exposure to moisture.
Table of Contents
- Why Stairs Aren’t Just a Smaller Floor
- Choosing the Right Laminate for a Staircase
- Getting the Stairs Ready Before You Cut Anything
- Step-by-Step: Installing Laminate on Treads, Risers, and Nosing
- What to Buy Before You Start
- Making Laminate Stairs Safer to Walk On
- Keeping Laminate Stairs Looking Good for Years
- When We Steer Homeowners Away From Laminate
- Get a Professional Estimate for Your Stairs
- Sources
- FAQ
Why Stairs Aren’t Just a Smaller Floor
A floating laminate floor relies on weight and friction to stay put. Stairs don’t give you either. Every tread gets stepped on at an angle, near an edge, thousands of times a year, and a click joint with no backing behind it will eventually walk itself loose at the nose.
That’s why manufacturers and installers agree laminate on stairs must be glued and often screwed down, not floated. The HDF core inside laminate planks also swells when it absorbs moisture, and an exposed joint on a stair edge is a lot more likely to catch a spilled drink than one buried under a couch. Loose click joints at the nose create real tripping hazards once the plank starts to lift.
Common DIY mistakes we see repeatedly:
- Skipping stair nosing entirely and just running planks to the edge
- Using standard flooring adhesive instead of one rated for vertical or edge bonding
- Ignoring squeaky, loose treads before installing over them
- Adding plank thickness without recalculating riser height, which can throw off code tolerances
- Assuming click-lock alone will hold at the leading edge
Choosing the Right Laminate for a Staircase
Laminate makes sense when you’re working with a tight budget, matching laminate already installed on the main floor, or renovating a secondary staircase that doesn’t see heavy daily traffic. If you’ve got small kids, older adults, frequent wet shoes, or a staircase connecting to an exterior door, lean toward LVP or hardwood instead. Vinyl plank handles moisture better and sheds sound more quietly than laminate does, even though laminate holds up better against scratches.
If laminate is the right call, don’t compromise on these:
- AC rating: AC4 minimum, AC5 for busy households or rental properties
- Surface texture: embossed or textured finishes over smooth, glossy ones for grip
- Joint protection: water-resistant or waxed joints to limit swelling from spills
- Matching nosing: buy stair nose profiles from the same product line as your planks
Cost snapshot: expect $50 to $120 per step in materials if you’re supplying your own laminate and nosing, or roughly $650 to $1,400 for a full flight of 13 steps done DIY. Professional installation runs higher once labor and stair-specific prep get added in, but it usually removes the guesswork on nosing depth and riser math.
Getting the Stairs Ready Before You Cut Anything
Measure every tread depth and riser height individually. Staircases settle unevenly over the years, and no two steps are guaranteed to match.
- Record the total rise of the staircase before adding any material, since stacking 8 to 12 millimeters of laminate thickness per riser without adjusting can push your top or bottom riser out of code tolerance.
- Walk every step and mark the ones that squeak or flex, then re-secure them with screws driven into the stringer, not just more glue.
- Strip old carpet staples, tack strips, and adhesive residue down to bare wood.
- Let your laminate acclimate in the room for the manufacturer’s recommended window, typically 48 to 72 hours, before cutting a single piece.
- Decide now whether your stairs need a returned nose (visible from the side, common on open staircases) since that changes how you cut your first pieces.
Our stair tread materials guide covers returned-edge details in more depth if your staircase is open on one or both sides.
Step-by-Step: Installing Laminate on Treads, Risers, and Nosing
Work from the bottom step up, or the top down. Either direction works as long as you’re consistent, since you don’t want to box yourself into a corner halfway through.
- Remove old flooring and repair the substrate. Pull carpet, vinyl, or old laminate down to solid wood, and swap out any damaged plywood or add backerboard where a tread feels soft.
- Measure and dry-fit before cutting. Cut riser pieces slightly short of full height so the tread overlaps them, not the other way around.
- Pre-glue paired planks for full tread depth. If one plank width doesn’t cover the tread, glue two planks together tongue-to-groove the night before so you’re making a single clean cut per step instead of fighting a seam mid-installation.
- Glue the riser piece first, pressing it flat against the vertical face and holding it with clamps or finish nails until set.
- Glue the tread piece next, running a bead of construction adhesive across the full contact area, not just the edges, then set the plank and weight it down.
- Install the stair nose last on each step, countersinking screws through the nose profile into the tread substrate, then filling the holes with matching putty.
- Let adhesive cure fully before foot traffic, which usually means staying off that step for at least 24 hours.
- Repeat step by step up the flight, checking each nosing depth against the last one so the sightline stays even.
Pro Tip: Dry-fit the entire flight with no glue first, numbering each piece with a pencil on the underside. It takes an extra hour but saves you from discovering a bad cut after the adhesive is already setting.
The nosing is where nearly every DIY laminate stair job goes wrong. It’s the single most common failure point on plank-style stair installs, because click systems were engineered for horizontal floors, not a leading edge that takes direct impact every time someone comes down the stairs.
What to Buy Before You Start
A few tools make this job faster and cleaner:
- Tape measure, combination square, and a pencil for layout work on every step
- Circular saw or jigsaw for straight cuts, plus a miter saw if you’re cutting returned nosing angles
- Drill with a countersink bit for nosing screws
- Rubber mallet and a pull bar for setting tight joints without marring the surface
- Clamps to hold riser pieces while adhesive sets
- Construction adhesive rated for laminate, applied with a caulk gun and notched trowel
Rent a flooring nailer or a good miter saw if you don’t already own one. It’s rarely worth buying for a single staircase. And always order your nosing from the same product line as your planks so the color and wear layer match exactly.
Making Laminate Stairs Safer to Walk On
Bare laminate is more slippery underfoot than textured vinyl, especially in socks or with wet shoes. FlooringExplorer rates laminate traction as only “fair” compared to LVP’s “good”, which matters more on stairs than almost anywhere else in the house.
Close that gap with a few deliberate choices:
- Choose embossed or wood-grain textured laminate over smooth, glossy finishes
- Add a stair nose with a rubber or grit insert rather than plain laminate-wrapped nosing
- Install a runner down the center of the flight for households with kids or older adults
- Keep steps dry, since textured laminate improves grip but doesn’t eliminate risk from standing water or tracked-in rain
Pro Tip: Before committing to a laminate product, set a sample piece on the actual staircase and walk it in socks. Five seconds of testing tells you more about real-world traction than any spec sheet.
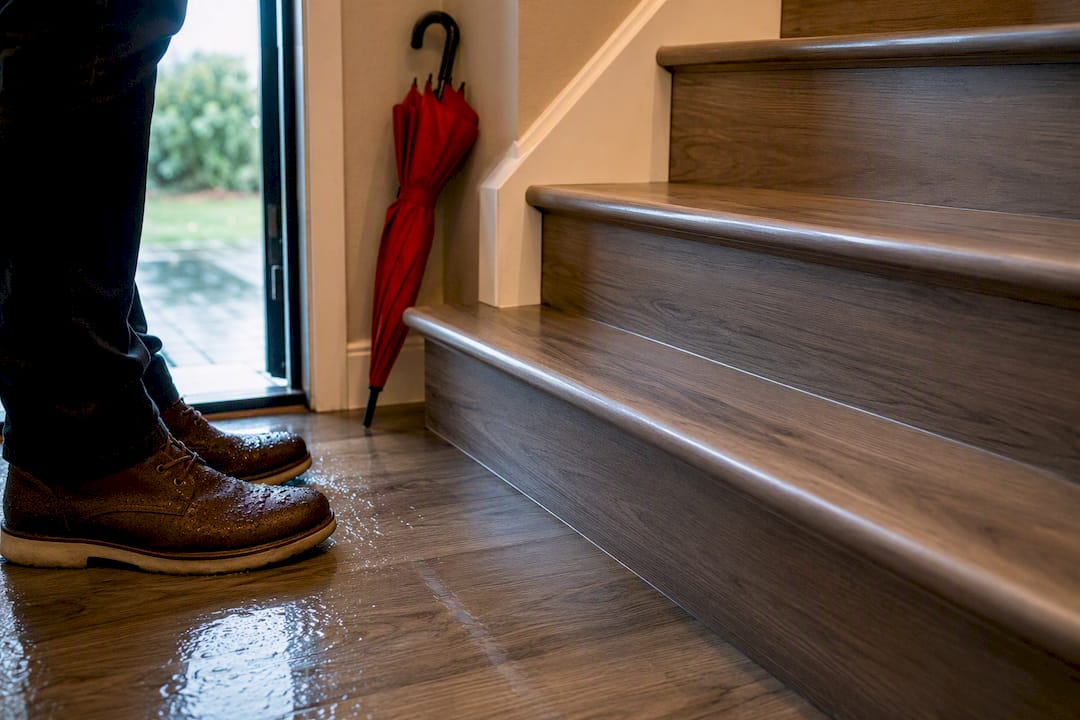
Skip bare laminate entirely if your household includes anyone with mobility limitations, or if the staircase connects directly to an exterior door where wet shoes are a daily reality.
Keeping Laminate Stairs Looking Good for Years
Wipe up spills immediately. Water that sits in a seam is what eventually causes the swelling and lifting that ends a laminate stair’s life early.
- Sweep or vacuum weekly, and damp mop occasionally instead of soaking the surface
- Re-seat a loose nosing by removing the old screws, adding fresh adhesive, and re-driving screws slightly offset from the original holes
- Replace a single damaged tread or riser piece rather than the whole flight when only one step is affected, following the same removal process outlined in our laminate flooring repair guide
- Watch for a nose that keeps loosening after repair, or visible swelling along a tread edge. That’s usually a sign the substrate underneath needs attention, not just the surface plank
A well-installed, mid-range laminate staircase can last several years of normal residential use before nosing wear or joint fatigue calls for maintenance or replacement.
When We Steer Homeowners Away From Laminate
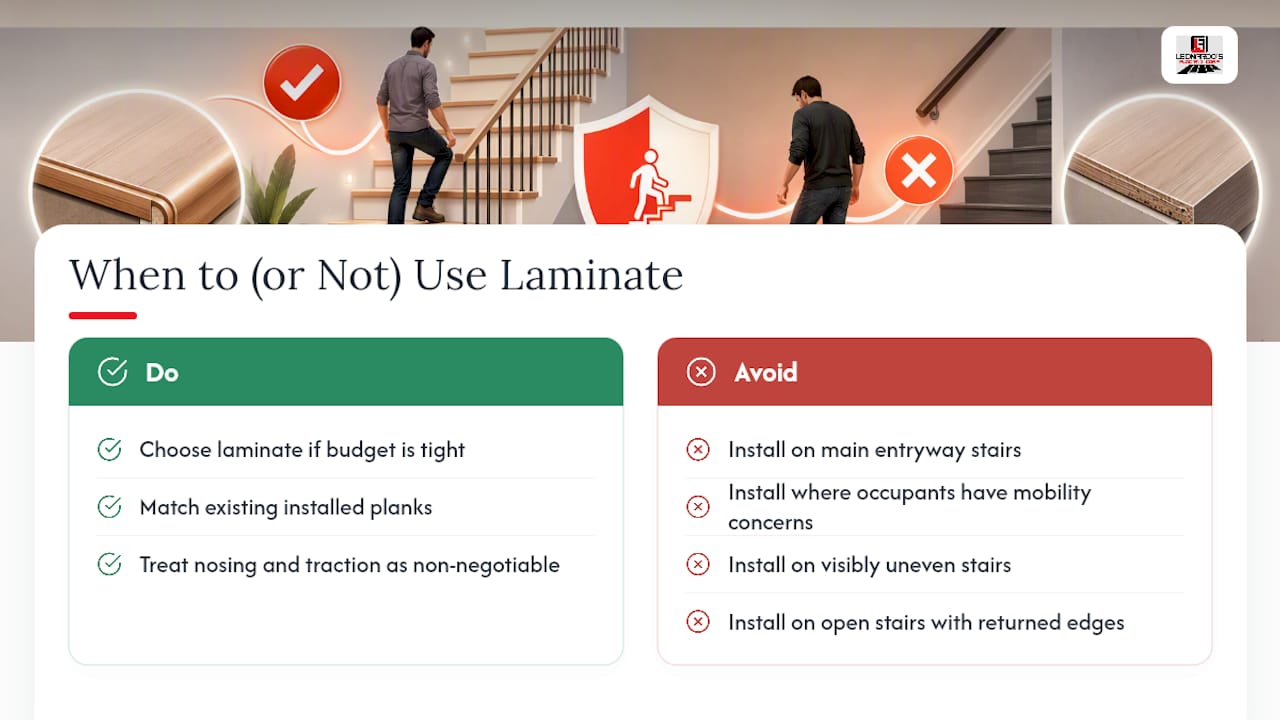
Laminate earns its place on stairs when a homeowner is watching the budget and prioritizes matching planks already installed elsewhere in the house, as long as nosing and traction get treated as non-negotiable, not optional add-ons. Main staircases that anchor a home’s entryway, and any stairs used by someone with balance or mobility concerns, usually do better with hardwood or LVP instead.
Call in a professional when your stairs are visibly uneven, when riser totals are already tight against code, when you’re dealing with an open staircase with returned edges, or when you simply don’t own a miter saw and don’t want to.
— Jim
Get a Professional Estimate for Your Stairs
If reading through eight steps of gluing, clamping, and countersinking made you rethink the DIY route, that’s a completely reasonable reaction. Experienced flooring contractors have handled staircases needing this kind of precision work: proper nosing, correct riser math, and adhesive done right the first time.

A detailed estimate typically breaks out material costs, labor, and stair nosing as separate line items, so you’re never guessing what you’re paying for or wondering if nosing got skipped to save money. We also install vinyl plank on stairs and hardwood as alternatives if your household situation points away from laminate. Check out our laminate flooring installation page and request an estimate to get a straight answer on what your specific staircase needs.
Sources
For manufacturer installation steps, see Swiss Krono’s stair guide. For material trade-offs, see JourneymanHQ’s laminate versus vinyl breakdown and Potomac Floors’ stair flooring cost guide. For coordinating trim and finishes on an open staircase, One Day Doors & Closets has useful design context.
- Installing Laminate Flooring on Stairs — Swiss Krono USA
- Best Flooring for Stairs: Safety First, Then Style — FlooringExplorer
- Vinyl plank vs laminate for stair covering — JourneymanHQ
- Best flooring for stairs — Potomac Floors
FAQ
Is Laminate on Stairs a Good Idea?
It can be, if you glue and mechanically fasten every tread and riser, install proper stair nosing, and add traction with textured planks or a runner. It’s a poor idea for elderly households or entries that see wet shoes often.
How Much Does It Cost to Put Laminate on Stairs?
Materials typically run $50 to $120 per step, or roughly $650 to $1,400 for a full 13 step flight done as a DIY project. Professional installation costs more once labor and stair-specific prep get factored in.
What Is Better for Stairs, Laminate or Vinyl?
Vinyl plank generally wins on safety and moisture resistance, since it’s quieter underfoot and handles spills better than laminate’s HDF core. Laminate holds up better against scratches and often costs less upfront.
How Do I Laminate My Stairs?
Repair and level the substrate, measure total rise to account for added thickness, then glue treads and risers in place before mechanically fastening stair nosing with countersunk screws. Never rely on click-lock joints alone at the leading edge.