
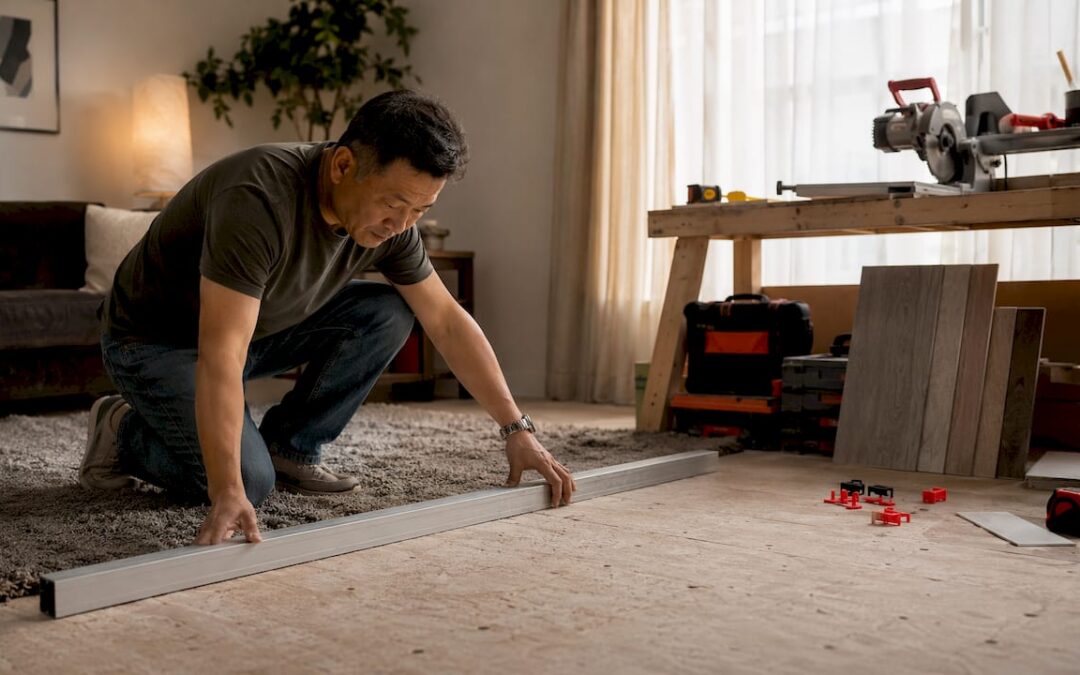
You can install wood-look tile yourself if your subfloor meets three non-negotiable standards: flat to within a very tight tolerance over a length of 10 feet, set with LFT/LHT mortar for planks with longer edges, and laid with a stagger offset capped at about one-third the plank length. Miss any one of those and you will fight lippage, hollow spots, and cracked grout from day one. If your subfloor needs more than minor patching, or if you are working over a bouncy wood-frame floor with questionable deflection, call a pro before you buy a single tile.
Quick self-triage:
- Subfloor flatness within 1/8" over 10’ (use a 10-foot straightedge to check)
- LFT/LHT mortar for planks longer than 15"
- Stagger offset capped at about one-third the tile length (never 50% brick pattern with long planks)
- PPE: safety glasses, knee pads, dust mask (N95 for concrete grinding), hearing protection near a wet saw
- Budget: materials for a medium-sized room typically run a few hundred to over a thousand dollars depending on tile grade and substrate needs; professional installation in the Denver area adds labor on top of that
| Scenario | DIY or Pro? |
|---|---|
| Flat concrete slab, minor patching needed | DIY-friendly with proper prep |
| Wood subfloor, good deflection, cement board needed | DIY with moderate skill |
| Bouncy floor, significant leveling compound needed | Pro recommended |
| Wet area (shower, steam room) | Pro strongly recommended |
| Large open floor plan, complex pattern | Pro for best results |
Pro Tip: Rent a 10-foot aluminum straightedge before you buy anything else. Checking flatness takes 20 minutes and can save you from a $1,000 mistake.
Table of Contents
- What tools and materials do you need for wood-look plank tile?
- How do you measure, plan layout, and calculate how much tile to order?
- How do you prepare the subfloor for wood-look tile?
- How do you install cement board, uncoupling membranes, and waterproofing?
- How do you set wood-look plank tiles step by step?
- How do you grout, seal, and finish wood-look tile?
- How do you diagnose and fix the most common DIY tile failures?
- What is a realistic timeline and cost for a typical room?
- What are the measurable standards and pro best practices you must follow?
- Key Takeaways
- What I have seen on real jobs that the guides do not tell you
- Skip the stress: Leonardosflooringcorp handles tile installation in Denver
- Authority sources and further reading
What tools and materials do you need for wood-look plank tile?
Getting the tool list right before you start saves two trips to the hardware store and one ruined tile. Here is what you actually need for installing wood-look tiles, not a generic tile job.
Power tools and cutting equipment:
- Wet saw with a diamond blade rated for porcelain (7" or 10" blade; 10" preferred for planks over 24")
- Angle grinder with a diamond cup wheel for grinding high spots on concrete
- Drill with a mixing paddle for mortar
Hand tools and layout:
- 10-foot aluminum straightedge or level
- Feeler gauges (to measure deviation)
- Chalk line and tape measure
- Rubber mallet
- Margin trowel and bucket
- Notched trowel: for most wood-look planks, a 1/2" x 1/2" square-notch trowel is the standard recommendation
- Grout float and sponges
Tile leveling system:
Clip-and-wedge leveling systems (brands like Raimondi, Tuscan Leveling System, or LASH) are close to mandatory for long planks. They hold adjacent tiles flush while mortar cures.
Materials:
- LFT/LHT mortar (large-and-heavy tile mortar) for planks with any edge over 15"
- Cement backer board (1/4" or 1/2") or uncoupling membrane such as Schluter-DITRA
- Polymer-modified grout or epoxy grout (MAPEI Ultracolor Plus FA is a widely used option for wood-look tile)
- Grout sealer and tile sealer (for textured surfaces)
- Flexible silicone caulk for perimeter joints and transitions
- Tile spacers (1/16" to 1/8" for rectified planks)
- Self-leveling compound for subfloor prep
Rental vs. buy:
Wet saws rent for a moderate daily fee at common equipment rental outlets. A tile leveling system starter kit runs $30–$60 to buy and is worth owning if you plan to do more than one room. Mixing paddles and buckets are cheap enough to buy outright.
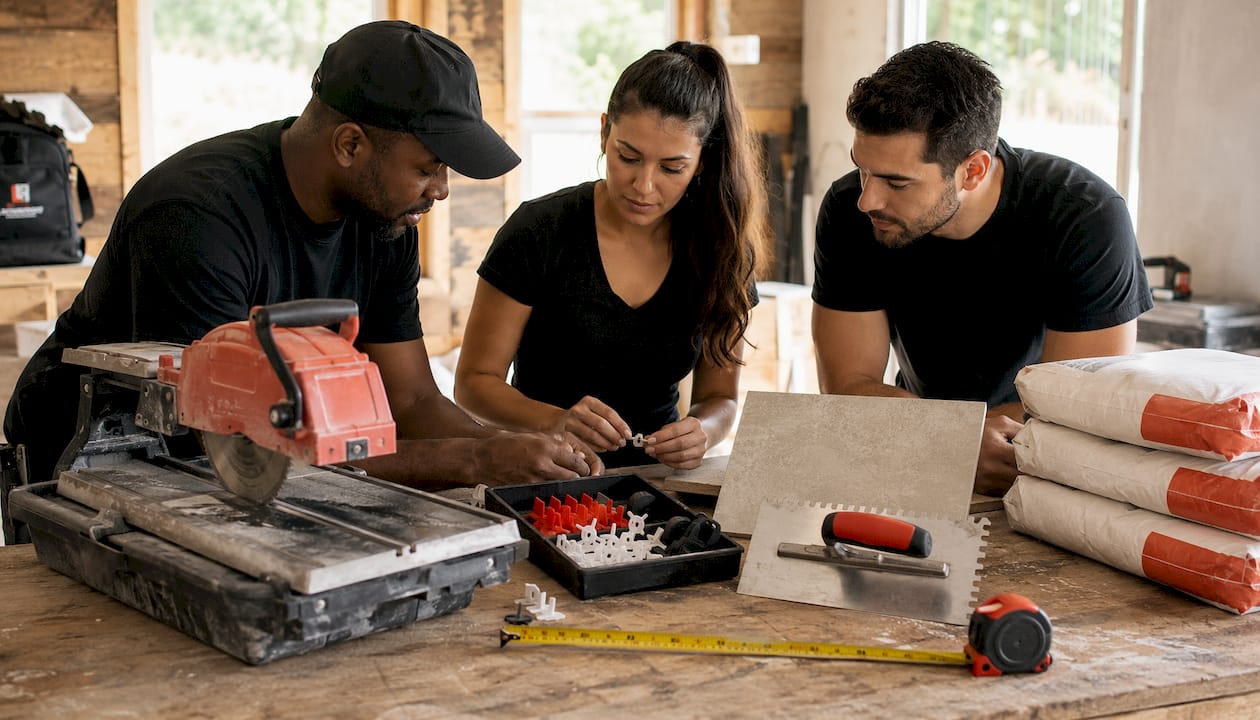
Pro Tip: Buy one extra bag of mortar and one extra bag of grout beyond your estimate. Running out mid-section forces a stop that can leave a visible line in your finished floor.
How do you measure, plan layout, and calculate how much tile to order?
Measure the room’s length and width, multiply for square footage, then add your waste factor before ordering. For a straight-lay or 33% stagger pattern, order 10–15% extra; for herringbone, chevron, or rooms with many angles and doorways, bump that to 15–20%. Long planks generate more offcuts than square tiles, so err toward the higher end of any range.
Step-by-step layout planning
- Measure the room at its widest and longest points. Multiply to get gross square footage.
- Add your waste percentage (10–15% for straight/stagger; 15–20% for complex patterns).
- Divide total square footage by the tile coverage per box to get box count. Always round up.
- Dry-lay three to four rows without mortar to visualize the pattern and catch awkward cuts at walls.
- Snap a chalk line down the center of the room (both axes) to establish your starting point.
- Adjust the starting line so you avoid a sliver cut at any prominent wall or doorway.
- Open at least three boxes and blend planks from multiple boxes before you set a single tile.
Offset patterns: what works and what does not
| Pattern | Offset | Best for | Lippage risk |
|---|---|---|---|
| Straight lay | 0% | Modern, wide planks | Low |
| 1/3 stagger | 33% | Mimics real hardwood | Low |
| Random offset | Varies (≤33%) | Organic, natural look | Low |
| Brick/running bond | 50% | Square tiles only | High with long planks |
The 50% brick offset is the single most common layout mistake with wood-look planks. Most porcelain planks have a slight crown from manufacturing, meaning the center sits higher than the ends. When a 50% offset aligns the center of one plank with the end of another, that crown creates a step you can feel with your foot and see in raking light. A 33% or randomized offset breaks that alignment and dramatically reduces lippage.
Example calculation: For a room about 12 by 15 feet, add a waste factor and order accordingly to ensure coverage.
Pro Tip: Lay out your pattern on paper or use a free tile calculator app before ordering. Knowing where your last row lands at the far wall lets you shift the starting line and avoid a 1-inch sliver cut that looks terrible and is hard to cut cleanly.
For tile floor design ideas that show how layout patterns interact with room shape and lighting, that resource is worth a look before you finalize your plan.
How do you prepare the subfloor for wood-look tile?
Subfloor prep is where most DIY tile jobs succeed or fail. Pro tilers consistently say underestimating this step costs more time and money than any other mistake on the project.
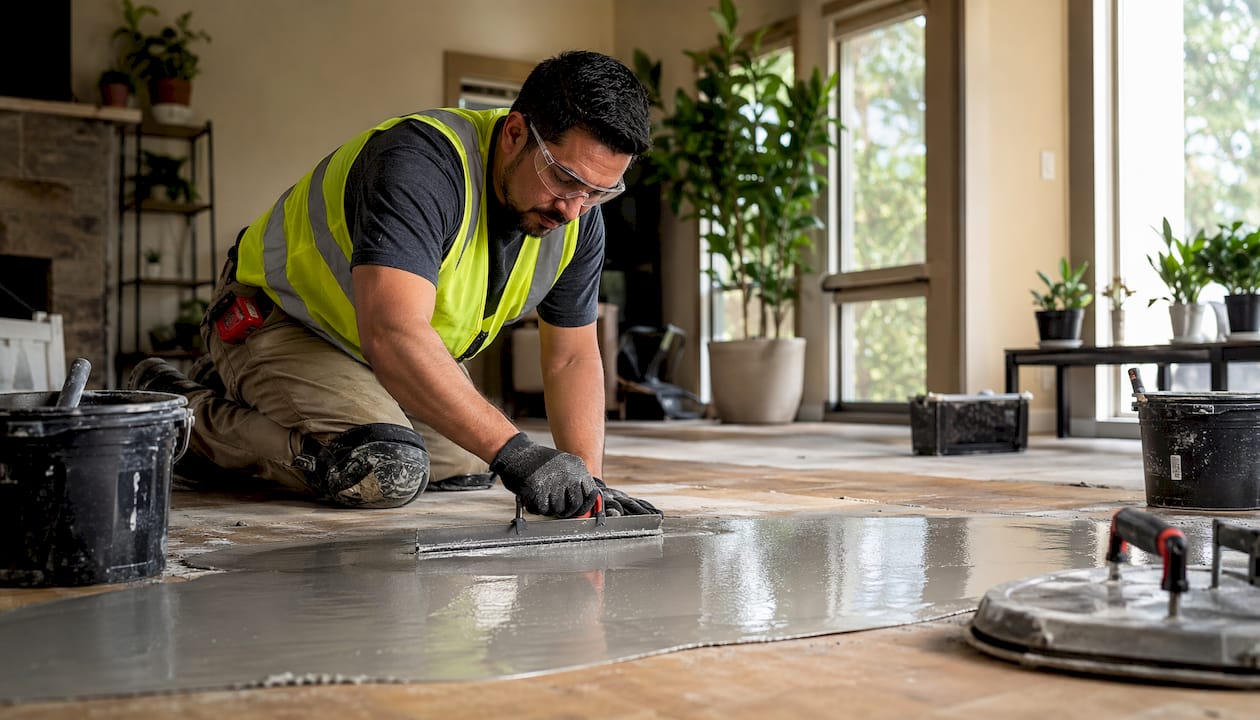
The industry flatness standard for tiles with at least one edge 15" or longer is maximum 1/8" deviation in 10 feet, with some manufacturers calling out 1/16" over 24" for the longest planks. That is a tight tolerance. A standard residential floor often has humps, dips, and transitions that exceed it.
How to check flatness
- Drag a 10-foot straightedge across the floor in multiple directions (parallel to walls, diagonal, perpendicular).
- Slide a feeler gauge under the straightedge at any gap. A gap over 1/8" needs correction.
- Mark high and low spots with chalk or tape so you know exactly where to grind or fill.
Concrete subfloors
Concrete is generally the better base for wood-look tile, but it still needs work.
- Grind high spots with an angle grinder and diamond cup wheel. Wear an N95 mask; concrete dust is a silica hazard.
- Fill low spots and cracks with a Portland cement-based patching compound or self-leveling underlayment (products like Ardex K-15 or MAPEI Ultraplan work well).
- Check for moisture: tape a 24" x 24" plastic sheet to the slab for 24 hours. Condensation underneath means you need a moisture mitigation primer before setting tile.
Wood subfloors
Wood subfloors require two things tile does not forgive: rigidity and flatness. The L/360 deflection standard is the minimum for tile; that means a floor joist spanning 10 feet should deflect no more than 1/3 of an inch under load.
- Add blocking between joists or sister the joists if the floor bounces noticeably when you walk.
- Screw down any squeaky or loose panels with 1-5/8" screws on a 6" grid.
- Install cement backer board or an uncoupling membrane over the plywood. Never set tile directly on OSB or standard plywood without a proper substrate layer.
Pro Tip: Self-leveling compound flows to find its own level, but it does not fill deep voids well. For gaps over 1/4", build up in layers, letting each layer cure before adding the next.
For a deeper look at subfloor leveling techniques and what to do when the damage is more than minor, that guide covers the full range of prep scenarios.
How do you install cement board, uncoupling membranes, and waterproofing?
The substrate layer between your subfloor and tile is not optional. It controls crack isolation, moisture, and the long-term stability of the whole installation.
Choosing the right substrate
Cement backer board (Hardiebacker, USG Durock) is the traditional choice. It is rigid, dimensionally stable, and widely available. Use 1/4" over a solid concrete slab; use 1/2" over wood subfloors where you need the added stiffness.
Uncoupling membranes like Schluter-DITRA are a better choice over wood subfloors and in-floor heating applications. The membrane’s grid structure allows slight independent movement between the subfloor and tile layer, which dramatically reduces crack transmission. DITRA also provides a moisture management layer, which matters in kitchens and bathrooms.
Wet areas (bathrooms, laundry rooms) need a waterproofing layer regardless of substrate type. Schluter-KERDI sheet membrane or a liquid-applied product like RedGard applied over cement board are both proven systems.
Installing cement board: step-by-step
- Spread a layer of thinset mortar on the subfloor with a 3/16" V-notch trowel.
- Lay cement board sheets with the rough side up, staggering joints so they do not align with subfloor seams.
- Fasten with 1-1/4" cement board screws on a 6" grid in the field and 4" at edges.
- Leave a 1/8" gap between sheets; fill with thinset and embed alkali-resistant mesh tape over every seam.
- Feather the tape flat with a thin coat of thinset. Let cure 24 hours before tiling.
For uncoupling membrane:
- Spread unmodified thinset on the subfloor with a 3/16" V-notch trowel.
- Roll the membrane fleece-side down into the wet thinset, pressing firmly with a float.
- Butt seams tightly; overlap is not needed.
- Tile directly into the membrane’s square cavities using unmodified thinset.
Pro Tip: In a bathroom, apply RedGard or a comparable liquid membrane over the cement board seams and the entire shower area before tiling. Two coats, letting the first dry pink before applying the second. That 30-minute step prevents the most expensive repair in residential tile work: a wet wall cavity.
Cement board adds roughly 1/4"–1/2" to floor height. Plan your transitions to adjacent flooring before you start, not after.
How do you set wood-look plank tiles step by step?
Follow this sequence to minimize lippage and hollow spots. Skipping steps or rushing mortar cure time is the fastest way to redo the whole floor.
Mortar mixing and consistency
Mix LFT/LHT mortar to a peanut butter consistency: it holds a notch cleanly and does not slump off a vertical trowel. Too wet and it sags under the tile’s weight; too stiff and you cannot achieve full coverage. Let the mortar slake (rest) for 5–10 minutes after initial mixing, then remix briefly before use.
Step-by-step setting sequence
- Snap your working lines from the chalk layout established during planning.
- Spread mortar on the substrate with the flat side of the trowel first, then comb with the notched side. Use a 1/2" x 1/2" square-notch trowel for most wood-look planks.
- Comb the ridges perpendicular to the long edge of the plank. This direction forces air out as the tile is pressed down and helps achieve full coverage.
- Back-butter the tile: apply a thin skim coat of mortar to the back of each plank with a margin trowel, then comb lightly. Back-buttering is required for large-format planks to reach the 95% mortar coverage target in wet areas and 80% minimum in dry areas.
- Set the tile with a slight twisting motion, pressing firmly. Tap with a rubber mallet across the full surface, not just the center.
- Install leveling clips under the leading edge of each tile as you go. Snap the wedge through the clip after setting the adjacent tile. Remove clips after mortar cures (typically 24 hours) by tapping sideways with a mallet.
- Check every third or fourth tile with a straightedge across the surface. Catch lippage while the mortar is still workable, not after it sets.
- Cut tiles with a wet saw. Score-and-snap cutters work for straight cuts on thinner tiles but tend to chip porcelain planks. A wet saw with a fine-tooth diamond blade gives clean edges.
- At the end of each workday, secure the last row with leveling clips and tile scraps to hold the exact elevation. The next day’s work must start at that same height or you will create a permanent step between sessions.
Pro Tip: Lift a tile you just set after the first few to check coverage. The mortar ridges should be fully collapsed across at least 80% of the back. If you see bare spots, your trowel notch is too small or you need to back-butter more aggressively.
Trowel size reference
| Plank size | Trowel recommendation |
|---|---|
| Up to 12" wide | 3/8" x 3/8" square notch |
| 12" wide | 1/2" x 1/2" square notch |
| Over 15" wide | 1/2" x 1/2" or larger; consult mortar manufacturer |
How do you grout, seal, and finish wood-look tile?
Grout is where the wood illusion either holds or falls apart. The right width and color are not aesthetic choices; they are technical ones.
Grout joint width: Aim for 1/16"–1/8" with rectified (precision-cut) tiles. Narrow joints mimic the tight seams of real hardwood and keep the eye on the grain, not the lines. Non-rectified tiles need at least 1/8" to accommodate size variation. Never go below the minimum the tile manufacturer specifies; joints that are too tight trap debris and crack.
Grout color: Match the tile’s background tone as closely as possible. A light oak tile needs a warm tan grout; a dark walnut tile needs a deep brown. High-contrast grout immediately signals “tile” to anyone who looks at the floor. MAPEI Ultracolor Plus FA and similar polymer-modified grouts offer consistent color and good stain resistance on textured wood-look surfaces.
Grout color that closely matches the tile background minimizes visible seams and lets the wood grain texture carry the visual weight of the floor. Contrast grout, no matter how carefully applied, undermines the hardwood illusion that makes wood-look tile worth installing in the first place.
Grouting process:
- Wait at least 24 hours after setting before grouting.
- Mix grout to a smooth, lump-free consistency and apply with a rubber grout float held at a 45-degree angle.
- Work in sections of 10–15 sq ft. Pack joints fully, then sweep diagonally to remove excess.
- Clean grout haze with a damp sponge in circular motions within 20–30 minutes of application. Rinse the sponge frequently. Letting haze dry on textured tile makes it very difficult to remove.
- Allow grout to cure 72 hours before sealing.
Sealing and caulking:
- Apply a penetrating grout sealer after full cure. Textured wood-look tiles may also benefit from a tile sealer on the face to prevent grout from staining the recessed grain.
- Replace the grout joint at all perimeters, corners, and transitions to adjacent flooring with flexible silicone caulk in a matching color. Grout at these points will crack within months as the structure moves.
For finishing touches that coordinate your new floor with interior trim and door colors, that resource covers how to make trim choices that complement rather than compete with the floor.
Pro Tip: Apply painter’s tape along baseboards before grouting. It takes five minutes and saves 30 minutes of cleanup on textured surfaces where grout haze loves to hide.
How do you diagnose and fix the most common DIY tile failures?
Most problems show up within the first week, either during installation or right after grouting. Catching them early is the difference between a 10-minute fix and a full tile removal.
Lippage
Lippage (one tile edge sitting higher than its neighbor) has three main causes: an uneven subfloor, a 50% offset with bowed planks, or insufficient mortar coverage that lets the tile rock. Minor lippage (under 1/32") is acceptable. Anything you can feel with your foot needs attention.
- During installation: reset the tile while mortar is still workable. Pull it up, add mortar, re-comb, and reset with leveling clips.
- After cure: light lippage can sometimes be reduced by grinding the high edge with a diamond hand pad, but this risks chipping the tile face. Severe lippage usually means removing and resetting the affected tiles.
Hollow spots
Tap tiles gently with a coin or the handle of a screwdriver. A hollow sound means the mortar did not bond fully to the tile back. Hollow spots under heavy traffic will eventually crack the tile.
- Small isolated hollow spots in a dry area: monitor for cracking. If the tile is stable and the area is low-traffic, it may hold.
- Multiple hollow spots or any hollow spot in a wet area: remove and reset. This is not optional in a bathroom.
Color clustering
If you installed tiles from one box at a time, you may have visible patches of matching tone. Blending from multiple boxes during installation prevents this, but if you are mid-project, open remaining boxes now and mix aggressively going forward.
When to stop and call a pro
- The floor deflects visibly when you walk on it after substrate installation.
- Tiles are cracking within 48 hours of setting (subfloor movement or moisture problem).
- Moisture is appearing through the slab after your plastic-sheet test.
- Lippage is widespread across multiple rows (systematic subfloor or mortar problem, not isolated).
Pro Tip: Keep 5–10 extra tiles from your original order stored flat in a dry location. Tile dye lots change between production runs. If you need to replace a cracked tile two years from now, a matching replacement from the same lot is worth more than you paid for it.
For a broader look at installation mistakes to avoid, many of the same principles that apply to hardwood carry over directly to plank tile.
What is a realistic timeline and cost for a typical room?
A 200–300 sq ft room is a reasonable first DIY tile project. Here is what to expect, honestly.
Phase timeline
| Phase | Time estimate |
|---|---|
| Subfloor inspection and prep | 1–2 days |
| Substrate installation (cement board or membrane) | 1 day |
| Tile setting | 1–3 days (depending on room complexity) |
| Grout cure before grouting | 1 day (minimum 24 hours) |
| Grouting and cleanup | 1 day |
| Sealing and finishing | 1 day |
| Total | 6–9 days |
A professional crew typically completes the same room in 2–3 days. The difference is not just speed; it is the ability to maintain consistent mortar coverage and leveling across a full day of continuous work.
Material cost ranges (200–300 sq ft room)
- Wood-look porcelain tile: $2–$8 per sq ft for mid-range options, so $400–$2,400 depending on tile selection
- LFT/LHT mortar: $40–$70 per bag; plan on 2–4 bags
- Cement board or uncoupling membrane: $80–$200
- Grout and sealer: $40–$80
- Tile leveling system: $30–$60 (starter kit)
- Wet saw rental: $50–$80 per day (budget 2–3 days)
- Miscellaneous (spacers, trowels, buckets, tape): $30–$60
Total material estimate: roughly $700–$3,000 depending on tile grade and whether you already own basic tools.
Where costs surprise DIYers:
- Self-leveling compound for significant floor prep: $50–$150 per bag, and a bad floor can need several bags.
- Extra tiles for breakage and future repairs: always buy 15% more than your calculation.
- Unexpected substrate replacement: discovering rotted subfloor under a bathroom adds a full day and $200–$500 in materials.
Pro Tip: Price out the full project before you start, not tile-by-tile. Many DIYers buy tile first and then discover the substrate and prep costs push the total well past their budget. Substrate and mortar often cost as much as the tile itself on a first install.
What are the measurable standards and pro best practices you must follow?
These are the numbers that separate a floor that lasts 30 years from one that needs repair in three.
Flatness tolerance: The MAPEI technical standard for wood-plank tiles with at least one edge 15" or longer is a maximum tight deviation over 10 feet, with a stricter 1/16" over 24" for the longest planks. This is tighter than the standard for square tile and tighter than most residential floors come from the builder.
LFT/LHT mortar requirement: Any plank with one edge over 15" must be set with large-and-heavy tile mortar. Standard thinset does not have the non-sag properties needed to support a long plank’s weight during cure. It can sag at the ends, creating the very lippage you are trying to prevent.
Mortar coverage targets: The 95% coverage standard applies to wet areas and large-format installations. For dry interior areas, 80% is the minimum. Back-buttering combined with proper trowel technique is the only reliable way to hit these numbers on long planks.
Maximum stagger offset: The 33% maximum offset rule exists because of plank bowing. When a 50% offset aligns the high center of one plank with the low end of the adjacent row, the height difference becomes lippage. A 33% offset breaks that alignment pattern.
Grout joint minimums: TCNA guidance for wood-look plank tiles calls for 1/16"–1/8" joints with rectified tile. Going narrower than the tile manufacturer’s minimum causes joint failure.
The three numbers that govern every wood-look plank installation are 1/8" (maximum subfloor deviation over 10 feet), 33% (maximum stagger offset), and 95% (mortar coverage target for wet areas). Every other technique in this guide exists to help you hit those three benchmarks consistently.
Back-buttering and leveling systems: Back-buttering is mandatory for large-format planks, not optional. Leveling clip-and-wedge systems hold edges in-plane while mortar cures but do not substitute for a flat substrate. They are a final-stage correction tool, not a fix for a floor that is 1/2" out of flat.
Pro Tip: Print the mortar manufacturer’s technical data sheet and keep it on the jobsite. Coverage requirements, open time, and temperature limits vary by product. Following the sheet protects you if a warranty claim ever comes up.
Key Takeaways
Successful wood-look tile installation comes down to three non-negotiables: a subfloor flat to within a very tight tolerance over a length of 10 feet, LFT/LHT mortar for planks over 15 inches, and a stagger offset capped at 33%.
| Point | Details |
|---|---|
| Subfloor flatness is the foundation | Check with a 10-foot straightedge; any gap over 1/8" must be corrected before setting tile. |
| LFT/LHT mortar is not optional | Planks with any edge over 15" require large-and-heavy tile mortar to prevent sagging and lippage. |
| 33% maximum stagger | A 50% brick offset with bowed planks causes lippage; keep offsets at 33% or use a randomized pattern. |
| Back-butter every plank to ensure good mortar coverage | Apply mortar to both substrate and tile back to reach 80–95% coverage and prevent hollow spots. |
| Leonardosflooringcorp for pro results | For Denver homeowners who want professional tile installation or need subfloor rescue work, Leonardosflooringcorp handles the full project from prep to finish. |
What I have seen on real jobs that the guides do not tell you
Most installation guides treat subfloor prep as one step among many. On actual jobs, it is often half the project. A floor that looks flat to the eye can fail a straightedge check in a dozen places. Self-leveling compound is not a magic fix either; it needs a properly primed surface or it will delaminate, and it needs time to cure fully before you tile over it.
The 33% stagger rule gets mentioned in most guides, but the reason behind it rarely does. Porcelain planks are not perfectly flat. They come out of the kiln with a slight crown, and that physical reality is baked into every installation decision you make: your offset, your leveling system, your back-buttering technique. Once you understand that the tile itself is working against you slightly, the whole system of standards makes sense instead of feeling like arbitrary rules.
One thing that surprises homeowners on their first tile project: the grout stage feels anticlimactic after days of careful setting work, but it is where the floor’s final appearance is decided. Wrong color, rushed cleanup, or skipped sealer and the whole job looks amateur. Spend the same care on grouting that you spent on layout.
If you are in the Denver area and the subfloor inspection reveals something unexpected, or if the project scope grows beyond what you planned for, that is exactly the situation where a professional assessment pays for itself. A site visit costs nothing compared to resetting 200 square feet of tile.
Skip the stress: Leonardosflooringcorp handles tile installation in Denver

Wood-look tile delivers the hardwood look with the durability of porcelain, but the installation tolerances are tighter than most DIY projects. If your subfloor needs significant leveling, your bathroom requires waterproofing, or you simply want the job done right the first time without renting a wet saw and spending two weekends on your knees, Leonardosflooringcorp is the answer.
The team handles the full scope: tile floor installation, subfloor preparation and leveling, cement board and uncoupling membrane installation, waterproofing for wet areas, and grout repair on existing floors. For homeowners who started a DIY project and hit a problem, partial installs and rescue work are part of the service too.
Leonardosflooringcorp has served the greater Denver metro for over 10 years with 125+ five-star reviews. Every project gets a site visit, a clear estimate, and a schedule that fits your timeline. To get started, visit the flooring installation services page or reach out directly for a quote.
Authority sources and further reading
The technical standards in this guide draw from the following primary sources. For product-specific limits, always consult the manufacturer’s technical data sheet for the exact mortar, grout, and membrane you are using. Local building codes and unusual jobsite conditions (radiant heat, high humidity, commercial traffic) may require additional guidance from a licensed contractor.
- TCNA Handbook for Ceramic, Glass, and Stone Tile Installation — the primary industry standard for flatness tolerances, grout joint minimums, and offset limits
- MAPEI Technical Bulletin: Installing Wood Plank Tiles — flatness tolerances and mortar coverage requirements for large-format planks
- MAPEI Installation Guide: Wood-Look Porcelain Plank Tile — back-buttering technique, leveling system guidance, and coverage targets
- DIYTileGuy: Installing Wood-Look Tile — practical installer perspective on offset patterns and lippage causes
- Fine Homebuilding — pro sequencing and multi-day installation techniques
- Rubi Blog: How to Lay Tile That Looks Like Wood — blending and color variation guidance
Always read the technical data sheet for every product you use. Mortar open times, coverage requirements, and temperature limits vary between manufacturers and product lines. What works for one LFT mortar may not apply to another. The data sheet is the final word, not any installation guide including this one.