
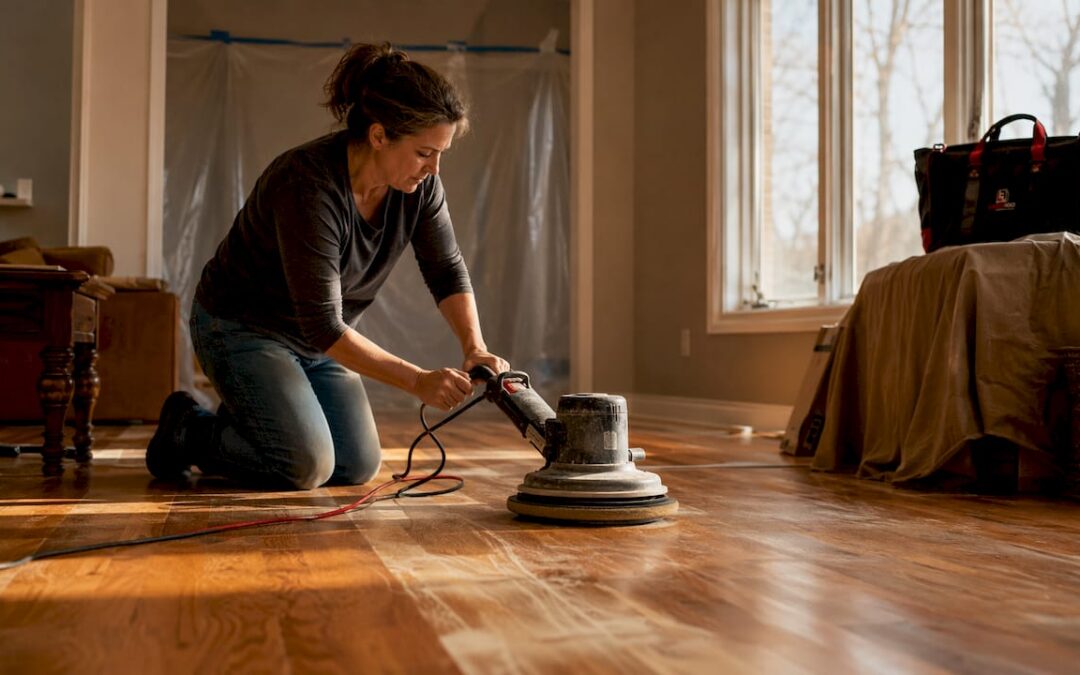
A screen and recoat refreshes a sound finish without touching bare wood. It uses a mesh abrasive pad to lightly scuff the existing finish, then applies a fresh topcoat of polyurethane to restore protection and shine. Most jobs finish in a single day, and the cost runs roughly $1.00–$3.00 per square foot compared to $3.00–$8.00 for a full sand-and-refinish. Choose it when your finish is dull or lightly scratched but the wood underneath is still intact.
Three fast decision signals:
- Pass: Surface scratches only, finish still present across the whole floor, no bare wood showing
- Pass: No water stains, no gray or black discoloration, no cupping or warping
- Fail: Deep gouges into wood, heavy discoloration, or wax/silicone residue that blocks adhesion
Industry guidance recommends regular recoating over time depending on foot traffic, which helps keep hardwood looking sharp and delays the need for full refinishing.
Table of Contents
- Does your floor qualify for a screen and recoat?
- What happens during a professional screen and recoat?
- Which finishes and cleaners cause adhesion problems?
- How much does a screen and recoat cost?
- Should you DIY or hire a professional?
- When does a floor need full refinishing instead?
- How Leonardosflooringcorp handles screen-and-recoat jobs
- Key Takeaways
Does your floor qualify for a screen and recoat?
Not every floor is a candidate, and finding out before you rent equipment or book a contractor saves real money. The eligibility test comes down to three things: finish condition, wood condition, and surface contamination.
Pass criteria (all three must be true):
- Scratches are surface-level only; the wood grain beneath is not exposed
- The existing finish is present and bonded across the entire floor, with no flaking or peeling sections
- No structural issues: no cupping, gapping, warping, or soft spots from moisture damage
- The floor has not been treated with wax, silicone polish, or a store-bought “revitalizer” product
Fail criteria (any one disqualifies the floor):
- Scratches or gouges that reach bare wood
- Water stains, gray or black discoloration from moisture
- Existing finish is peeling, bubbling, or delaminating in sections
- Wax or oil residue present (see the compatibility section below for testing)
- You want to change the stain color — screening cannot do that
Pro Tip: Before committing to a full project, apply a small patch of your chosen finish in a closet corner and let it cure completely. If the new coat peels or beads up, the floor has contamination that needs to be addressed before any recoating begins. This test patch approach costs nothing and can save you from a failed job across the entire floor.
Engineered hardwood is often a candidate too, since screening only abrades the finish layer, never the wood veneer underneath. The exception is factory-applied aluminum-oxide coatings, which resist standard abrasion and may need specialized adhesion promoters or a professional approach.
What happens during a professional screen and recoat?
Understanding the workflow helps you plan around it and catch shortcuts a contractor might take.
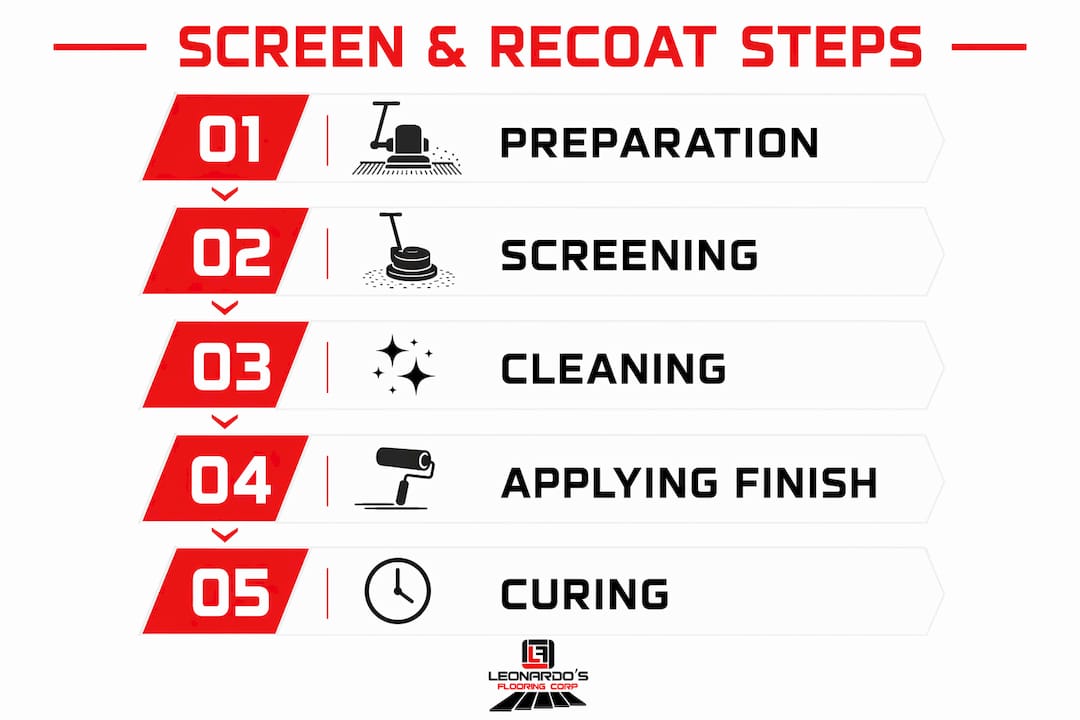
1. Room preparation
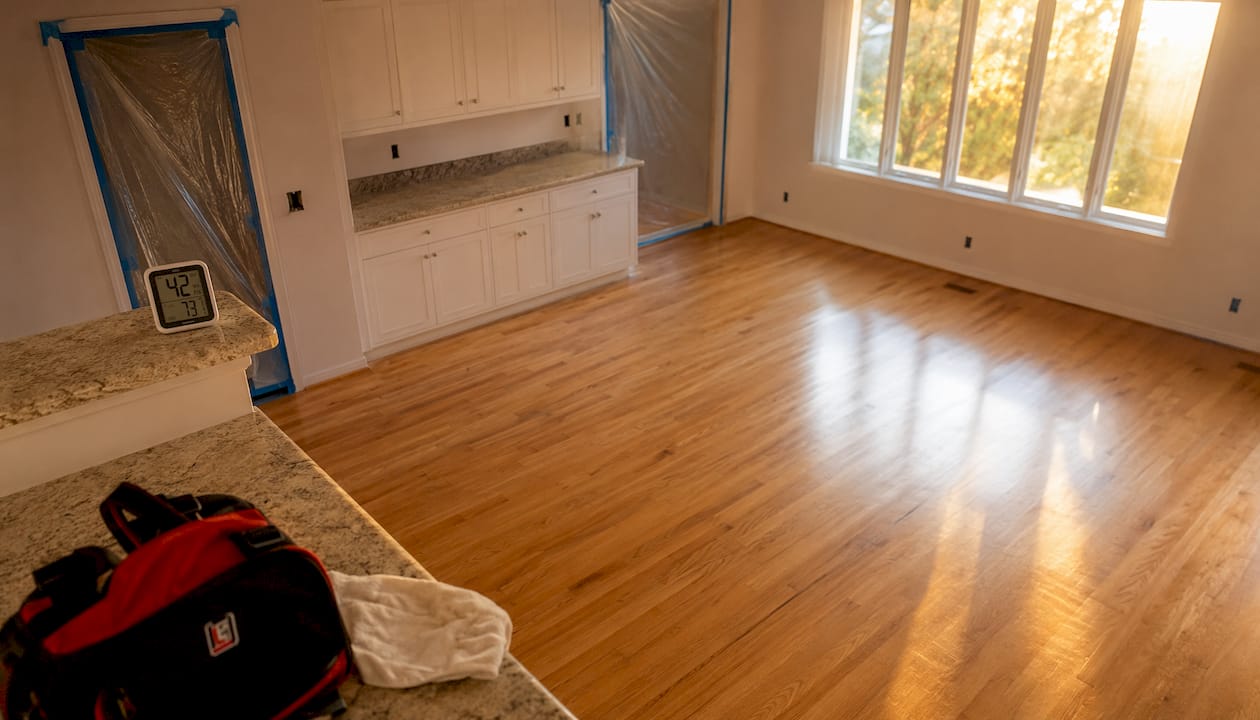
Move all furniture out of the space. Seal doorways with plastic sheeting to contain dust. Check for any protruding nail heads and countersink them — a raised nail tears a screening pad and leaves a gouge. Cover HVAC registers so fine abrasive dust does not circulate through the system.
2. Screening the floor
A floor buffer fitted with a 120–150 grit sanding screen scuffs the existing finish without cutting into the wood. The machine works the open field first, then a hand-held edge pad or detail sander handles the perimeter within a few inches of the baseboard. Keep the buffer in continuous, overlapping passes. Stopping or slowing in one spot creates swales — shallow dips that catch light and look terrible once the new finish goes down.
3. Cleaning between steps
Vacuum the entire floor with a soft-brush attachment, then wipe with a dry tack cloth. Skip damp mopping at this stage; moisture raises the wood grain and causes adhesion problems. Give the floor time to reach room temperature and stable humidity before applying finish.
4. Topcoat application
- Water-based polyurethane: dries in 2–4 hours between coats, low odor, slightly clearer appearance. Most jobs take two coats.
- Oil-based polyurethane: richer amber tone, 8–12 hours between coats, stronger fumes requiring ventilation. One coat often goes further, but cure time extends the project.
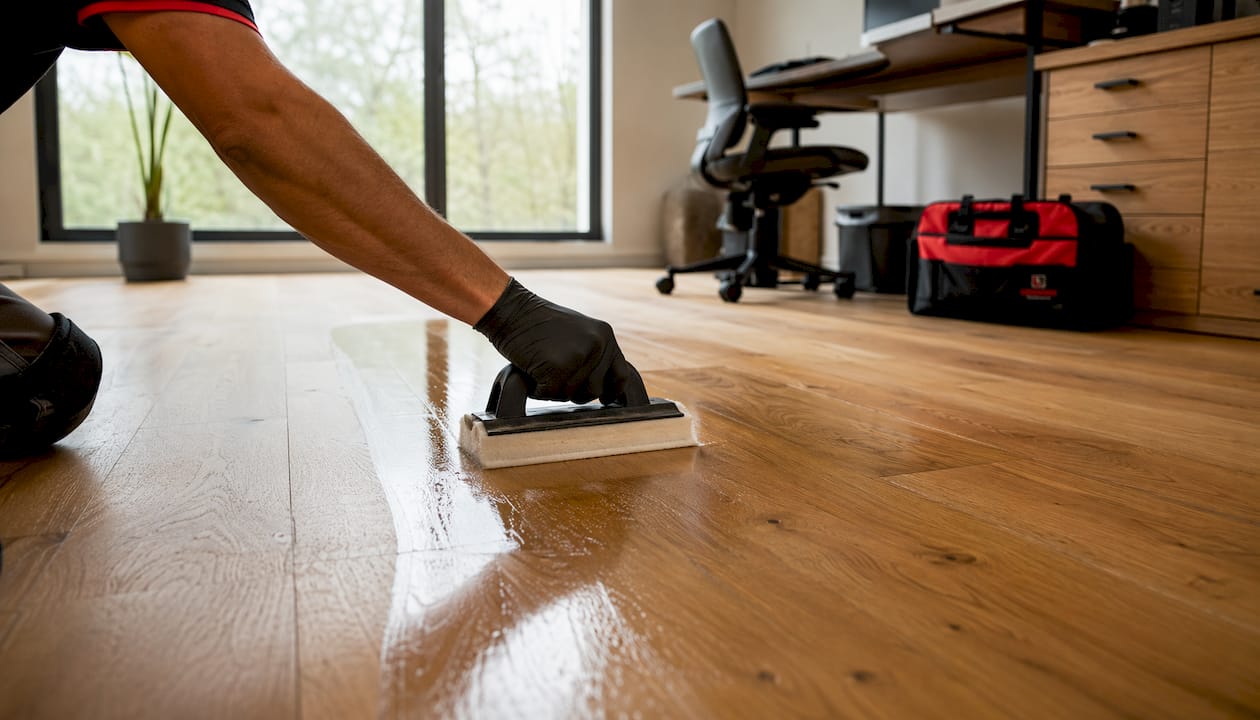
Apply finish from the far corner toward the exit, working in the direction of the wood grain. Use a quality applicator — a T-bar or lambswool pad for oil-based, a synthetic applicator for water-based. Apply thin, even coats to prevent bubbling and ensure even drying.
5. Cure schedule
Light foot traffic is usually safe after about a day. Full cure, meaning furniture and rugs can be put back, takes several days depending on finish type. Rushing this step is the single most common cause of dents and finish impressions.
Pro Tip: Schedule the job during low-humidity days. High humidity slows drying, increases the risk of bubbling, and can cause water-based finishes to turn milky. In Denver, late summer monsoon season is the worst window; spring and fall tend to give the most predictable results.
Which finishes and cleaners cause adhesion problems?
Finish compatibility is where most DIY screen-and-recoat jobs go wrong, and where even some contractors cut corners.
Finish-to-finish compatibility:
- Water-based polyurethane over water-based: generally compatible with proper scuffing
- Oil-based over oil-based: compatible
- Water-based over oil-based: can work if the oil-based coat is fully cured and properly scuffed, but test first
- Oil-based over water-based: not recommended; adhesion is unpredictable
- Any finish over a factory aluminum-oxide coating: adhesion is difficult and often requires a chemical etch or manufacturer-specified adhesion promoter
What kills adhesion:
The biggest hidden threat is
from cleaning products and store-bought floor polishes. These leave an invisible film that new polyurethane cannot bond to. The result is peeling or bubbling within weeks of application, sometimes within days. Products marketed as “floor restorers” or “shine enhancers” are frequent culprits.
What to do before you recoat:
- Disclose every cleaning product you have used to your contractor
- Test a small area with a few drops of water; if it beads up, residue is likely present
- Use a manufacturer-recommended floor cleaner or chemical stripper to decontaminate, then retest
- Run the test patch described in the eligibility section before committing to the full floor
Pro Tip: If you have used a Swiffer WetJet solution, Murphy Oil Soap, or any product labeled “shine restorer” in the past year, tell your contractor before they start. These products are not always visible, and a professional who skips the contamination check is setting you up for a callback.
How much does a screen and recoat cost?
Cost ranges vary by floor size, condition, finish type, and your market, but the numbers below reflect typical U.S. pricing.
Per-square-foot ranges:
- Screen and recoat: $1.00–$3.00 per sq ft for the full service
- Full sand-and-refinish: $3.00–$8.00 per sq ft for comparison
- Buff and recoat projects vary in total cost depending on size and scope, with moderate-sized projects typically costing a few thousand dollars.
Project size examples:
Project size examples include single rooms, medium homes, and large homes with cost estimates that scale with size and complexity.
Figures sourced from Current Cost’s screening cost guide.
Primary cost drivers:
- Floor condition: contamination, repairs, or extra prep can add significantly to labor costs.
- Number of coats: a two-coat system costs more in both materials and time
- Finish type influences cost; water-based materials generally cost less per square foot than oil-based finishes.
- Access and layout: curved edges, multiple transitions, and tight spaces add labor hours
- Region: labor rates range from $35–$85 per hour depending on market
Timeline: Most standard jobs complete in a single day of work. Add 24–72 hours of cure time before foot traffic, and up to 7 days before replacing furniture and rugs. Scheduling during off-peak seasons can reduce rates in some markets.
Should you DIY or hire a professional?
The honest answer depends on your risk tolerance, not just your budget.
| Situation | Recommended Approach |
|---|---|
| Small room, intact finish, no contamination history | DIY is reasonable with proper equipment |
| Engineered hardwood with aluminum-oxide factory finish | Hire a professional |
| Any floor with contamination history (wax, polish, revitalizer) | Hire a professional |
| Large open area, multiple rooms | Professional for efficiency and even results |
| You want a warranty on the work | Hire a professional |
| Tight budget, confident with tools | DIY with a test patch first |
DIY screening requires renting a floor buffer, buying the right pads and finish, and having enough space to keep the machine moving continuously. The biggest DIY risks are swales from stopping the buffer, adhesion failure from skipped contamination testing, and bubbling from thick coats or high humidity. None of these are catastrophic, but fixing them often means a full sand-and-refinish.
Questions to ask any contractor before hiring:
- Will you perform a contamination test and a test patch before starting?
- What finish brand and sheen level do you use, and why?
- How many coats are included, and what is the cure schedule?
- What does your quote include: prep, screening, coats, cleanup?
- Do you offer a warranty on adhesion?
Red flags to watch for:
- No mention of a test patch or contamination check
- Vague finish specs (“whatever we have on the truck”)
- Pressure to skip prep steps to save time
- No written quote with line items
- Unwillingness to answer questions about the finish brand
A contractor who cannot explain what finish they use or why is not someone you want working on a floor you have invested in. The floor recoating process has specific steps that protect your investment; skipping any of them shows up in the final result.
When does a floor need full refinishing instead?
Screen and recoat is not a fix for structural or deep cosmetic damage. Certain conditions require sanding to bare wood, and attempting a recoat on these floors produces poor results that complicate the eventual full refinish.
Conditions that require full sand-and-refinish:
- Scratches or gouges that penetrate through the finish into the wood fiber
- Water stains that have caused gray or black discoloration in the wood itself
- Cupping, crowning, or warping from moisture exposure
- Gapping between boards that indicates subfloor movement or significant drying
- You want to change the stain color or go from a dark to a light finish
- The existing finish is peeling, flaking, or delaminating across large areas
How to confirm bare wood exposure: Drag a fingernail lightly across a scratch. If it catches and you can feel the wood grain rather than a smooth finish surface, the scratch has gone through. A flashlight held at a low angle across the floor also reveals depth in scratches that looks flat under overhead lighting.
Pro Tip: When you are genuinely unsure whether your floor qualifies, get a professional assessment before doing anything. A misapplied recoat on a floor that needed full sanding can seal in contamination and make the subsequent sanding job harder. For a deeper look at your wood floor restoration options, a quick in-person evaluation costs nothing and saves you from a costly mistake.
How Leonardosflooringcorp handles screen-and-recoat jobs
Leonardosflooringcorp has been serving the Denver metro for over 10 years as a trusted flooring contractor and Home Depot Contractor partner. The screen-and-recoat process starts with a thorough inspection before any equipment touches the floor.
What the service includes:
- On-site inspection: finish condition, scratch depth, contamination history
- Contamination testing and, where needed, chemical decontamination
- Full room prep: furniture coordination, HVAC protection, doorway sealing
- Screening with the correct pad type for the floor texture
- Vacuuming and tack-cloth cleaning between every step
- Two-coat topcoat application with wet-edge technique
- Cure management: written cure schedule provided at job completion
- Final walkthrough inspection before the crew leaves
Leonardosflooringcorp’s flooring services cover the full range from screen-and-recoat to complete hardwood installation across residential and commercial properties in the Denver metro. Every quote is written, itemized, and includes the number of coats, finish brand, cure windows, and cleanup scope. No surprises.
Key Takeaways
Screen and recoat is the right choice when the finish is worn but the wood is sound — it costs a fraction of full refinishing and completes in a single day.
| Point | Details |
|---|---|
| Choose screen and recoat when | Finish is dull or lightly scratched, no bare wood exposed, no contamination present. |
| Cost vs. full refinish | Screen and recoat runs $1.00–$3.00 per sq ft versus $3.00–$8.00 for a full sand-and-refinish. |
| Contamination is the top risk | Wax, silicone, and oil residues block adhesion; always test before applying a new coat. |
| Recoat on schedule | Industry guidance recommends recoating every 3–5 years to protect the wood and delay full refinishing. |
| Leonardosflooringcorp | Provides written, itemized quotes with contamination testing, two-coat application, and a cure schedule for Denver-area homeowners. |
Next steps:
- Run the test patch in a closet before committing to the full floor
- Get 2–3 written quotes and ask each contractor the questions listed above
- Schedule during low-humidity days for the cleanest cure
- After the job, follow a hardwood floor maintenance routine to extend the recoat’s life
What installers see that homeowners miss
The most common field mistake is over-screening. Homeowners and inexperienced contractors both tend to think more abrasion means better adhesion. It does not. Screening too aggressively with a coarser grit cuts through the finish entirely in high-traffic areas, leaving bare wood that now requires full sanding before any topcoat can go down.
The second most common mistake is stopping the buffer. A floor buffer that pauses in one spot for even a few seconds creates a swale, a shallow depression that becomes visible the moment light hits the finished floor at an angle. Keeping the machine in continuous, smooth motion and selecting the right pad for the floor texture are the two technical skills that separate a clean result from a callback.
The third is skipping the contamination check entirely. Adhesion failure from invisible wax or silicone residue is the leading cause of recoat failures, and it is almost entirely preventable with a test patch and a proper decontamination step. Professionals who skip it are not saving you time; they are transferring the risk to you.
Ready to get a professional quote from Leonardosflooringcorp?
Leonardosflooringcorp gives Denver homeowners a clear, no-guesswork path from dull floors to a fresh finish. A professional quote covers the full scope: on-site inspection, contamination testing, per-square-foot estimate, number of coats, finish brand and sheen, cure windows, and cleanup. You know exactly what you are paying for before anyone picks up a buffer.

Scheduling is straightforward. The crew handles furniture coordination, HVAC protection, and full cleanup. Most standard jobs wrap in a single day, with a written cure schedule so you know exactly when to bring furniture back in. Homeowners who want to avoid the common hardwood installation mistakes that lead to costly do-overs find that a professional assessment pays for itself before the first coat goes down.
Contact Leonardosflooringcorp to schedule your inspection and get a written, itemized quote for your Denver-area home.
Useful sources and further reading
These are the authoritative references behind the guidance in this article. Each one is worth bookmarking if you want manufacturer-specific cure times, adhesion specs, or cost benchmarks.
- National Wood Flooring Association (NWFA): The industry standard-setter for installation, finishing, and maintenance of hardwood floors in the U.S. Their technical publications cover adhesion requirements, finish compatibility, and recoat intervals in detail.
- This Old House: Hardwood Floor Refinishing School: Practical breakdown of screening versus full sanding, including tooling differences and when each method applies.
- Good House Floor Care: Screen and Recoat vs. Refinishing: Clear cost comparison and process overview, useful for setting realistic budget expectations.
- Current Cost: Buff and Recoat Cost Guide: Detailed per-square-foot and project-total cost breakdowns with scenario examples for U.S. homeowners.
- Canlak Coatings: Pro Tips for Factory-Finished Floors: Technical guidance on test patches, adhesion promoters, and contamination procedures for factory-applied finishes.
- Wood Floor Business: Troubleshooting Aluminum-Oxide Recoating: Installer-level detail on pad selection, buffer technique, and swale prevention for difficult factory finishes.
- Keystone Hardwood Floor Care: Engineered Floor Recoating: Specific guidance on aluminum-oxide coatings, adhesion promoters, and when engineered floors require professional handling.