
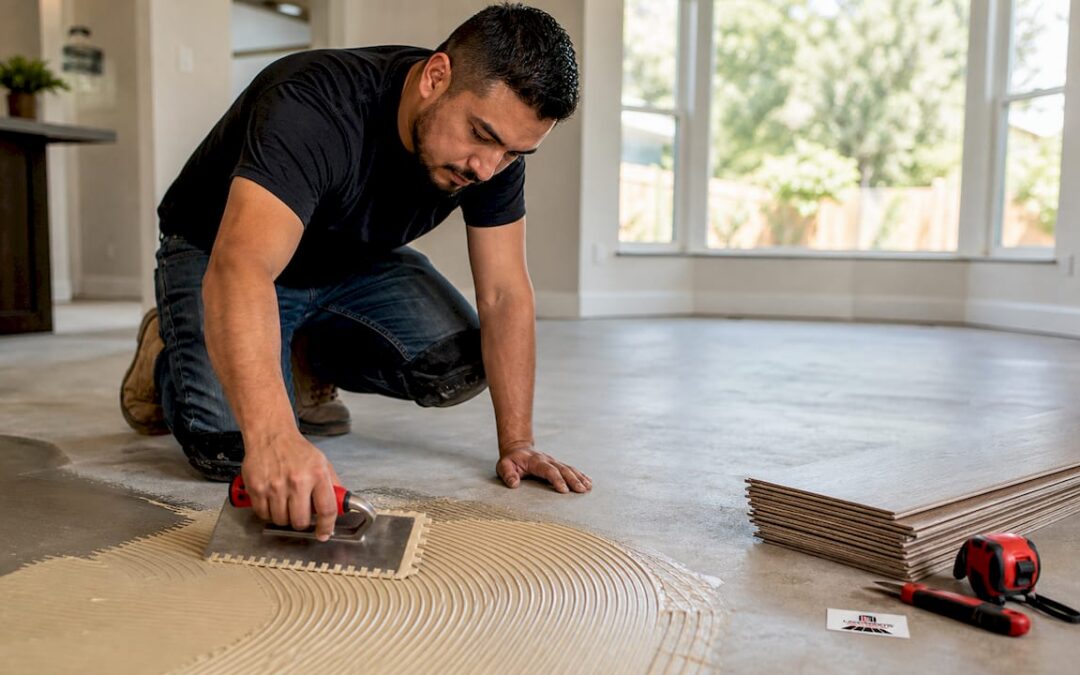
Floor adhesive is the bonding agent that locks vinyl flooring to the subfloor, providing the dimensional stability that prevents seam gapping, edge curl, and premature wear. Without the right adhesive, even premium luxury vinyl tile (LVT), vinyl planks, and sheet vinyl will fail under foot traffic and temperature swings. The role of floor adhesive in vinyl installations goes far beyond just “gluing things down.” It determines how long your floor lasts, whether your warranty stays valid, and how the floor performs under real conditions. This guide covers adhesive types, subfloor requirements, and application best practices for homeowners and contractors alike.
Why is floor adhesive essential for vinyl flooring durability?
Adhesive is the single factor that separates a floor that lasts decades from one that fails within two years. Floating installs in high-traffic areas show edge curl and divots within 18 months, while properly glued systems remain stable for decades. That gap in performance comes down to one thing: whether the vinyl is anchored or free to move.
Vinyl expands and contracts with temperature. In a sunroom, a kitchen near an oven, or any space with large temperature swings, an unanchored floor shifts constantly. Glued LVT dampens hollow sound and prevents seam separation under thermal cycling, while floating floors expand and contract freely, opening gaps at the seams.
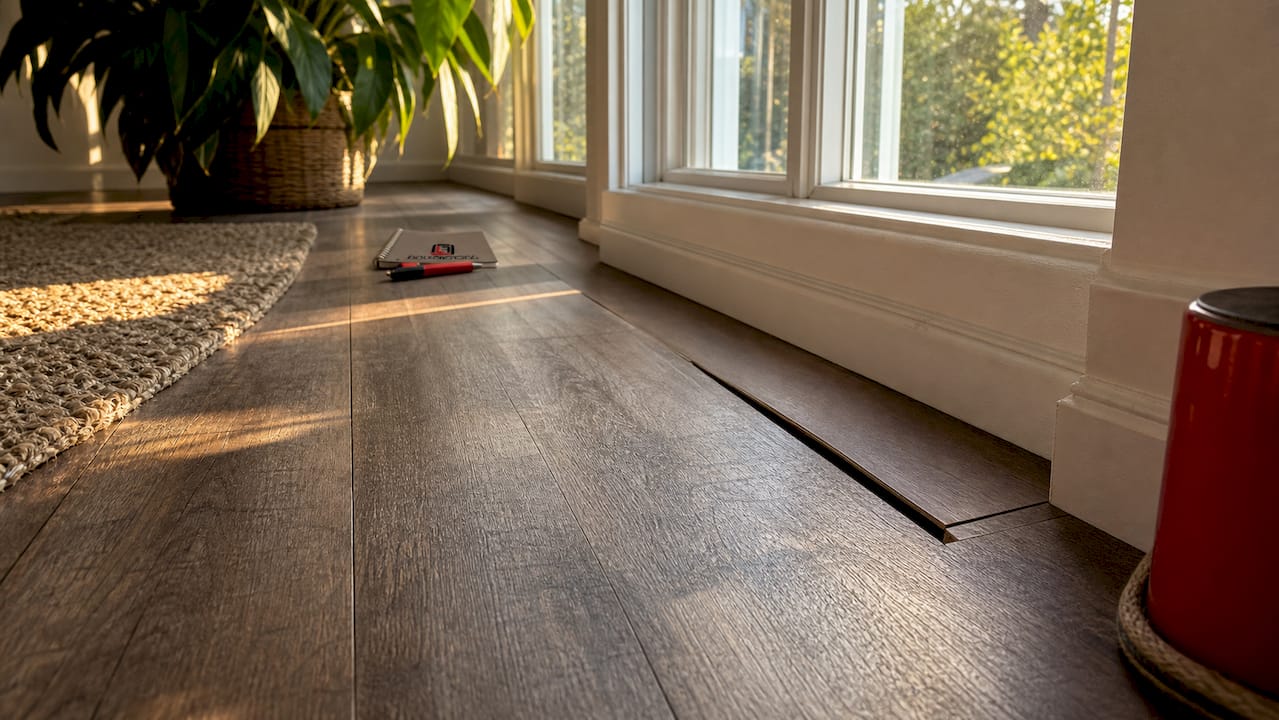
Heavy rolling loads make the problem worse. Appliance dollies, office chairs, and commercial carts apply concentrated force that pries up unglued edges. A glue-down installation transfers that load directly to the subfloor instead of stressing the seams.
Temperature fluctuations also create what installers call a double-amplification effect: vinyl expands as adhesive softens, stressing the bond from both directions at once. Choosing an adhesive with the correct shear modulus for your environment prevents that compounding stress from breaking the bond.
Key failure modes when adhesive is absent or wrong:
- Seam gapping: Vinyl tiles or planks pull apart at joints, creating visible gaps and tripping hazards.
- Edge curl: Plank edges lift off the subfloor, especially near walls and transitions.
- Hollow sound: Unglued areas create a drum-like sound underfoot that worsens over time.
- Bubbling: Trapped moisture under improperly applied adhesive pushes the vinyl up from below.
- Bond failure: The adhesive delaminates entirely, requiring full floor removal.
Pro Tip: If you are installing vinyl in a room with radiant heat or direct sun exposure, always choose a glue-down method. Floating installations in those environments are a known failure point.
What types of vinyl adhesives are available and how do you choose?
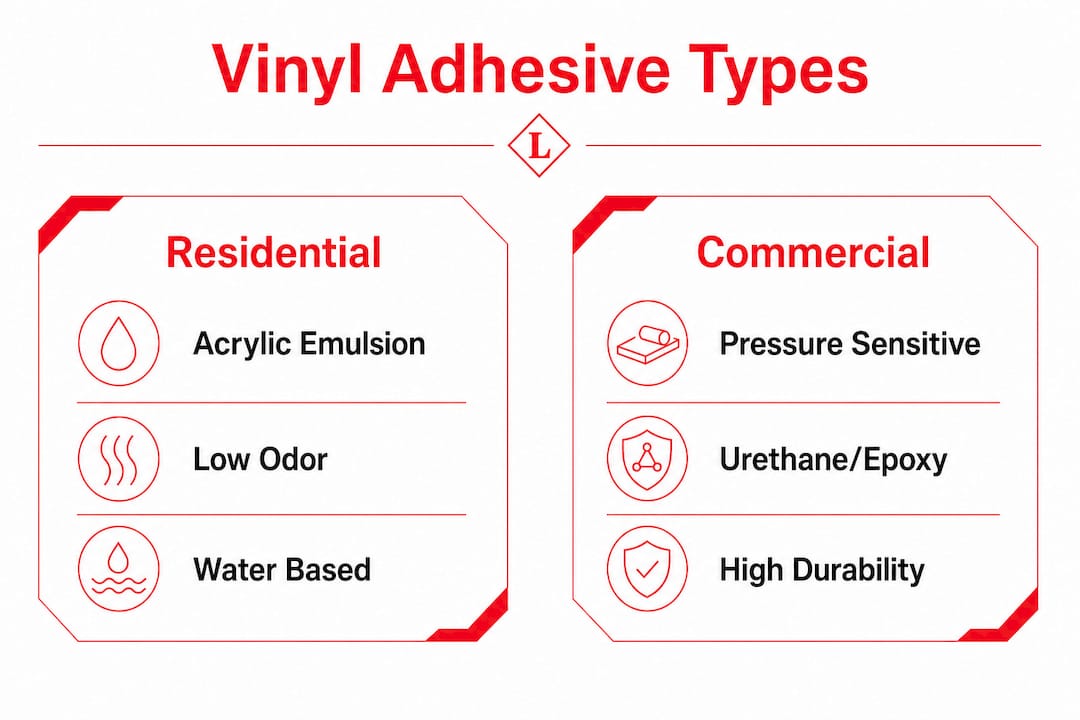
Three main adhesive chemistries cover the vast majority of vinyl flooring installations, and each suits a different combination of vinyl type, environment, and performance requirement.
Acrylic emulsions
Acrylic emulsions dominate residential markets because they are water-based, low odor, and forgiving to work with. They clean up with water before they cure, and they offer enough open time for homeowners and smaller crews to set tiles without rushing. The trade-off is moisture sensitivity. Acrylic emulsions require a dry subfloor and perform best in standard residential conditions.
Pressure-sensitive adhesives (PSAs)
PSAs are viscoelastic films designed to absorb dimensional changes in the vinyl rather than resist them rigidly. They stay slightly tacky after curing, which allows the vinyl to be repositioned during installation. PSAs work well for thinner, more flexible vinyl products in residential settings. However, PSAs offer moisture tolerance and releasability but do not provide mechanical anchoring, making them unsuitable for commercial settings with heavy rolling loads.
Hard-set urethane and epoxy systems
Urethanes and epoxies are hard-set, moisture-resistant, and tougher to remove, which is exactly why commercial and wet-environment installations rely on them. They create a permanent bond with high shear strength, making them the right choice for thick, stiff LVT in retail stores, hospitals, or any space with heavy traffic and potential moisture exposure.
The table below summarizes how to match adhesive type to your project:
| Adhesive type | Best for | Moisture tolerance | Removability |
|---|---|---|---|
| Acrylic emulsion | Residential LVT, sheet vinyl | Low to moderate | Easy before cure |
| Pressure-sensitive (PSA) | Flexible residential vinyl | Moderate | Repositionable |
| Urethane / epoxy | Commercial, wet areas, thick LVT | High | Difficult |
One rule applies across all three types: always use the adhesive specified by the vinyl manufacturer. Generic or off-brand adhesives may contain plasticizers or solvents that attack the vinyl backing, void the warranty, and cause improper adhesive chemistry to be the most common cause of warranty voiding.
How do subfloor conditions affect vinyl adhesive performance?
Subfloor preparation is where most installations succeed or fail before a single tile is placed. No premium adhesive can compensate for moisture, high pH, or an uneven subfloor. Getting the subfloor right is not optional prep work. It is the foundation the entire installation depends on.
Moisture and relative humidity
Concrete subfloors release moisture vapor continuously. Standard adhesives require a relative humidity (RH) level at or below 75% in the concrete slab. Specialized adhesives tolerate up to 85–90% RH, but even those have limits. High moisture does not just weaken the bond. It acts as the vehicle that carries alkaline salts from the concrete up into the adhesive layer.
Alkalinity and pH testing
Concrete is naturally alkaline. A pH above 9.0 triggers saponification, a chemical reaction where high pH concrete attacks adhesive ester bonds, turning the adhesive slimy and destroying its bond permanently. Standard PSAs tolerate pH up to 9 safely. No organic adhesive survives pH above 12. Testing pH before installation is not a precaution. It is a requirement.
ASTM F710 is the industry standard procedure for preparing concrete subfloors before any resilient flooring installation. It covers flatness tolerances, moisture testing methods, and surface cleanliness requirements. Leonardosflooringcorp follows ASTM F710 on every concrete subfloor project, and you can learn more about the process through their subfloor preparation services.
Critical subfloor checks before adhesive application:
- RH testing: Use in-situ probes per ASTM F2170 or calcium chloride tests per ASTM F1869 to measure moisture vapor emission.
- pH testing: Apply pH strips or a digital meter to a dampened concrete surface. Readings above 9.0 require a moisture-tolerant adhesive or a pH-neutralizing primer.
- Flatness: Subfloor must be flat within 3/16 inch over a 10-foot span. High spots and dips cause adhesive voids and hollow areas.
- Cleanliness: Remove all dust, oil, curing compounds, and old adhesive residue. Contaminants break the bond at the surface level.
Pro Tip: Always test RH and pH in multiple locations across the slab, not just one corner. Moisture levels vary significantly across a single room, especially near exterior walls and drains.
What are the best practices for applying and curing vinyl adhesive?
Correct application technique determines whether the adhesive performs as designed or fails within months. Professionals follow a specific sequence that homeowners and contractors should replicate on every job.
-
Select the correct trowel notch size. The vinyl manufacturer specifies the trowel notch geometry for each product. Using a notch that is too large deposits excess adhesive, which squeezes up through seams and causes plasticizer migration. A notch that is too small leaves insufficient coverage and creates voids.
-
Respect flash-off time. Acrylic emulsions require 30–45 minutes of flash-off time before vinyl placement. Skipping this step traps moisture under the vinyl, which causes bubbling. The adhesive should feel tacky but not wet when you touch it with a knuckle.
-
Work within the open time. Most acrylic emulsions lock up by 90 minutes after application. Placing vinyl after lockup means the adhesive has already skinned over and will not transfer properly to the vinyl backing. Professional installers know glue lockup times and plan their work area size accordingly.
-
Roll the floor immediately after installation. Apply a 50–75kg floor roller immediately after setting the vinyl, then roll again 1–2 hours later. Rolling collapses air pockets and ensures full adhesive transfer across the entire tile or plank surface.
-
Protect the floor for 24 hours. Keep foot traffic off the floor for at least 24 hours after installation. Moving furniture or appliances onto a freshly glued floor before the adhesive cures can shift tiles and break the bond before it reaches full strength.
-
Avoid heavy cleaning for 72 hours. Wet mopping a newly installed glued floor can introduce moisture through seams before the adhesive has fully cured. Dry sweeping is safe. Wet cleaning should wait.
Pro Tip: Roll in two directions, perpendicular to each other. A single-direction roll can leave unbonded strips between the roller passes that only show up as hollow spots weeks later.
For a broader look at what can go wrong during flooring installation, the guide on common installation mistakes covers pitfalls that apply across flooring types.
Key Takeaways
The correct adhesive, properly applied to a prepared subfloor, is the single most important factor in vinyl flooring longevity and warranty compliance.
| Point | Details |
|---|---|
| Adhesive type must match the environment | Use acrylic emulsions for residential, urethane or epoxy for commercial or wet areas. |
| Subfloor moisture and pH are non-negotiable | Test RH below 75% and pH below 9.0 before applying any adhesive per ASTM F710. |
| Flash-off time prevents bubbling | Allow 30–45 minutes of flash time for acrylic emulsions before placing vinyl. |
| Rolling ensures full adhesive transfer | Use a 50–75kg roller immediately after installation and again 1–2 hours later. |
| Generic adhesives void warranties | Always use the manufacturer-specified adhesive to maintain warranty coverage. |
What I have learned after years of vinyl adhesive installations
The most common mistake I see on job sites is not a wrong adhesive choice. It is skipping the subfloor testing entirely. Contractors assume the concrete is dry because it looks dry. Concrete does not look wet when it is releasing moisture vapor at levels that will destroy an adhesive bond within six months. By the time the floor starts bubbling or the seams open up, the adhesive has already failed chemically, and the repair means tearing out the entire floor.
The second mistake is treating adhesive selection as a cost-cutting opportunity. A homeowner or a budget contractor reaches for the cheapest product on the shelf, and it works fine for the first year. Then the plasticizers in the vinyl backing start migrating into the adhesive layer, the bond softens, and the floor begins to move. That is not a flooring failure. That is an adhesive chemistry failure that was entirely preventable.
My honest recommendation: if you are doing a glue-down vinyl installation, spend the money on a proper RH test kit, buy the adhesive your vinyl manufacturer specifies, and do not skip the rolling step. Those three things cost almost nothing compared to a full floor replacement. Floating installations have their place, and I cover when they make sense in the floating floor installation guide. But for high-traffic rooms, kitchens, and commercial spaces, glue-down with the right adhesive is the only method I trust.
— Jim
Leonardosflooringcorp: professional vinyl installation done right
Vinyl flooring delivers years of performance when the adhesive and subfloor work are done correctly from the start. Leonardosflooringcorp has handled vinyl flooring installation across the Denver metro for over 10 years, and every project starts with proper subfloor testing and manufacturer-specified adhesive selection.

The team at Leonardosflooringcorp follows ASTM F710 subfloor standards on every job, tests for both RH and pH before any adhesive goes down, and uses the correct trowel, roller, and cure time for each vinyl product. Whether you are updating a single room or a full commercial space, Leonardosflooringcorp brings the technical knowledge and hands-on experience to get it right the first time. Reach out for a free consultation and get a floor that holds up for decades.
FAQ
What is the role of floor adhesive in vinyl flooring?
Floor adhesive bonds vinyl directly to the subfloor, preventing seam gapping, edge curl, and movement under traffic and temperature changes. It provides the dimensional stability that floating installations cannot match in high-traffic or temperature-variable environments.
What adhesive should I use for vinyl plank flooring?
Use the adhesive specified by your vinyl plank manufacturer. Acrylic emulsions work for most residential LVT, while urethane or epoxy systems are required for commercial settings or areas with elevated moisture.
How long does vinyl floor adhesive take to cure?
Most vinyl floor adhesives require at least 24 hours before foot traffic and 72 hours before wet cleaning. Full cure strength typically develops over several days depending on temperature, humidity, and adhesive type.
What happens if I skip subfloor moisture testing?
Excess moisture in the concrete slab attacks adhesive polymer chemistry, causing bond failure, bubbling, and seam separation. Concrete subfloors should test at or below 75% relative humidity and below pH 9.0 before any adhesive is applied per ASTM F710.
Can I use any adhesive for vinyl tile installation?
No. Generic adhesives may contain solvents that attack the vinyl backing and will void the manufacturer’s warranty. Always match the adhesive to the specific vinyl product and environment as specified in the installation guidelines.