
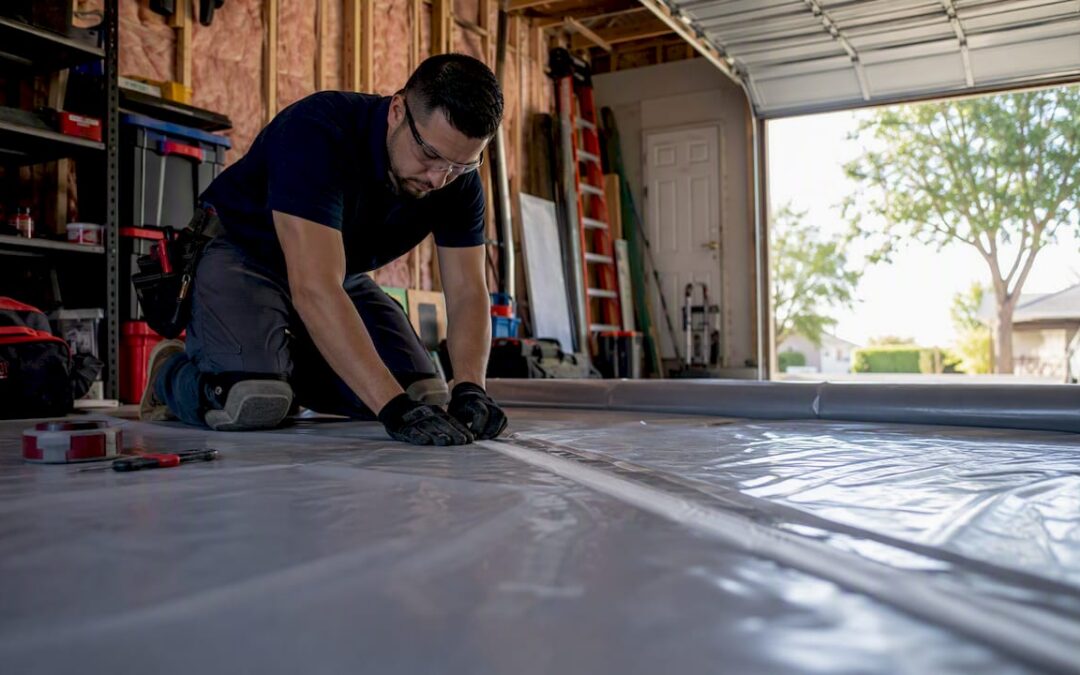
A flooring moisture barrier is a low-permeance membrane or coating installed between a subfloor and finished flooring to stop moisture vapor from migrating upward and destroying the floor above it. The industry term you’ll see on product datasheets is vapor retarder or vapor barrier, and the distinction matters: a vapor retarder slows vapor movement, while a true vapor barrier targets a permeance rating at or below 0.1 perms per ASTM E1745. If your project sits over concrete — a basement, slab-on-grade, or garage — moisture vapor is an active risk whether the surface feels dry or not. Skipping a barrier, or using an under-spec product, is one of the most common reasons floors fail early and can void manufacturer warranties.
Table of Contents
- What does a flooring moisture barrier actually protect against?
- Which type of moisture barrier is right for your floor and location?
- What do ASTM E1745, F2170, and ACI 302.2R actually mean for your project?
- When do you actually need a moisture barrier?
- How is a moisture barrier installed, and what mistakes cause failures?
- What are the signs that moisture is already causing damage?
- What will a professional installer check that you probably won’t?
- Key Takeaways
- The part most homeowners get wrong about moisture barriers
- Moisture testing and barrier installation done right in Denver
- Useful sources for homeowners who want to dig deeper
What does a flooring moisture barrier actually protect against?
Concrete slabs behave like slow-release sponges. Even after a slab cures, groundwater vapor continues to diffuse upward through the pore structure. That vapor doesn’t need a visible leak to cause damage — the diffusion pressure alone is enough to lift adhesives, swell wood fibers, and feed mold colonies underneath your floor.
The failure modes break down into a short, painful list:
- Cupping and crowning in solid and engineered hardwood, where individual boards bow along their edges or centers as moisture content shifts unevenly
- Adhesive debonding and hydrolysis, where excess vapor chemically degrades the adhesive bond holding direct-glue LVT/LVP or hardwood to the slab
- Seam bubbling and lifting in sheet vinyl or LVT, caused by vapor pressure building under the material
- Efflorescence, the white mineral deposits that appear on concrete surfaces as dissolved salts migrate upward with moisture
- Mold and musty odors, which can develop in carpet backings and underlayments when conditions stay damp
Moisture-related flooring failures cost U.S. property owners an estimated $1 billion annually, which puts the cost of a proper barrier in sharp perspective. A 6-mil poly sheet typically costs around $0.10–$0.25 per square foot, making it an economical choice for moisture barriers. A floor replacement runs far more.
Manufacturers and professional installers typically require documented moisture testing before they will install or warranty moisture-sensitive products. That requirement isn’t bureaucratic caution — it’s because a single passing test taken on a dry day doesn’t tell the whole story of what a slab will do over time.
Which type of moisture barrier is right for your floor and location?
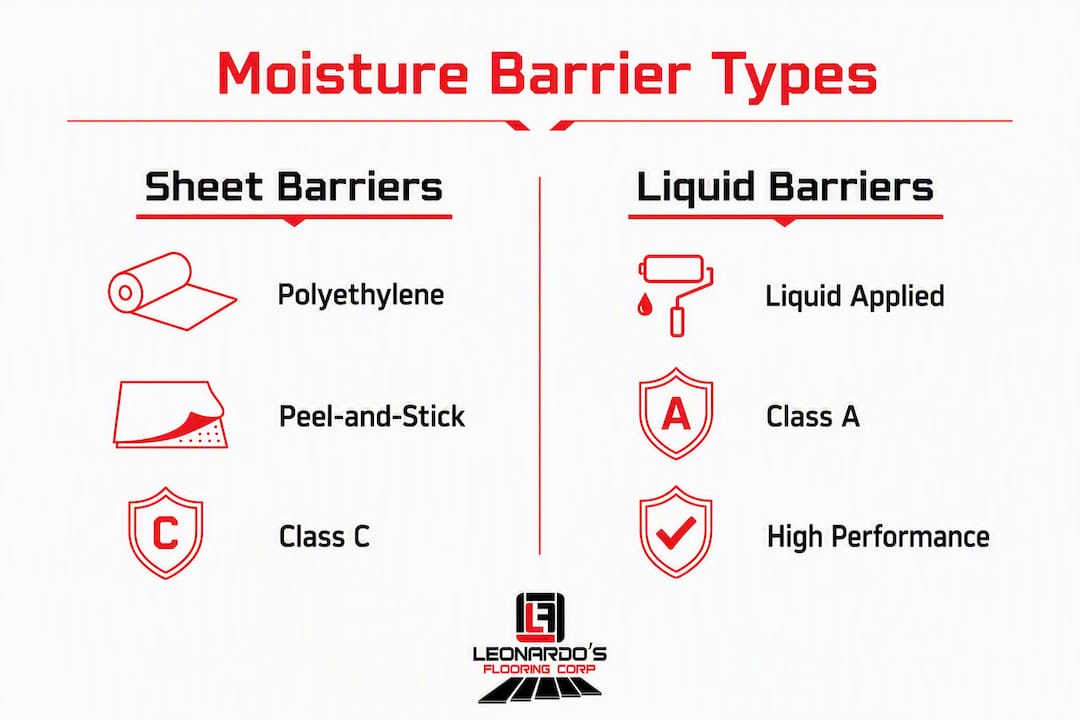
The right barrier format depends on two things: the moisture load your slab presents and the flooring system going on top. Here’s how the main formats compare.
| Format | Best for | Relative permeance | Puncture resistance | Installation ease | Typical cost (per sq ft) |
|---|---|---|---|---|---|
| Polyethylene sheet (6-mil+) | Floating floors, below-grade slabs, crawl spaces | ≤0.1 perms (ASTM E1745 compliant) | Low–moderate | Easy (roll and tape) | $0.10–$0.25 |
| Underlayment with integrated vapor layer | Floating laminate, LVP, engineered hardwood | Varies by product | Moderate | Easy (click-together) | varies |
| Liquid-applied membrane | Direct-glue LVT/LVP, high-moisture slabs | Very low (down to 0.01 perms) | High (bonds to slab) | Moderate (requires cure time) | $0.50–$2.00 |
| Peel-and-stick bituminous membrane | High-moisture slabs, commercial, garages | Very low | High | Moderate | varies |
| Epoxy/urethane coating | Garages, commercial slabs, wet areas | Very low | Very high | Requires surface prep | varies |
Polyethylene sheet is the workhorse of residential installs. It’s cheap, widely available, and meets ASTM E1745 Class C minimums when properly specified. The catch: it tears easily, and an unsealed seam or a puncture from subfloor debris undoes most of its benefit.
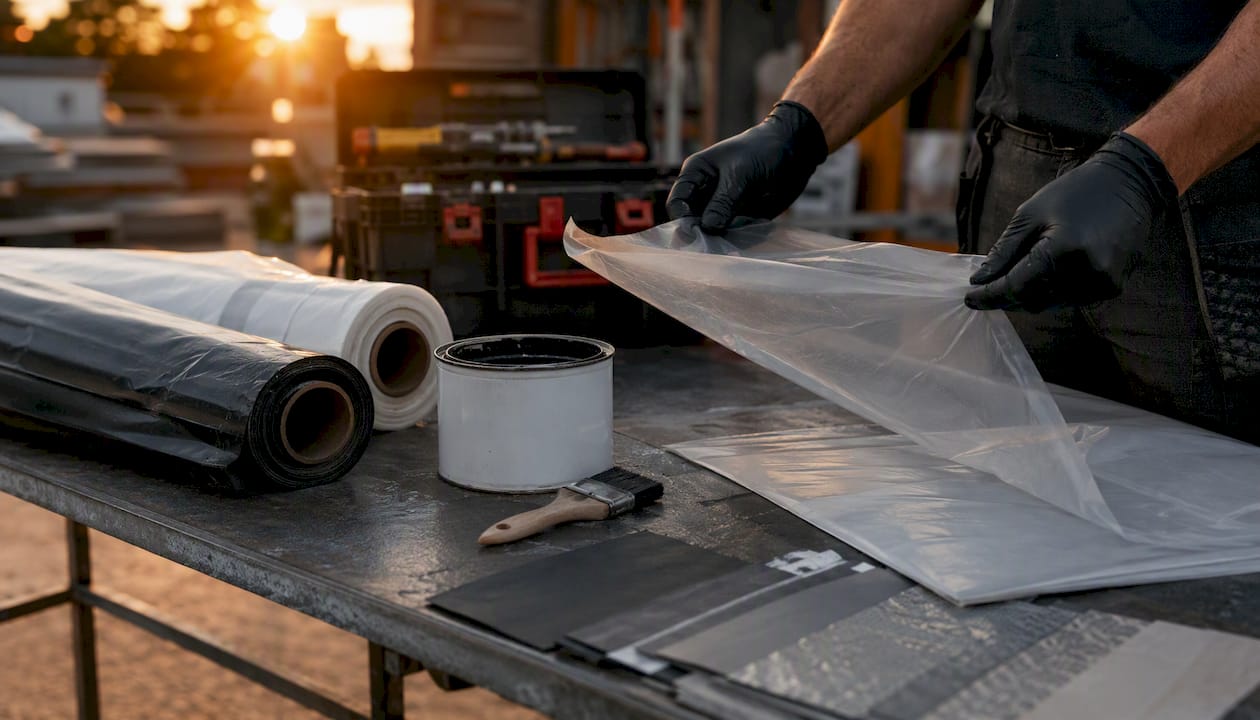
Underlayments with integrated vapor layers are popular for floating floors because they combine cushion, sound dampening, and moisture protection in one product. They work well for laminate and floating LVP, but they’re not a substitute for a high-performance barrier under direct-glue systems.
Liquid-applied membranes and peel-and-stick systems are the go-to choice when concrete moisture levels exceed what a simple poly sheet can handle. They bond directly to the slab, seal around penetrations, and can achieve permeance well below 0.1 perms. Liquid-applied membranes commonly cost roughly $0.50 to $2.00 per square foot depending on product and coats. For direct-glue LVT/LVP and engineered hardwood, where adhesive hydrolysis is a real failure mode, these formats offer meaningfully better protection.
Epoxy and urethane coatings double as moisture mitigation and surface hardeners. They’re common in garages and commercial spaces and pair well with epoxy floor systems.
Key selection rules:
- Direct-glue LVT/LVP and solid or engineered hardwood need lower-perm solutions than floating floors because adhesive failure is the primary risk
- Laminate and HDF cores are highly moisture-sensitive — even a modest vapor increase can cause swelling at seams
- For underlayment options on floating systems, confirm the integrated vapor layer’s perm rating matches the flooring manufacturer’s spec
Pro Tip: When product literature conflicts with site conditions, prioritize measured slab data and the flooring manufacturer’s installation instructions. A product rated for “standard residential use” may not meet the warranty spec for the specific floor you’re installing.
What do ASTM E1745, F2170, and ACI 302.2R actually mean for your project?
These aren’t just alphabet soup. They’re the numbers that determine whether your floor holds up and whether your warranty stays intact.
ASTM E1745: the material classification standard
ASTM E1745 classifies plastic vapor retarders used under concrete slabs into three classes based on tensile strength and puncture resistance, with a universal permeance ceiling of 0.1 perms:
- Class A: tensile strength >45 lb/in, puncture resistance >2,200 g
- Class B: tensile strength >30 lb/in, puncture resistance >1,700 g
- Class C: tensile strength >13.6 lb/in, puncture resistance >475 g
Class A materials are the right call for sensitive installations — hardwood, direct-glue LVT, or any project where the slab will see foot traffic during construction. ACI 302.2R guidance recommends high-performance retarders for moisture-sensitive flooring, and some flooring manufacturers push the requirement even further, specifying materials at 0.01 perms for full warranty compliance.
ASTM F2170 and F1869: the testing standards
These two tests measure what’s actually happening inside and on the surface of your slab.
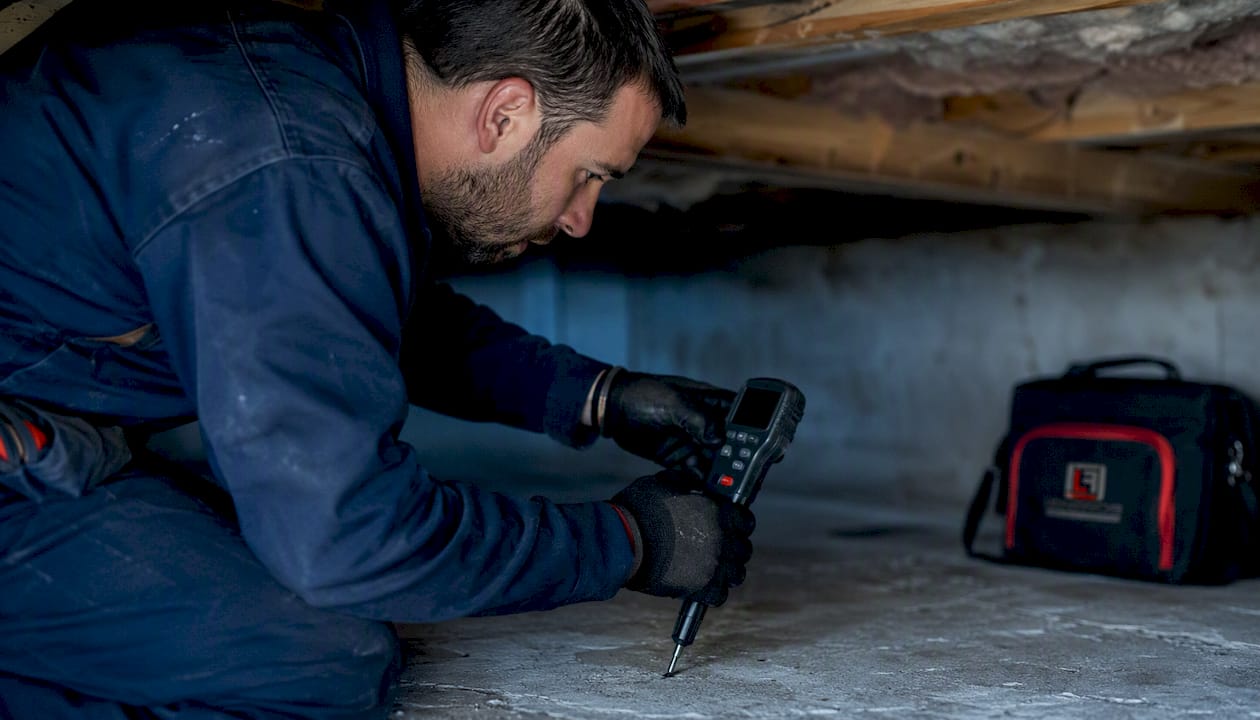
ASTM F2170 (in-slab relative humidity) drills into the slab and measures RH at depth. It’s the method most flooring manufacturers now require because surface readings can be misleading. Mold in carpet backings can develop in as little as 48–72 hours when RH exceeds 85%, and many adhesives begin to fail well below that, often around RH >75–80%.
ASTM F1869 (calcium chloride MVER) measures moisture vapor emission rate from the slab surface. It’s an older method still specified by some manufacturers, expressed in pounds of moisture per 1,000 square feet per 24 hours.
What to look for on product datasheets and test reports:
- Perms rating — on the barrier product (must be ≤0.1 for ASTM E1745 compliance; some specs require ≤0.01)
One important caveat: a moisture test is a snapshot, not a guarantee. Slab conditions shift seasonally and after construction activity. Experienced contractors often install pre-emptive barrier systems rather than relying on a single passing test result.
When do you actually need a moisture barrier?
The short answer: any time your finished floor sits over or near concrete. Here’s how that breaks down by location.
Basements and below-grade slabs carry the highest moisture risk. Groundwater pressure is constant, and the IRC minimum of 6-mil polyethylene is a code floor, not a performance target. For basement flooring installations, match the barrier spec to the flooring product’s installation guide, not just the building code.
Slab-on-grade (main-level concrete pours) behaves similarly. Even in dry climates like Denver, seasonal moisture shifts affect slab RH. A barrier is standard practice here.
Crawl spaces need a ground cover vapor retarder — typically 6-mil poly or heavier — to prevent soil moisture from rising into the floor assembly above. The U.S. Department of Energy recommends vapor barriers in crawl spaces as a standard moisture-control measure.
Garages and rooms over unconditioned spaces often get overlooked. Temperature differentials drive condensation, and a barrier protects both the floor and any adhesive system.
Above-grade wood subfloors don’t always need a dedicated moisture barrier, but they can benefit from one in high-humidity climates, older homes with unknown moisture history, or rooms over unconditioned crawl spaces.
Flooring-specific rules:
- Solid hardwood and engineered hardwood: — require testing and typically a high-performance barrier; many manufacturers specify ASTM F2170 results before installation
- Direct-glue LVT/LVP: adhesive hydrolysis risk makes a low-perm barrier non-negotiable; check the adhesive manufacturer’s RH limits before specifying a barrier type
Pro Tip: Pull the flooring product’s installation guide before you buy the barrier. Warranty coverage is tied to following those specs exactly — not just “using a moisture barrier” generically.
How is a moisture barrier installed, and what mistakes cause failures?
A proper installation follows a clear sequence. Skipping any step is where problems start.
- Surface prep and patching: grind down high spots, fill cracks and low areas with a cementitious patching compound, and sweep clean. The slab needs to be flat to within 3/16 inch over 10 feet for most flooring systems.
- Moisture testing: run ASTM F2170 in-slab RH tests (minimum 72-hour equilibration) and/or ASTM F1869 calcium chloride tests per the flooring manufacturer’s requirement.
- Select the barrier: match the product class and perm rating to the test results and the flooring spec.
- Lay the membrane: for sheet poly, overlap seams by at least 6 inches and tape all seams with a compatible seam tape. Run the membrane up the perimeter walls by 2–3 inches.
- Perimeter and transition details: seal around pipes, columns, and transitions. These are the spots that fail first.
- Cure time (liquid-applied systems): follow the manufacturer’s cure window before applying adhesive or installing flooring.
Adhesive hydrolysis is the silent failure mode most homeowners never see coming. When slab RH exceeds the adhesive manufacturer’s limit, the adhesive bond breaks down chemically over time — not immediately. The floor looks fine at installation and starts lifting six months later. Testing before you glue is the only way to catch this.
Common mistakes that lead to callbacks and failures:
- Skipping the moisture test and relying on a dry surface feel. A dry top surface is not a reliable indicator of internal slab moisture — experienced installers use in-slab RH tests, not touch tests.
- Using under-spec poly (thin, untaped, or torn during installation) that fails to meet the flooring product’s perm requirement
- Unsealed seams and perimeter gaps, which create vapor pathways that defeat the entire system
- Installing over active leaks or condensation rather than addressing the water source first
- Ignoring transitions at doorways and expansion joints, where vapor can enter from adjacent spaces
Homeowner audit checklist (use this when reviewing a contractor’s prep work):
- [ ] Slab patched and flat before barrier goes down
- [ ] Moisture test results documented and within flooring manufacturer’s limits
- [ ] Barrier product class and perm rating confirmed against spec
- [ ] Seams overlapped and taped with compatible tape
- [ ] Membrane turned up at perimeter walls
- [ ] Transitions and penetrations sealed
- [ ] Cure time observed before flooring install begins
What are the signs that moisture is already causing damage?
Catching moisture problems early saves a full floor replacement. Some signs are visible; others show up as performance failures.
Visual signs to watch for:
- White powdery deposits (efflorescence) on concrete or at grout joints
- Visible mold or mildew at seams, under baseboards, or in corners
- Bubbling, lifting, or separating seams in sheet vinyl or LVT
- Cupping (edges higher than center) or crowning (center higher than edges) in wood planks
- Musty odors that persist after cleaning, especially in basements
Performance signals:
- Adhesive failure or tiles/planks that lift without much force
- Moisture reappearing quickly after spot drying
- RH readings above 75–80% on a follow-up test after a previous passing result
- Soft or spongy spots underfoot that weren’t there at installation
When to call a professional vs. handle it yourself: surface efflorescence on an unfinished slab can sometimes be addressed with a concrete densifier or sealer. But persistent musty odors, active mold growth, test results above manufacturer limits, or adhesive failure across a significant area all warrant a professional assessment. Moisture damage that has reached the subfloor or framing — visible in symptoms like warped window frames or deteriorating trim — is a sign the moisture source needs to be addressed before any flooring work begins.
Before the pro arrives, a homeowner can:
- Note where odors are strongest and whether they’re seasonal
- Photograph any visible efflorescence, mold, or lifting seams
- Check whether the area has had any recent water intrusion (plumbing, grading, HVAC condensate)
- Pull back a corner of carpet or a loose plank to check the subfloor surface
What will a professional installer check that you probably won’t?
A trained installer approaches a slab differently than a homeowner does. The diagnostic process is systematic, and the decisions made at this stage determine whether the floor lasts.
A professional’s pre-installation checklist includes:
- Full-slab ASTM F2170 in-slab RH testing at multiple locations (not just one test near the door)
- ASTM F1869 calcium chloride MVER checks where the flooring spec requires surface emission data
- Slab profile and flatness assessment to identify high and low spots that need patching before the barrier goes down
- Perimeter and substrate prep review, including checking for existing coatings, adhesive residue, or contamination that would prevent proper barrier adhesion
- Adhesive-spec matching, confirming the adhesive’s RH tolerance against actual test results
- Product datasheet review to confirm barrier class, perm rating, and cure requirements meet the flooring manufacturer’s warranty conditions
When test results come back high, a pro can specify remediation options: liquid-applied membranes for moderate moisture loads, peel-and-stick systems for higher loads, localized moisture remediation for isolated problem areas, and substrate leveling and patching as part of the same scope.
Realistic project timeline:
- Moisture testing: 72 hours minimum for ASTM F2170 equilibration
- Barrier application and cure (liquid systems): 24–48 hours depending on product and conditions
- Flooring installation: follows immediately after cure confirmation
That’s typically a 4–6 day window from first site visit to finished floor, not counting any remediation work if test results require it.
Questions to ask when comparing contractor quotes:
- [ ] Which moisture test method will you use, and how many test locations?
- [ ] What barrier product are you specifying, and what is its perm rating and ASTM E1745 class?
- [ ] Does the barrier meet the flooring manufacturer’s warranty requirements?
- [ ] What happens if test results come back above spec?
- [ ] Will you document test results and provide them to me?
Key Takeaways
A flooring moisture barrier is only as effective as the test results, product spec, and installation quality behind it — skipping any one of those three puts the entire floor at risk.
| Point | Details |
|---|---|
| Test before you install | ASTM F2170 in-slab RH testing is the standard; a dry surface feel is not a substitute for measured data. |
| Match barrier to floor type | Direct-glue LVT and hardwood need low-perm barriers (≤0.1 perms, often ≤0.01); floating floors can use integrated underlayment vapor layers. |
| Know the ASTM E1745 classes | Class A offers the highest puncture resistance (>2,200 g) and tensile strength (>45 lb/in); use it for sensitive or high-traffic installs. |
| Skipping a barrier risks warranty voids | Flooring manufacturers tie warranty coverage to documented moisture testing and compliant barrier installation. |
| Leonardosflooringcorp handles the full scope | From ASTM F2170 testing and barrier selection to subfloor prep and flooring installation, Leonardosflooringcorp covers the complete process for Denver-area homeowners. |
The part most homeowners get wrong about moisture barriers
The conventional wisdom treats a moisture barrier as a checkbox — buy some poly, roll it out, done. What that misses is that the barrier is only one part of a system, and the system fails at its weakest link.
The most common weak link isn’t the barrier material. It’s the decision to skip testing and assume the slab is fine. A slab that tested dry in winter can read significantly higher RH in spring after snowmelt raises the water table. A slab that felt dry to the touch during a walkthrough can have internal RH well above 80% at depth. These aren’t edge cases — they’re routine findings on jobs where the previous installer skipped the test.
The second weak link is spec mismatch. A 6-mil poly sheet meets the IRC minimum, but it doesn’t meet the warranty requirement for most direct-glue LVT or engineered hardwood products. Installers who don’t read the product datasheet install a compliant-looking barrier that still voids the warranty. The homeowner finds out two years later when the floor starts lifting.
Spending more on a Class A liquid-applied membrane makes sense when the flooring is expensive, the slab is below grade, or the adhesive system has a tight RH tolerance. The cost difference between a poly sheet and a liquid membrane is a fraction of the cost difference between a floor that lasts and one that doesn’t.
.
.
.
Moisture testing and barrier installation done right in Denver
Denver’s climate adds a layer of complexity that generic installation guides don’t account for. Seasonal moisture swings, high-altitude temperature differentials, and the prevalence of slab-on-grade construction in the metro area mean that moisture control isn’t optional — it’s the foundation of a floor that holds up.
Leonardosflooringcorp has been handling subfloor prep, moisture testing, and full flooring installation across the Denver metro for over 10 years. The team runs documented ASTM F2170 testing, specifies barriers matched to the actual flooring product’s warranty requirements, and handles everything from liquid-applied membrane application to substrate leveling before a single plank goes down. Whether the project is hardwood floor installation, vinyl flooring installation, or laminate flooring installation, the moisture work is built into the process, not treated as an afterthought.

125+ five-star reviews reflect what happens when every project gets the same attention to prep that the flooring itself gets. Get a quote for your project and find out what your slab actually needs before anything goes down.
Useful sources for homeowners who want to dig deeper
- ASTM E1745: Standard Specification for Plastic Water Vapor Retarders Under Concrete Slabs — the primary material classification standard; check product datasheets against Class A, B, or C requirements
- ASTM F2170 and F1869 context (ASTM International) — the in-slab RH and calcium chloride test methods referenced in most flooring installation guides
- Stego Industries: What is ASTM E1745? — a plain-language explanation of the standard’s classifications and what they mean for product selection
- U.S. Department of Energy: Vapor Barriers and Vapor Diffusion Retarders — government guidance on vapor control in crawl spaces and below-grade assemblies
- TEC Specialty: Contractor’s Guide to Moisture Barriers — practical format comparison including liquid-applied and poly sheet cost ranges
- SlabCalc: Vapor Barrier vs. Vapor Retarder — clears up the terminology confusion between retarders and barriers and explains perm ratings
- Leonardosflooringcorp: Types of Flooring for Basements — local guidance on barrier and flooring choices for below-grade Denver installations
- Leonardosflooringcorp: Floor Underlayments Guide — detailed look at integrated underlayment/vapor layer products for floating floor systems
Save product datasheets and test-report PDFs from your project. If a warranty claim ever comes up, documented test results and barrier spec sheets are the evidence that protects you.