Cracked tiles, warped boards, carpet that’s seen better days. If your floors are overdue for an upgrade, a laminate flooring installation guide is exactly where to start. Laminate is one of the most DIY-friendly flooring options available today. It’s durable, affordable, and available in dozens of styles that can genuinely transform a room. This guide walks you through every stage of the laminate flooring installation process, from gathering your tools to snapping in that final plank, so you can tackle this project with real confidence.
Table of Contents
- Key takeaways
- Laminate flooring installation guide: tools, materials, and prep
- Step-by-step laminate flooring installation process
- Common mistakes and how to fix them
- What to expect from your finished floor
- What I’ve learned after years of flooring installations
- Professional laminate flooring installation in Denver
- FAQ
Key takeaways
| Point | Details |
|---|---|
| Preparation matters most | A flat, dry, clean subfloor is the single biggest factor in how long your floor lasts. |
| Acclimation is non-negotiable | Laminate planks need at least 48 hours to adjust to room conditions before installation. |
| Expansion gaps prevent buckling | Leave a 3/8-inch gap around all walls and fixed objects to allow the floor to move. |
| Stagger your joints | End joints between rows should offset by at least 12 inches for strength and visual appeal. |
| Avoid the top three mistakes | Skipping acclimation, poor subfloor prep, and wrong gap sizing cause most DIY failures. |
Laminate flooring installation guide: tools, materials, and prep
Before you snap a single plank into place, you need the right tools and a properly prepared space. Skipping this stage is the number one reason DIY floors fail within a year or two.
Tools and safety equipment you will need
- Tape measure and chalk line
- Circular saw, jigsaw, or miter saw for cutting planks
- Pull bar and tapping block (protects the click-lock edges)
- Rubber mallet
- Utility knife and straight edge
- Knee pads and safety glasses
- Pencil and carpenter’s square
Materials to gather before you start
| Material | Purpose |
|---|---|
| Laminate planks | The finished floor surface |
| Underlayment | Cushioning, sound dampening, and moisture resistance |
| 6-mil polyethylene vapor barrier | Moisture protection over concrete subfloors |
| 1/4-inch spacers | Maintaining expansion gaps along walls |
| Transition strips and moldings | Finishing edges, doorways, and room transitions |
| Leveling compound | Filling low spots in uneven subfloors |
Underlayment types vary based on your subfloor: foam with a built-in vapor barrier works best over concrete, while cork and rubber provide superior sound dampening on wood subfloors. Don’t just grab whatever is cheapest at the store. The underlayment you choose directly affects how your floor sounds and feels underfoot for years to come.
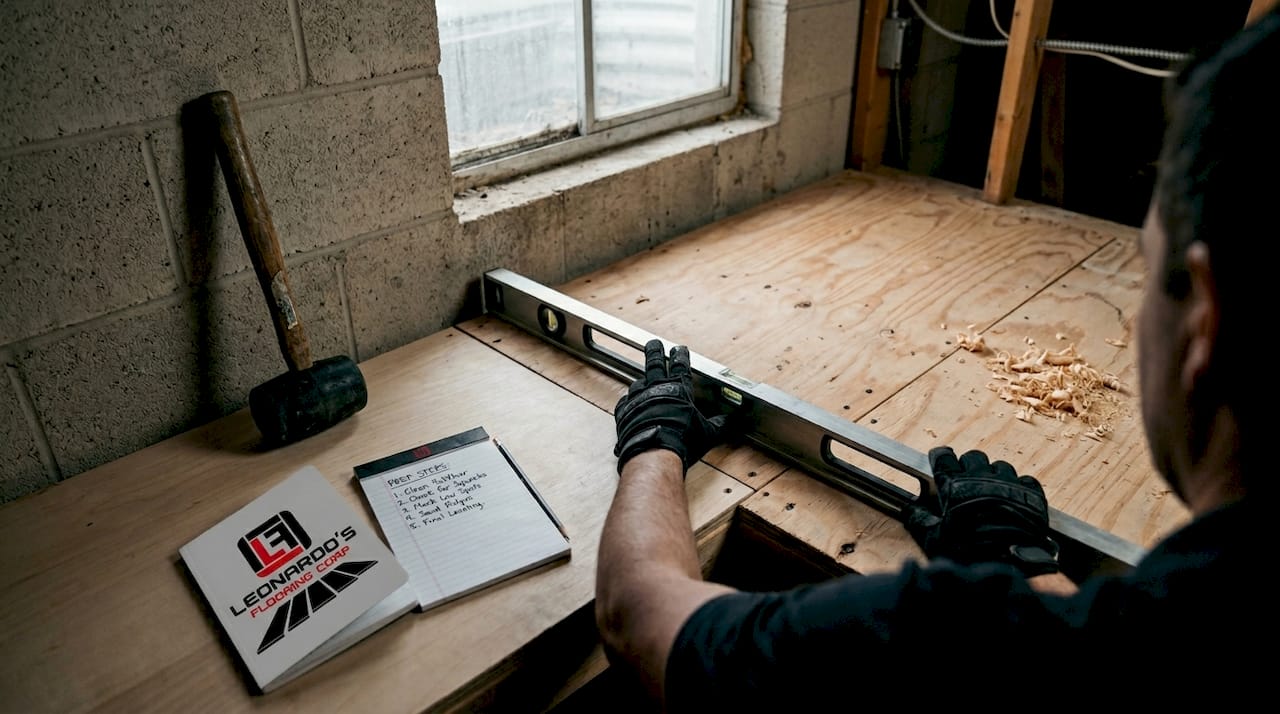
Subfloor preparation
Your subfloor needs to meet three conditions: flat, dry, and clean. Subfloor flatness should not vary more than 3/16 inch over a 10-foot span. Low spots should be filled with leveling compound, and high spots should be sanded down. Screwing down any loose areas before you start prevents squeaking later.
Moisture is the bigger threat. A 6-mil polyethylene vapor barrier is required over concrete, and the seams must overlap by at least 6 inches and be fully taped. A gap in the seam isn’t just sloppy. It’s an invitation for moisture to track under your floor and cause joint failure, odors, or buckling over time.
Check out this guide on subfloor prep basics if you want a deeper look at each preparation step before you begin.
Acclimating your laminate flooring
This step gets skipped constantly, and it causes real problems. Laminate requires acclimation because the planks will expand and contract depending on the temperature and humidity in your home. Bring the unopened boxes into the room where they will be installed and let them sit for at least 48 hours. The room should be between 59°F and 72°F with relative humidity between 30% and 75%.
Stack the boxes flat, not upright, and leave them loosely arranged so air can circulate. This is not optional. Skipping acclimation is one of the leading causes of buckling and peaking after installation.
Pro Tip: Plan your cuts mathematically before you start. Subtract your expansion gap allowances from the full room measurement to figure out how many rows you need and whether your last row will end up awkwardly narrow. A last row less than 2 inches wide looks bad and is hard to install.
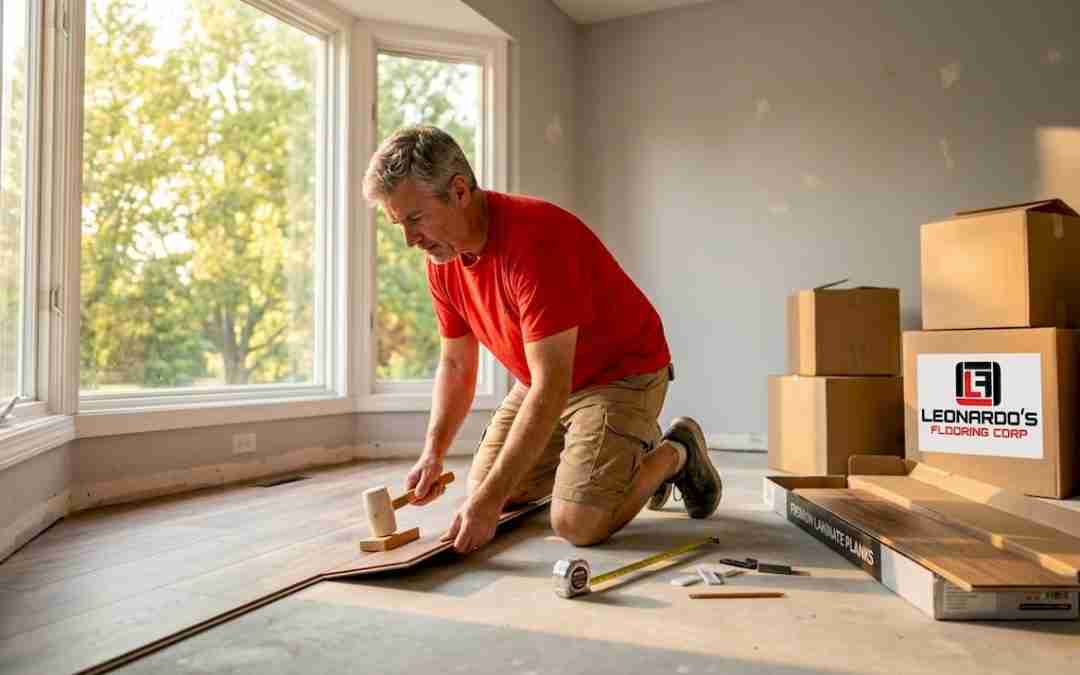
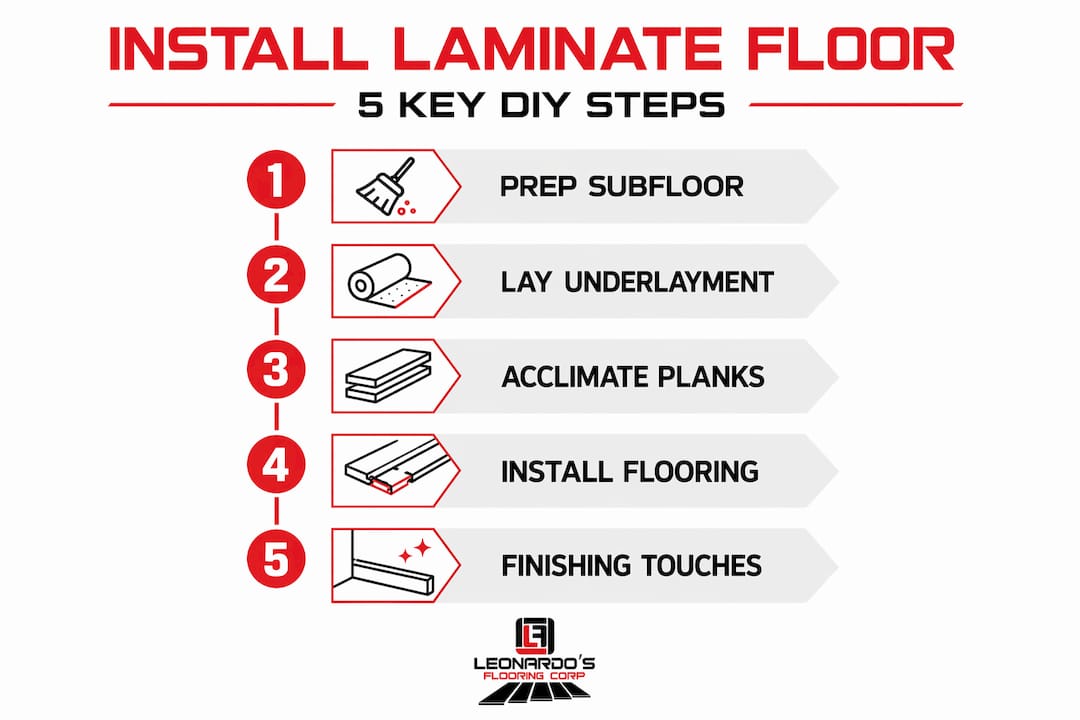
Step-by-step laminate flooring installation process
Once your subfloor is ready and your planks have acclimated, here’s exactly how to install laminate flooring from start to finish.
-
Roll out the underlayment. Lay it perpendicular to the direction you will install the planks. Tape the seams but don’t overlap the sheets. If your underlayment includes a vapor barrier, make sure that layer faces down.
-
Plan your layout. Start from the longest, straightest wall in the room. Measure the total width of the room, divide by the width of one plank, and check whether the last row will be at least 2 inches wide. If not, trim your first row down so the first and last rows end up roughly equal.
-
Set expansion gaps. Place 1/4-inch spacers along every wall before you lay the first row. These are not suggestions. They are structural requirements.
-
Lay the first row. Place planks with the tongue side facing the wall. Use your tapping block and mallet to connect the short ends. Keep the spacers snug against the wall as you go.
-
Start the second row with a stagger. End joints must be offset by at least 12 inches between adjacent rows. Cut the first plank of the second row to create this stagger. Most installers start the second row with the offcut piece from the first row’s last plank.
-
Click-lock each row. Angle the long edge of a new row’s plank into the groove of the previous row at about 20 to 25 degrees, then lower it flat. You should hear or feel a clean click. Then use the tapping block and mallet on the short ends to close the joints.
-
Cut around obstacles. For door frames, use an undercut saw to shave the bottom of the casing so the plank slides underneath cleanly. For pipes, drill a hole slightly larger than the pipe diameter. A 3/8-inch gap is required around vertical obstructions like pipes and cabinets.
-
Install the last row. Measure the gap between the second-to-last row and the wall, subtract your expansion gap, and rip-cut the planks to that width. Use a pull bar to click the final row into place since you won’t have room to swing a mallet.
-
Remove spacers and install moldings. Pull out every spacer. Install quarter-round or baseboards to cover the gap along the walls. Fit transition strips in doorways and between different floor surfaces.
Cutting tools: what works best where
| Cutting task | Best tool |
|---|---|
| Long straight cuts (length of plank) | Circular saw or table saw |
| Short crosscuts (width of plank) | Miter saw |
| Irregular curves around obstacles | Jigsaw |
| Undercutting door frames | Undercut saw or oscillating tool |
Pro Tip: Cut your planks face-down when using a circular saw to minimize chipping on the surface. When using a jigsaw, cut face-up. The blade on each tool exits differently, so flipping the plank keeps the visible side cleaner.
For more detail on floating floor mechanics and how click-lock systems behave over time, the resource on floating floor installation at Leonardosflooringcorp covers it well.
Common mistakes and how to fix them
Even experienced DIYers make these errors. Knowing what they are before you start is worth more than any tool in your kit.
- Skipping acclimation. The planks will try to expand or contract after installation, and with nowhere to go, they buckle or peak. Always give them the full 48 hours.
- Ignoring expansion gaps. Expansion gaps are structural, not cosmetic. A floor that’s nailed tight to the wall will buckle when humidity rises in summer. Keep those spacers in place until every plank is down.
- Poor subfloor prep. Unevenness over 3/16 inch causes soft spots, movement, and squeaking. Fix it before you install, not after.
- Misaligned starting row. If your first row isn’t straight, every row after it compounds the error. Use a chalk line to establish a true reference line, not just the wall.
- Inconsistent joint staggering. A repeating H-pattern in your joint alignment looks bad and weakens the floor. Cut your starting plank to a different length for every new row.
Pro Tip: If you hear squeaking after installation, it usually means a high spot on the subfloor is pushing up on the plank above it. You can sometimes fix minor squeaks by injecting a small amount of construction adhesive through the seam with a syringe. For larger problems, the affected boards need to come up.
When the repair is beyond a quick fix, or the subfloor issues are extensive, knowing when to call a professional saves you from a bigger and more expensive problem down the road. There’s no shame in getting an expert to handle subfloor leveling before you lay your floor.
Common kitchen flooring renovation mistakes often overlap with general laminate errors, so reviewing those patterns is useful if you’re installing in a kitchen or high-traffic area.
What to expect from your finished floor
A well-installed laminate floor looks clean, sits flat, and has no visible gaps between planks or between the floor and the wall trim. Walk every row after installing it to check for hollow sounds or movement. A solid floor should feel consistent underfoot.
Laminate installed correctly can last 15 to 25 years. The quality of your subfloor prep and how carefully you handle expansion gaps have more to do with that lifespan than the price of the planks themselves.
To keep it looking great, follow these maintenance basics:
- Sweep or vacuum regularly using a soft brush attachment. Grit acts like sandpaper on the surface over time.
- Clean spills immediately. Standing water is laminate’s worst enemy.
- Use felt pads under furniture legs to prevent surface scratching.
- Avoid steam mops. The heat and moisture force themselves into the joints and swell the core.
- Keep indoor humidity between 35% and 65% year-round to minimize expansion and contraction cycles.
Read your manufacturer’s warranty before using any cleaning products. Many brands void the warranty if unapproved cleaners are used, and that’s a detail worth knowing upfront.
What I’ve learned after years of flooring installations
I’ve installed laminate in hundreds of homes across Denver, and the one thing that separates a great result from a frustrating one is always how much effort went into the preparation before the first plank touched the ground.
Most homeowners underestimate subfloor work. They see it as a chore to get through before the “real” installation begins. But in my experience, the prep stage is the installation. Get that right and the planks almost lay themselves. Shortcut it, and you’re back on your knees three months later trying to figure out why your floor squeaks or why a board near the window is lifting.
I’ve also seen a lot of DIYers rush the acclimation step because they’re excited to get started. I get it. But a plank that hasn’t adjusted to your home’s humidity is going to adjust itself eventually, whether you like it or not. Give it the full 48 hours. It costs you nothing except patience.
The click-lock system is genuinely forgiving for beginners. Don’t let the cutting intimidate you. Take your time, measure twice, and use a sharp blade. You will make some mistakes on your first few cuts. That’s what the offcuts in the corner are for. The floor you end up with will be one you’re proud of.
— Jim
Professional laminate flooring installation in Denver
If you’ve worked through this guide and decided you’d rather have an expert handle it, or if you’ve run into a subfloor situation that’s more complicated than expected, Leonardosflooringcorp is ready to help.

With over 10 years serving Denver homeowners and 125+ five-star reviews, Leonardosflooringcorp handles everything from laminate flooring installation to full subfloor preparation so your new floor is built right from the ground up. Browse the full range of laminate flooring options available for Denver homes, or reach out for a consultation tailored to your space, budget, and timeline. No cookie-cutter estimates. Just honest advice from a team that treats your home like their own.
FAQ
How long does laminate floor installation take?
Most single-room installations take one full day for a prepared DIYer. Larger rooms or complex layouts with lots of cuts around obstacles may take two days.
Do I need underlayment under laminate flooring?
Yes. Underlayment provides cushioning, reduces sound transmission, and protects against moisture. Over concrete, use a foam underlayment with a built-in vapor barrier.
What size expansion gap does laminate flooring need?
Leave a 3/8-inch gap around all walls and fixed vertical objects including pipes, cabinets, and door frames to allow the floating floor to move with humidity changes.
Can I install laminate flooring over existing floors?
In many cases, yes. Laminate can go over existing hard flooring as long as the surface is flat, clean, and below the maximum height threshold for doors and transitions. Carpet must always be removed first.
How do I stop my laminate floor from squeaking?
Squeaking usually means the subfloor has a high spot pressing against the plank above. Unevenness over 3/16 inch should be corrected before installation. Minor post-installation squeaks can sometimes be addressed with construction adhesive injected into the seam.