Laminate flooring repair is the process of restoring scratched, chipped, gapped, or water-damaged laminate planks using targeted kits and methods without replacing the entire floor. Most homeowners deal with surface scratches from furniture, chips near doorways, or boards that swell after a spill. The good news is that most minor damages are fixable in place using wax pencils, repair markers, and colored putty kits. Water damage is the one exception that often forces plank replacement. Knowing which category your damage falls into saves you time, money, and unnecessary work. This guide covers every repair scenario, from a quick scratch fix to a full mid-room plank swap.
Which laminate flooring damages can be repaired without replacing planks?
Surface scratches and minor chips are the most common laminate floor repair jobs, and both are fixable without touching a single plank. The key is matching the repair product to the depth of the damage.
Surface scratches and light wear
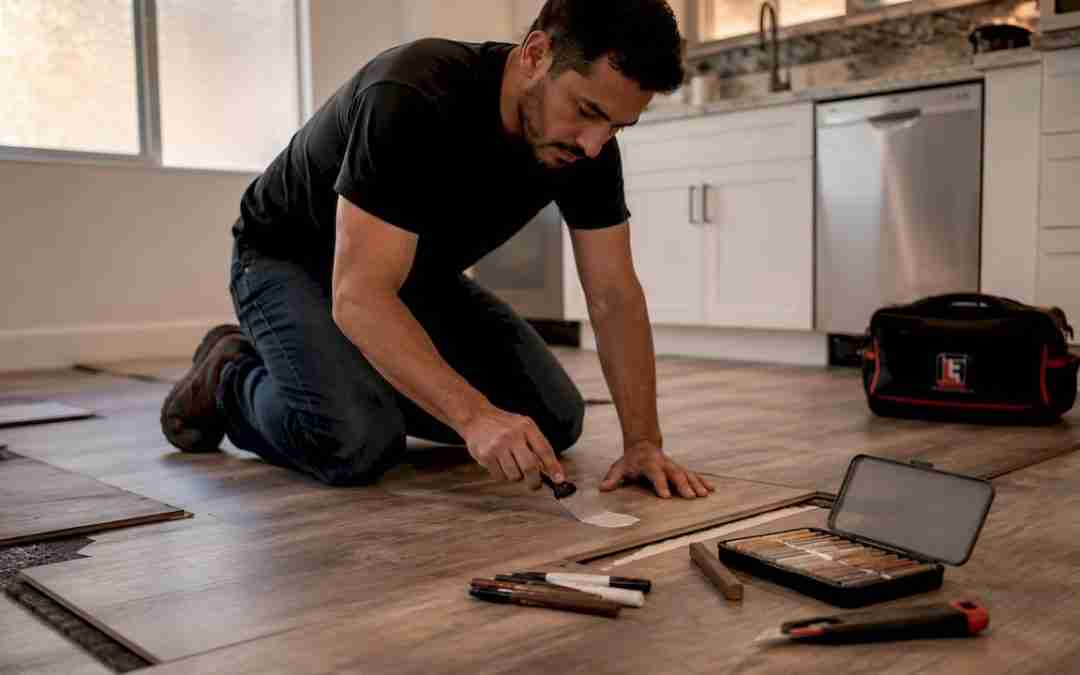
Light scratches that only affect the top wear layer respond well to wax pencils and repair markers. These products fill the scratch with pigmented wax that blends into the surrounding finish. You drag the pencil across the scratch, press the wax in with a soft cloth, and buff away the excess. The result is nearly invisible on most wood-tone laminates.
Deeper scratches and chips
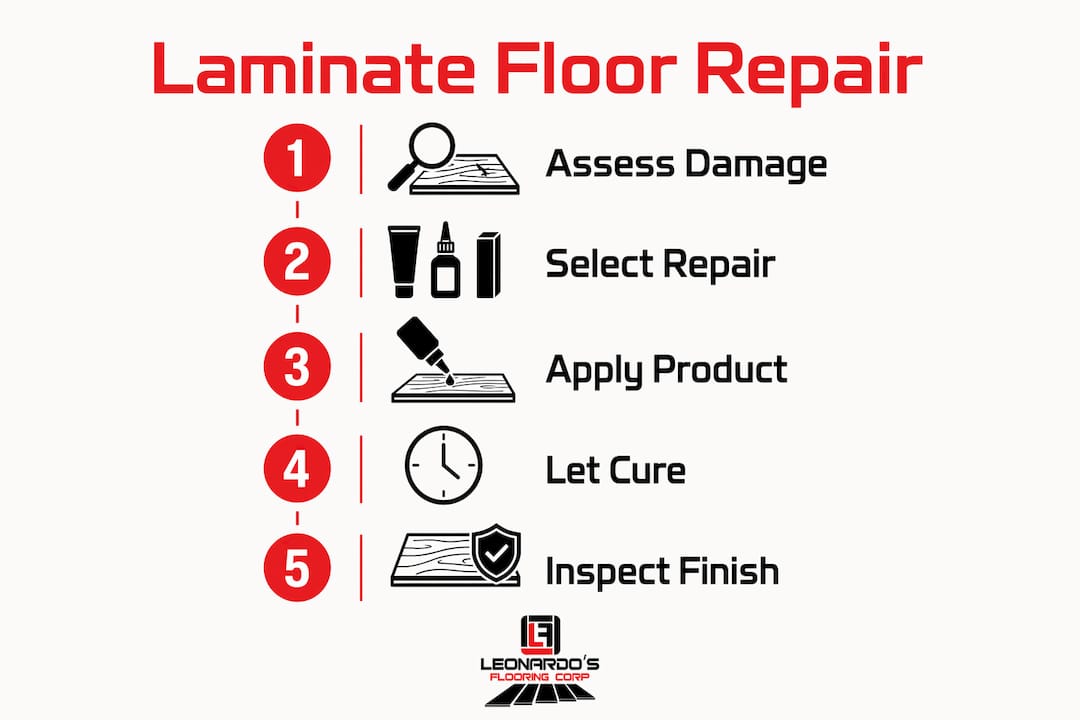
Deeper gouges need a laminate repair kit with colored putty, available at most home improvement stores. The process is straightforward:
- Clean the damaged area and let it dry completely.
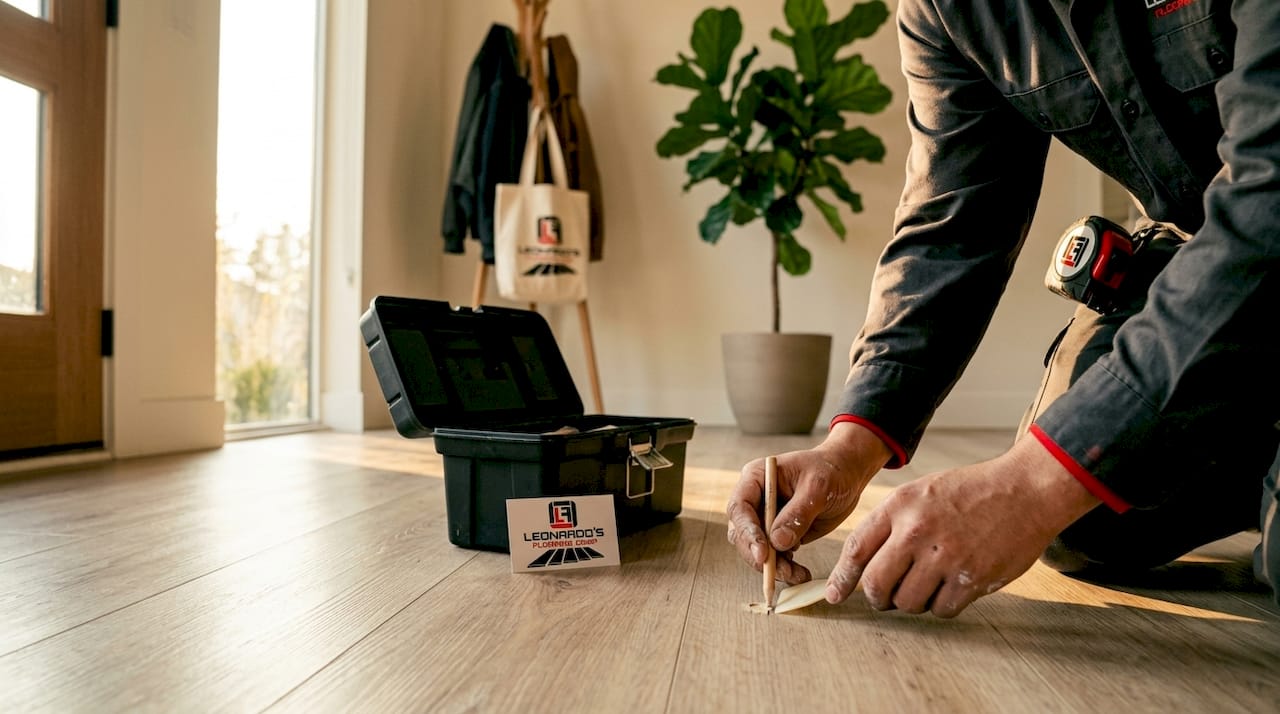
- Select the putty color closest to your floor tone, or blend two shades.
- Press the putty firmly into the chip or scratch using the applicator.
- Scrape the excess at a 45-degree angle with a plastic scraper.
- Allow the surface to cure for 24 hours before walking on it.
That curing window matters. Walking on fresh putty before it sets causes it to crack or pull away from the edges.
Minor gaps and squeaks
Small gaps between planks often appear when humidity drops in winter. A thin bead of floor gap filler or colored caulk pressed into the joint closes the gap and stops squeaking. For squeaks caused by planks rubbing against each other, a shot of dry lubricant along the joint solves the problem without any disassembly.
Pro Tip: Color matching is the hardest part of any laminate repair. Test your putty or marker on a scrap piece or inside a closet before applying it to a visible area. Natural light reveals color mismatches that indoor lighting hides.
When and how to replace individual laminate planks
Some damage goes beyond what a repair kit can fix. Water damage causes permanent HDF core swelling, and no amount of putty restores a warped or buckled board. Replacement is the only real solution.
Signs a plank needs replacement, not repair
- The board is visibly swollen, raised, or buckled at the edges.
- The surface layer is peeling away from the core.
- The plank feels spongy or hollow underfoot.
- Discoloration or a musty smell suggests moisture is trapped underneath.
How to replace a mid-room plank using the incision method
The professional incision method lets you swap out a single damaged plank without dismantling every row back to the wall. Here is how it works:
- Score the center of the damaged plank lengthwise with an oscillating multi-tool. Keep the blade shallow to avoid cutting into the subfloor.
- Make two crosscuts near each end of the plank, creating a rectangular section you can pry out.
- Remove the center section first, then carefully work the remaining edges free from the surrounding planks.
- Check the subfloor for moisture or damage before proceeding.
- Cut the bottom lip off the long edge of the new replacement plank. This lets it drop into place without needing to slide it in from the end.
- Apply a thin bead of flooring glue along the joints, then press the new plank into position.
- Use a pull bar and tapping block to seat the plank tightly against its neighbors.
- Wipe away any excess glue immediately and weight the plank down for the time the glue manufacturer specifies.
| Tool | Purpose |
|---|---|
| Oscillating multi-tool | Cuts through the damaged plank without disturbing adjacent boards |
| Pull bar | Pulls the new plank tight against the end joint |
| Tapping block | Protects the plank edge while seating the side joints |
| Flooring glue | Secures the modified plank that can no longer click-lock |
Pro Tip: Before installing the new plank, use a moisture meter on the subfloor directly below the damaged area. A reading above the flooring manufacturer’s recommended threshold means the subfloor needs more drying time. Skipping this step risks mold growth hidden beneath the new board.
How to assess and repair subfloor issues after water damage
Water damage to laminate almost always means subfloor damage too. Moisture trapped under laminate can cause mold growth hidden beneath the flooring layers if not properly dried. Treating the surface without addressing what is underneath leads to the same problem returning within weeks.
Assessing the subfloor
Use a long straightedge to check for high or low spots across the subfloor surface. Any dip or hump greater than 3/16 inch over a 10-foot span will telegraph through the new laminate and cause joint stress. A moisture meter gives you a hard number to work with rather than a guess.
Drying the subfloor properly
Drying a wet subfloor takes 48–72 hours using a combination of dehumidifiers and fans. That timeline assumes good airflow and moderate humidity. In a basement or a room with poor ventilation, plan for longer. Do not rush this step. Laying new laminate over a subfloor that reads wet on a moisture meter is one of the most expensive mistakes a homeowner can make.
Repairing the subfloor surface
- Sand down high spots on plywood subfloors using a belt sander.
- Fill low spots with floor-leveling compound and let it cure fully.
- Replace any plywood sections that are soft, delaminated, or show visible mold.
- Prime repaired areas before reinstalling laminate to reduce moisture absorption.
For a thorough walkthrough of getting the subfloor right before any new flooring goes down, the subfloor prep guide from Leonardosflooringcorp covers every step in detail.
Common mistakes to avoid when repairing laminate floors
Repairing laminate floors is straightforward when you know the rules. Breaking them turns a small fix into a costly replacement.
Never sand laminate flooring. Sanding destroys the photographic wear layer and exposes the fiberboard core underneath. Laminate is not solid wood. Once the wear layer is gone, the plank must be replaced. Fillers and repair kits are the only surface treatment options.
Do not delay on water damage. Delaying repair lets moisture migrate from one plank to several surrounding ones, turning a single-board replacement into a multi-row job. The moment you spot swelling or buckling, pull the affected boards and start drying the subfloor.
Other common errors to avoid:
- Forcing planks together without a tapping block, which chips the tongue-and-groove joint.
- Using the wrong putty color without testing it first, leaving a patch that stands out more than the original damage.
- Ignoring minor gaps, which worsen over time as seasonal humidity changes cause the floor to expand and contract.
- Skipping the moisture inspection before replacing planks, which risks mold under the new board.
When to call a professional. DIY repairs work well for isolated scratches, chips, and single-plank replacements. If water damage covers more than a few square feet, if the subfloor is compromised, or if the floor has no matching replacement planks available, a professional flooring contractor will save you time and prevent further damage. The laminate flooring installation guide from Leonardosflooringcorp is a solid reference for understanding where DIY ends and professional work begins.
Pro Tip: Keep a few extra planks from your original installation stored flat in a dry space. Color and texture in discontinued laminate lines can be nearly impossible to match years later, and having spares on hand makes any future repair much cleaner.
Key takeaways
Effective laminate floor repair depends on correctly identifying the damage type before choosing between a repair kit and a full plank replacement.
| Point | Details |
|---|---|
| Match repair method to damage depth | Use wax pencils for surface scratches; use putty kits for chips and deeper gouges. |
| Cure time matters | Allow 24 hours after applying repair putty before walking on the fixed area. |
| Water damage requires replacement | Swollen or buckled planks cannot be repaired with kits; replace the board and dry the subfloor. |
| Dry subfloor for 48–72 hours | Use dehumidifiers and fans before reinstalling any laminate over a wet subfloor. |
| Never sand laminate | Sanding removes the wear layer permanently; fillers and replacement are the only options. |
What I have learned from years of laminate repairs
The repair call I see homeowners get wrong most often is waiting. A small spill becomes a warped board within hours, and that warped board becomes a mold problem under the subfloor within days. The floor you are looking at is only part of the story. What is happening underneath it matters just as much.
I have also watched homeowners spend money on repair kits and then apply them under dim artificial light. Color matching in those conditions is nearly impossible. Take the plank sample or the repair kit to a window. Natural light shows you exactly what you are working with.
The incision method for mid-room plank replacement intimidates a lot of people the first time they hear about it. But with an oscillating multi-tool and a steady hand, it is genuinely manageable for a careful homeowner. The tool does the hard work. Your job is to go slowly and check the subfloor before you close everything back up.
One thing I always tell homeowners: the repair kit is not the finish line. The finish line is understanding why the damage happened. Scratches from furniture legs get solved with felt pads. Chips near the door get solved with a better transition strip. Water damage gets solved by finding the source, whether that is a leaky dishwasher, a pet bowl, or a door threshold that lets rain in. Fix the cause, and the repair lasts.
— Jim
Leonardosflooringcorp can handle what DIY cannot
When the damage is too widespread for a weekend repair, or when you want the job done right the first time, Leonardosflooringcorp has been the trusted choice for Denver homeowners for over 10 years.

As certified Home Depot Contractors serving the greater Denver metro, the Leonardosflooringcorp team handles everything from single-room laminate repairs to full floor replacements and subfloor preparation. Every project gets a tailored plan based on your specific floor, your timeline, and your budget. With 125+ five-star reviews and a commitment to honest workmanship, there are no surprises. If your floor needs more than a repair kit, explore professional laminate services or browse the full laminate flooring options available for Denver homes.
FAQ
Can you repair laminate flooring without replacing the whole floor?
Yes. Most scratches, chips, and minor gaps are fixable in place using repair kits, wax pencils, and gap fillers. Only water-damaged or structurally warped planks require replacement.
How long does laminate floor repair putty take to cure?
Laminate repair putty needs 24 hours to cure before the area can handle foot traffic. Walking on it too soon causes the putty to crack or separate from the edges.
Can you sand laminate flooring to remove scratches?
No. Sanding ruins the wear layer on laminate and exposes the fiberboard core. Use a repair marker or putty kit instead, and replace the plank if the damage is too deep for a filler.
How do you dry a subfloor after water damage under laminate?
Run dehumidifiers and fans in the affected area for at least 48–72 hours before reinstalling any flooring. Check the subfloor with a moisture meter before laying new planks to confirm it is fully dry.
When should you call a professional for laminate floor repairs?
Call a professional when water damage covers more than a few square feet, when the subfloor is soft or moldy, or when matching replacement planks are no longer available. Leonardosflooringcorp serves the Denver metro and can assess the damage and recommend the right fix.