
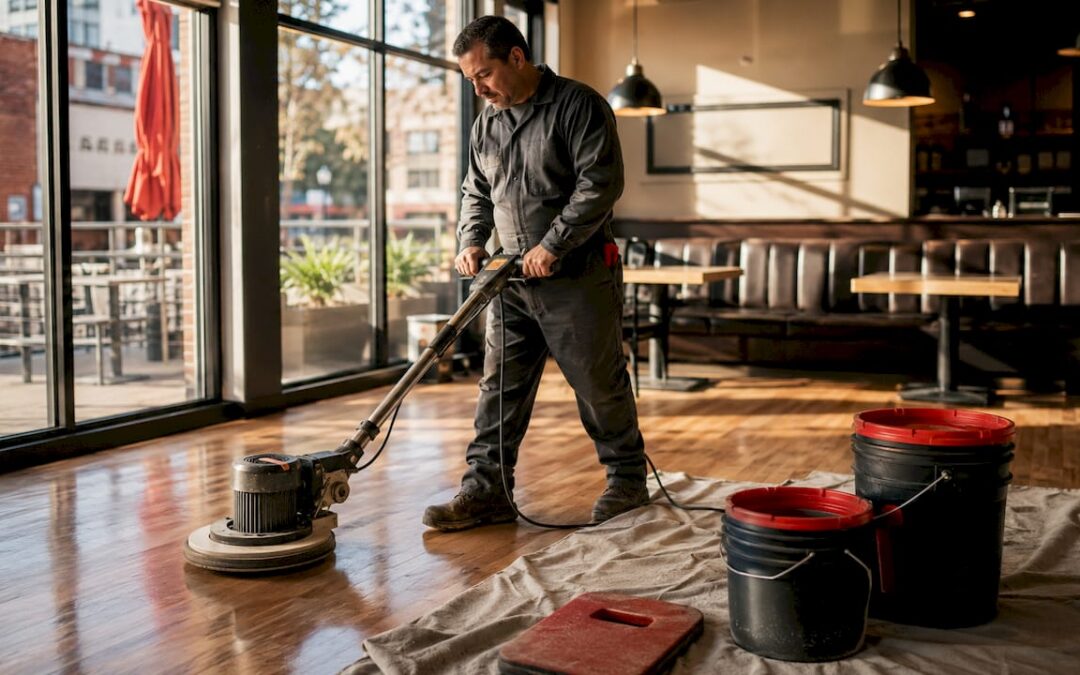
Floor recoating is defined as applying a fresh protective finish layer over an existing floor surface to renew its appearance and extend its lifespan without removing the base material. This maintenance procedure is faster, less invasive, and significantly cheaper than full refinishing or strip-and-wax cycles. Property owners and facility managers who understand what the floor recoating process involves can make smarter decisions about timing, materials, and when to call in a professional. This guide covers the full picture: how recoating differs from refinishing, the step-by-step process for hardwood, VCT, and epoxy floors, and the expert tips that separate a lasting finish from a costly redo.
What is the floor recoating process, and how does it work?
Floor recoating is a maintenance procedure, not a restoration. The industry standard term is “screen and recoat” for hardwood, and “scrub and recoat” for commercial floors like vinyl composition tile (VCT). Both methods follow the same core logic: lightly abrade the existing finish to create mechanical adhesion, then apply a new topcoat.
The process does not touch the base material. No wood is sanded away. No tile is stripped to bare concrete. The goal is to refresh the protective layer sitting on top of the floor, which takes the daily abuse of foot traffic, cleaning chemicals, and UV exposure. Recoating is a maintenance method rather than a restoration, and understanding that distinction helps you set the right expectations from the start.
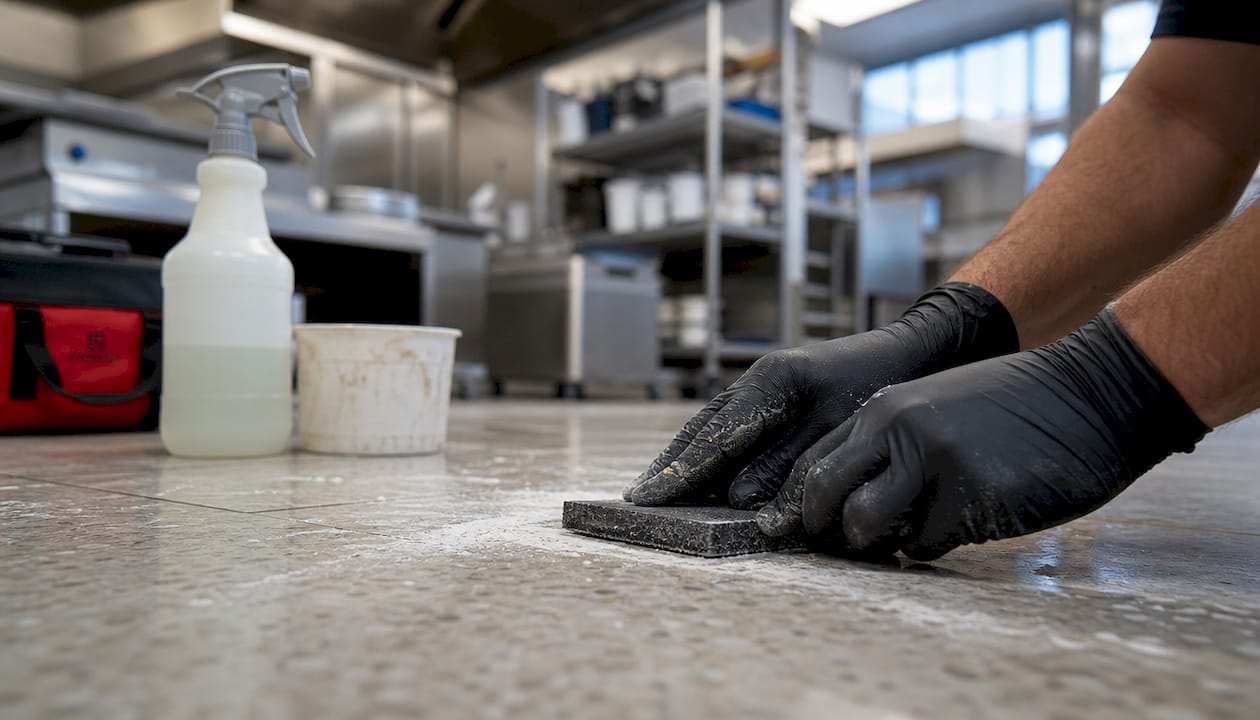
Three floor types benefit most from regular recoating: hardwood, VCT, and epoxy-coated concrete. Each has its own preparation requirements and compatible finish products, but the underlying principle is the same across all three.
How does recoating differ from floor refinishing?
Recoating and floor refinishing are not interchangeable terms, and confusing them leads to either overspending or applying the wrong treatment.
Refinishing involves sanding the floor down to bare wood or stripping tile to its base layer, then applying a full new finish system from scratch. It corrects deep scratches, stains, and structural surface damage. It also removes material from the floor with each cycle, which limits how many times hardwood can be refinished over its lifetime.
Recoating skips all of that. Recoating costs about one-third of a full refinish and completes in roughly one day, while a full refinish takes several days and requires the space to be vacated longer.
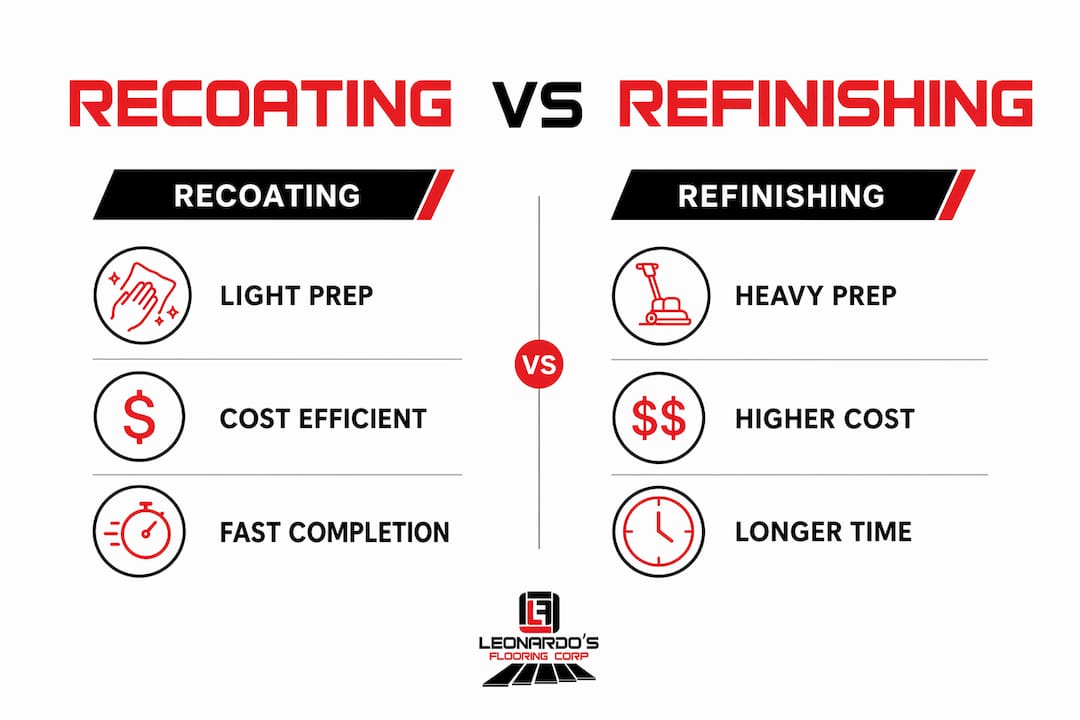
| Factor | Recoating | Refinishing |
|---|---|---|
| Surface prep | Light abrasion (screening or scrubbing) | Full sanding to bare wood or stripping |
| Material removed | None | Wood fiber or tile finish layer |
| Typical timeline | 1 day | 3–5 days |
| Relative cost | Lower (approx. one-third of refinishing) | Higher |
| Best for | Dull, worn finish with no deep damage | Deep scratches, stains, or bare wood |
| Floor material impact | None | Reduces wood thickness over time |
The right choice depends on floor condition. Recoating works when the existing finish is intact but dull or worn. If the floor has bare wood patches, deep gouges, or finish that is peeling and contaminated, recoating will not fix those problems. It will highlight them.
What are the floor recoating steps for hardwood, VCT, and epoxy?
The floor resurfacing process varies by material, but every successful recoat follows the same four-phase structure: clean, abrade, remove dust, and apply finish. Skipping or rushing any phase causes adhesion failure.
Hardwood screen and recoat
- Deep clean the floor. Use a pH-neutral cleaner approved for the existing finish. Remove all wax, oil, or silicone residue. These contaminants prevent the new finish from bonding.
- Screen the surface. A floor buffer fitted with a fine-grit abrasive screen (typically 120-grit) scuffs the existing finish without cutting into the wood. This creates the mechanical profile the new coat needs to grip.
- Remove all dust. Vacuum thoroughly, then tack-wipe the entire surface. Any dust left behind shows up as bumps under the new finish.
- Apply the new finish coat. Use a finish compatible with the existing product. Water-based polyurethane over oil-based polyurethane, for example, is a common compatibility problem that causes peeling.
- Allow full cure time. Light foot traffic is typically possible within 24 hours, but full cure takes 72 hours or longer depending on the product and ambient humidity.
Pro Tip: Before screening the entire floor, apply finish to a small test area first. If the finish beads up, peels, or develops “fish eyes,” the surface has contamination that requires full sanding before any recoat can succeed.
VCT scrub and recoat
VCT floors in commercial settings use a simpler process. The floor is scrubbed with an auto-scrubber or rotary machine using a stripping pad at low speed, which removes the top wax layer without stripping all the way to the tile. The floor is then rinsed, dried, and recoated with one or two layers of floor finish (commonly referred to as “wax,” though modern products are polymer-based).
Scrub-and-recoat for a 5,000 sq ft commercial VCT floor costs roughly $0.12 to $0.25 per sq ft and takes 3–4 hours. A full strip-and-wax costs about double and takes significantly longer. That cost difference adds up fast across a large facility.
Epoxy floor recoating
Epoxy recoating requires the most aggressive surface preparation of the three. Epoxy recoating requires mechanical abrasion for proper adhesion. Chemical stripping alone does not create the surface profile needed. Grinding or diamond-pad abrasion opens the existing epoxy surface so the new coat can bond at a molecular level. Without this step, delamination is almost certain within months.
Pro Tip: Never shake an epoxy or polyurethane finish container before application. Stirring gently is the correct method. Shaking introduces air bubbles that cause craters and imperfections in the cured finish coat.
How often should floors be recoated?
Recoating frequency depends on traffic volume, floor type, and daily cleaning practices. A fixed calendar schedule is the wrong approach.
The “Recoat Rule” recommends a new topcoat every 3–5 years for residential hardwood floors. High-traffic commercial floors require scrub-and-recoat every 3–6 months. Those are benchmarks, not guarantees.
Factors that accelerate wear and push recoating earlier include:
- High foot traffic. Retail stores, school hallways, and hospital corridors wear finish faster than office spaces or residential rooms.
- Abrasive soils. Sand and grit act like sandpaper underfoot. Entrance matting at every door significantly slows finish wear.
- Cleaning chemical residue. Harsh cleaners or products containing silicone degrade finish chemistry over time and contaminate the surface for future recoats.
- Inadequate daily maintenance. Dry mopping and dust control between wet cleanings extend finish life considerably.
A professional walkthrough assessing finish integrity, entrance matting, and traffic patterns gives a more accurate recoating schedule than any fixed calendar. Objective measures work better than guesswork. Slip-resistance testing using ASTM D6962 quarterly helps identify wear before the finish degrades to the point where the primer coat is exposed. Anti-slip aggregate can also be added during recoating in high-traffic areas to restore texture and safety ratings.
Facility managers who implement routine recoat cycles delay expensive full strip and refinish operations by years. The math is straightforward: a $0.20 per sq ft recoat every six months costs far less than a $0.50 per sq ft strip-and-wax every 18 months, especially across tens of thousands of square feet.
What should you know before recoating your floors?
Most recoating failures trace back to preparation errors, not product quality. Getting the prep right is the single biggest factor in how long the new finish lasts.
- Always run a test area first. Apply finish to a 2 sq ft section and let it cure fully before proceeding. Test areas check adhesion and reveal contamination problems before they ruin the entire floor.
- Eliminate all contaminants. Wax, silicone-based cleaners, and oil residues cause adhesion failure. If the floor has been treated with a consumer “shine” product, assume contamination and test accordingly.
- Use compatible products. Confirm the new finish is chemically compatible with the existing finish. When in doubt, contact the finish manufacturer directly with the product names.
- Apply thin coats. Thick coats take longer to cure, trap air, and are more likely to peel. Two thin coats outperform one heavy coat every time.
- Control the environment. Temperature and humidity affect cure time and finish flow. Most water-based finishes require 65–75°F and below 75% relative humidity during application and curing.
- Recoating does not fix structural damage. If the floor has bare wood or deep scratches, recoating will make those flaws more visible, not less. Those floors need refinishing first.
Ongoing habits matter as much as the recoat itself. Dry mopping daily, using felt pads under furniture, and keeping entrance mats clean extend the life of any finish by months. For hardwood floors specifically, the hardwood maintenance tips that protect finish between recoats are just as important as the recoat procedure itself.
Key Takeaways
The floor recoating process extends floor life and cuts long-term costs, but only when surface preparation, product compatibility, and maintenance intervals are handled correctly.
| Point | Details |
|---|---|
| Recoating vs. refinishing | Recoating refreshes the topcoat only; refinishing removes material and corrects deep damage. |
| Cost advantage | Recoating costs roughly one-third of a full refinish and completes in one day. |
| Frequency benchmarks | Residential hardwood needs recoating every 3–5 years; commercial floors every 3–6 months. |
| Preparation is critical | Test areas, contaminant removal, and product compatibility determine whether the recoat holds. |
| Condition-based scheduling | Slip-resistance testing and professional walkthroughs give more accurate timing than fixed calendars. |
Why I think most property owners recoat too late
After years of working on floors across Denver, the pattern I see most often is this: property owners wait until the floor looks bad before they act. By that point, the finish has worn through in high-traffic zones, the wood or tile underneath has absorbed grime, and what could have been a simple recoat now requires a full refinish or strip cycle.
The misconception driving this is that recoating is a repair. It is not. Recoating is maintenance, the same way changing your oil is maintenance. You do not wait for the engine to knock. You follow a schedule based on actual conditions, not just how the floor looks from across the room.
The other mistake I see regularly is using the wrong cleaning products between recoats. Consumer floor “restorers” and shine sprays feel like a quick fix, but many contain silicone or wax that contaminates the surface and makes the next recoat fail. One bad product choice can turn a $200 recoat into a $600 refinish job.
My advice: get a professional assessment before you recoat, not after something goes wrong. A trained eye can spot finish wear, contamination risk, and compatibility issues in 20 minutes. That 20-minute walkthrough saves you from expensive surprises. For Denver property owners managing wood floor restoration decisions, the difference between proactive and reactive maintenance is often measured in thousands of dollars.
— Jim
Leonardosflooringcorp handles recoating the right way
Leonardosflooringcorp has served the Denver metro for over 10 years, handling hardwood, VCT, and epoxy floor coating projects for both residential and commercial properties. Every recoating job starts with a professional floor assessment: finish condition, contamination risk, traffic patterns, and product compatibility are all evaluated before a single screen or scrubber touches the surface.

Property owners and facility managers who want durable results without the cost of full refinishing get exactly that with a properly executed recoat. Leonardosflooringcorp’s team brings the right equipment, the right products, and the experience to know when recoating is the answer and when it is not. If you are managing hardwood floors in Denver, the hardwood floor installation and maintenance services page covers the full range of options available to you.
FAQ
What is the floor recoating process in simple terms?
Floor recoating is lightly abrading an existing floor finish and applying a new topcoat layer to restore appearance and protection. It does not remove wood or tile material and completes in roughly one day.
How is recoating different from refinishing?
Recoating adds a new finish layer over the existing one. Refinishing sands the floor down to bare wood or strips tile to its base, then rebuilds the finish from scratch. Recoating costs about one-third as much.
How often should hardwood floors be recoated?
The industry benchmark is every 3–5 years for residential hardwood floors under normal use. High-traffic areas may need attention sooner, based on visible wear or slip-resistance testing results.
Can you recoat a floor that has deep scratches?
No. Deep scratches, bare wood patches, or peeling finish require refinishing before any recoat can succeed. Applying a new topcoat over damaged surfaces highlights the flaws and leads to adhesion failure.
What causes a recoat to peel or fail?
The most common cause is surface contamination from wax, silicone-based cleaners, or oil residues. Running a test area before full application catches these problems early and prevents a costly redo.